This guide will walk you through the steps to install and configure Zabbix 4.4 server on a CentOS, RHEL 8.
Note: With CentOS 8 release, yum command has been replaced with dnf and in near future yum package manager will be discontinued. It is now recommended to use dnf for installing packages but if you still wish to use yum you can use it.
Save and close.
Now reboot your CentOS/RHEL machine to take changes into effect:
If you are on RHEL 8, execute the following command as well:
You will also need to install Zabbix agent to collect data about the Zabbix server itself:
Output
/usr/share/doc/zabbix-server-mysql/create.sql.gz
Now import this schema file into database like below:
Save and close.
Now restart Apache and PHP service to take changes into effect.
Check the Zabbix server status before proceeding to next step.
The Zabbix server status shows up and running, so lets proceed to next step.
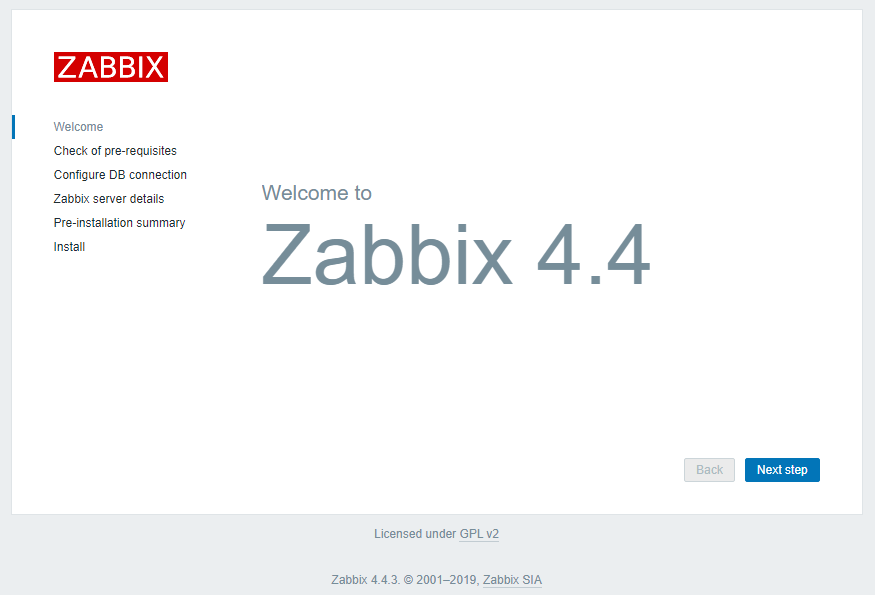
The first screen like below will greet you a welcome message.
Click Next step to continue.
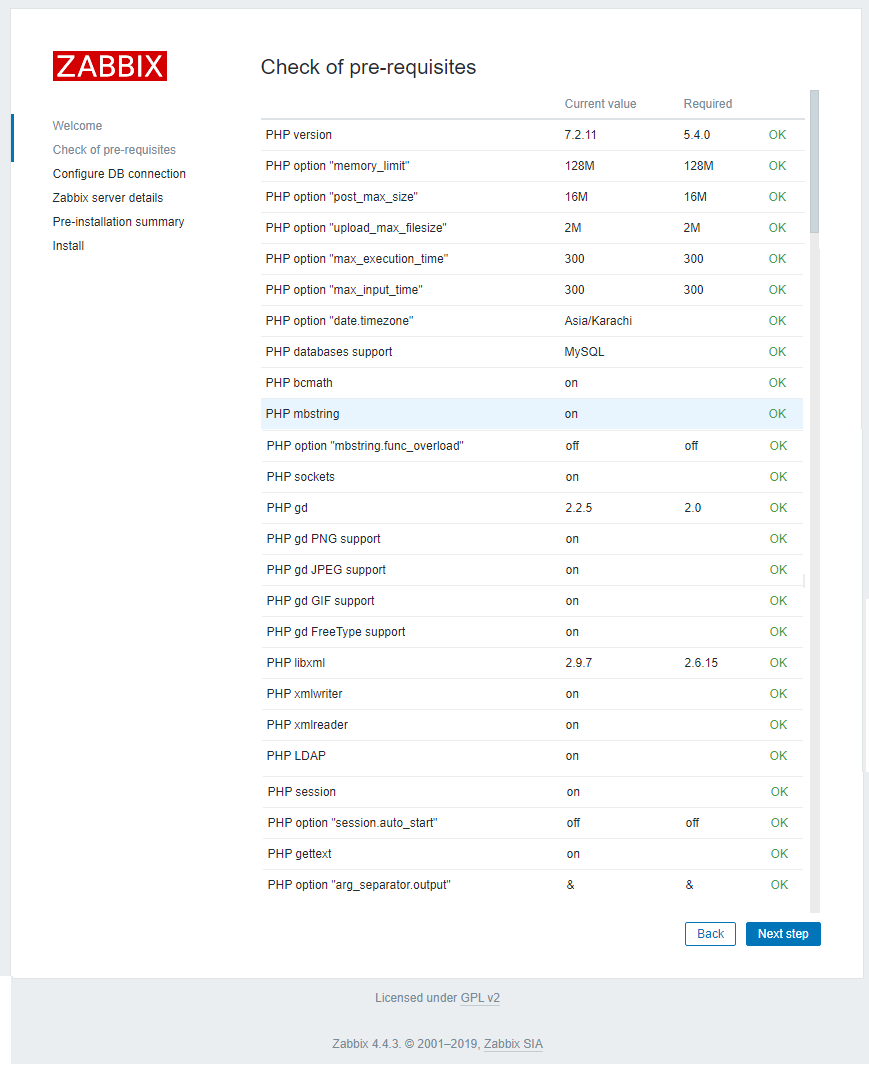
This page will show you the table that lists all of the prerequisites to run Zabbix. If anything missing make sure to fix it first then proceed to Next.
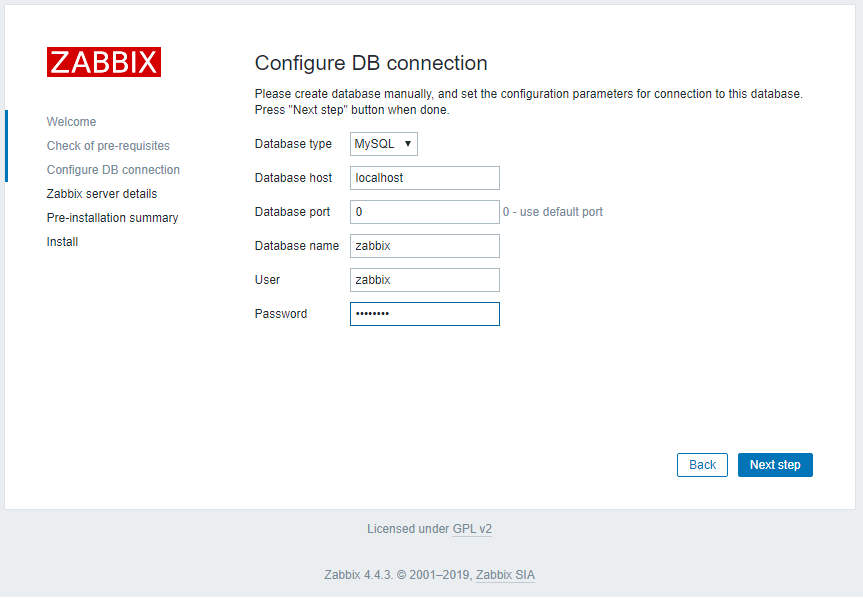
 Provide zabbix database user password and proceed to next.
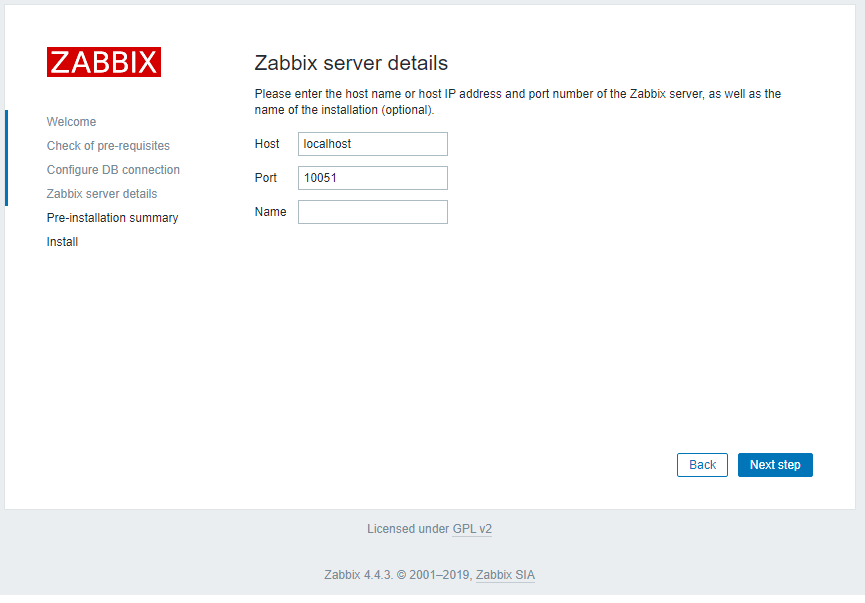
Keep it default and proceed next.
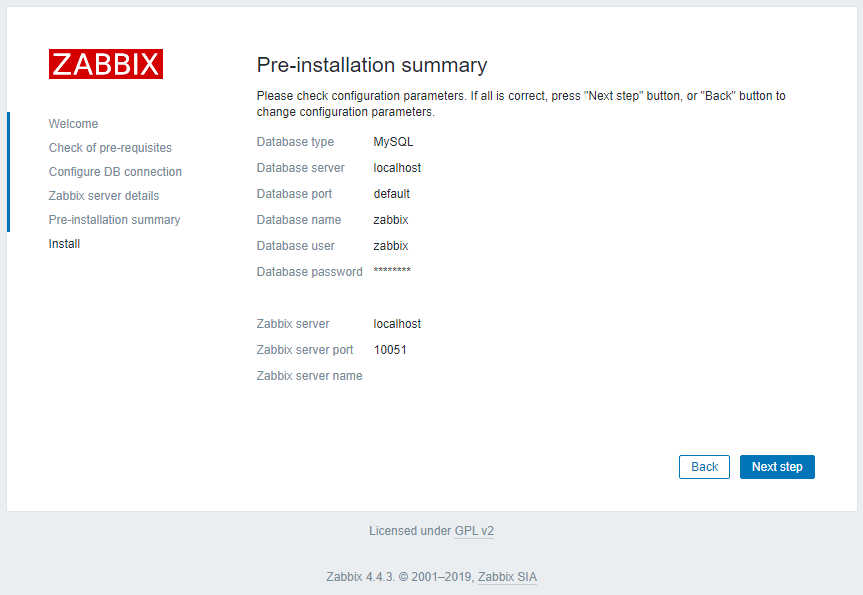
This is the summary screen, verify and proceed next.
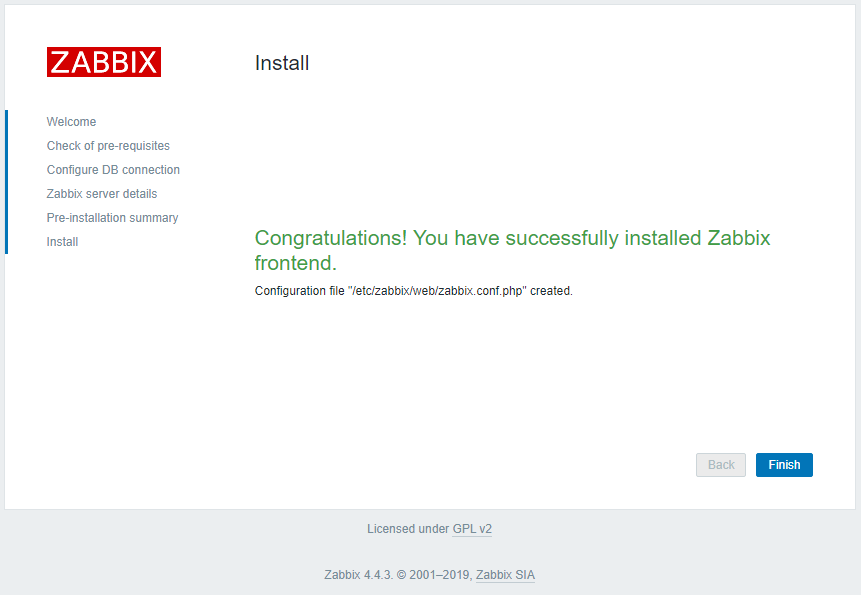
This screen confirms that you have successfully installed Zabbix.
Click Finish
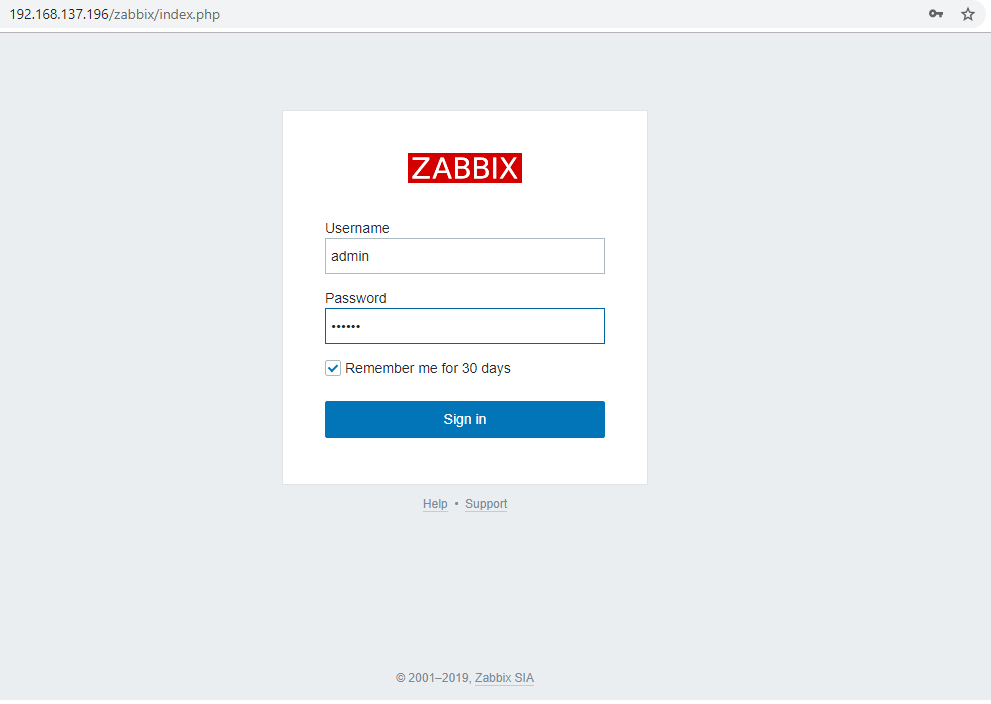
Zabbix frontend is ready! The default user name is Admin, password zabbix.
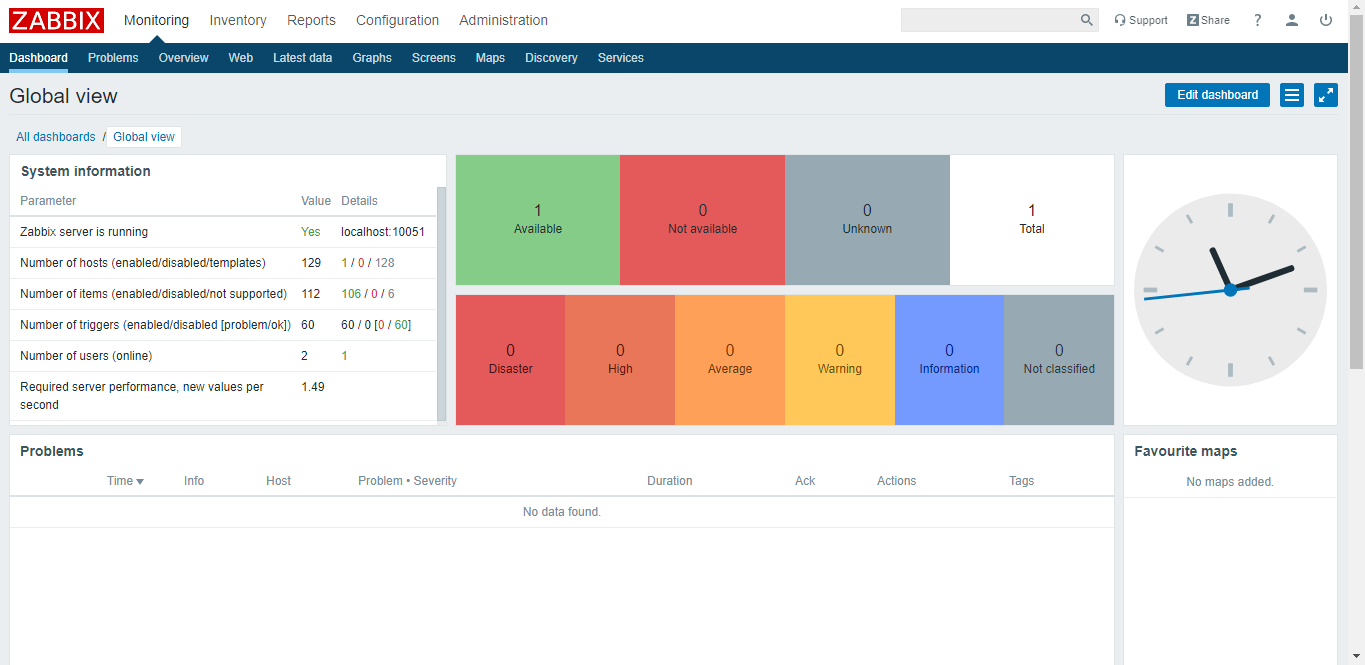
Once logged in, you will see below dashboard screen and from here you can administer and manage your Zabbix server.
Save and close.
Save and close.
Save and close.
Save and close.
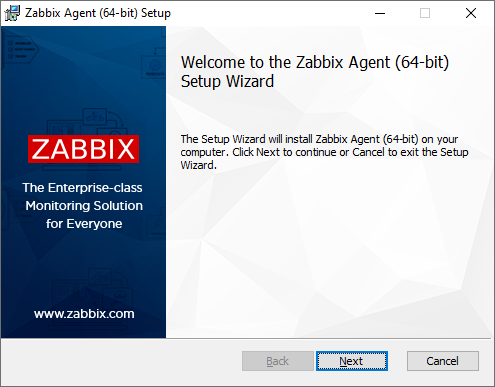
To install, double-click the downloaded MSI file.

Click Next
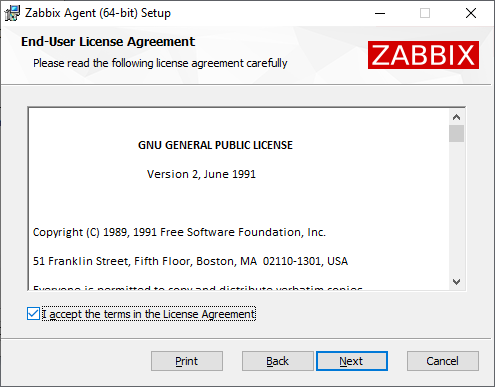
Accept the licence to proceed to the next step.
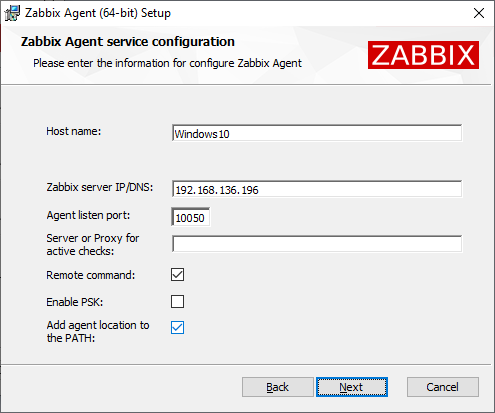
Specify the following parameters and click next.
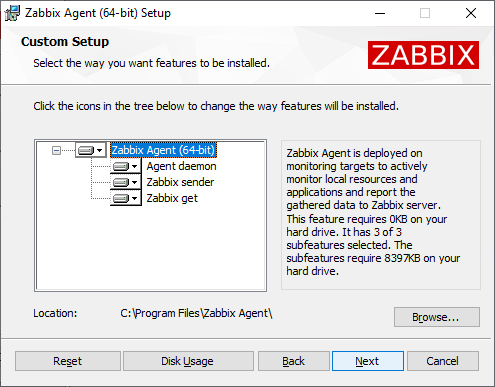
Click next
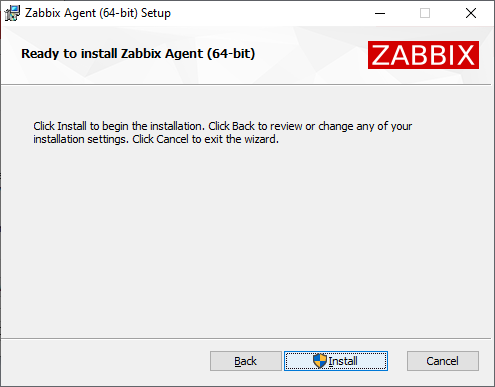
Click install
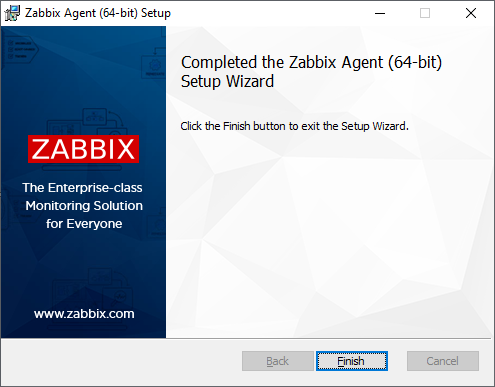
Click finish
Note: With CentOS 8 release, yum command has been replaced with dnf and in near future yum package manager will be discontinued. It is now recommended to use dnf for installing packages but if you still wish to use yum you can use it.
Prerequisites
You will need one CentOS/RHEL 8 (physical or virtual) machine with minimal installed having root user privileges.Turnoff SELinux
You should change from SELINUX=enforcing to SELINUX=disable in /etc/selinux/config file for smooth installation of the packages:Save and close.
Now reboot your CentOS/RHEL machine to take changes into effect:
Add Epel Repository
It is always recommended to add extra packages for enterprise Linux repository before installing packages on your CentOS or RHEL:If you are on RHEL 8, execute the following command as well:
Add Zabbix Repository
Zabbix isn't available in yum package manager by default, so you will need to install Zabbix official repository on your CentOS or RHEL 8:Install Apache
You can install the latest version of apache by typing the following command:Install MySQL
You will need to install MySQL database using the following command:Start Apache, MySQL Service
Now start Apache and MySQL service and make them persistent even when system reboots:Secure MySQL
By default MySQL database is not secure and anyone can intrude into your database, so make it secure by executing the following script and follow the instruction:Install Zabbix
Now you can install the Zabbix server and web frontend with MySQL database using the following command:You will also need to install Zabbix agent to collect data about the Zabbix server itself:
Configure MySQL
At this stage you will need to create a user and a database for Zabbix like below.Import Zabbix Schema
Find out the Zabbix database schema file and then import it into your newly created database:Output
/usr/share/doc/zabbix-server-mysql/create.sql.gz
Now import this schema file into database like below:
Setting Zabbix Database Password:
Now edit the /etc/zabbix/zabbix_server.conf file, uncomment by removing # and update the following parameter with your zabbix database user password:Save and close.
Configure PHP
The Zabbix installation process created an PHP configuration file that contains PHP settings. It is located in the directory /etc/php-fpm.d/. You just need to uncomment date.timezone parameter and update it with your timezone. You can check supported time zones on http://php.net/manual/en/timezones.php to find the right one for you.
Save and close.Now restart Apache and PHP service to take changes into effect.
Start Zabbix Service
Its time to start Zabbix server and make it persistent even when system reboots:Check the Zabbix server status before proceeding to next step.
The Zabbix server status shows up and running, so lets proceed to next step.
Update Firewall Rules
Configure Zabbix
The Zabbix web interface lets us see reports and add network devices that you wish to monitor, but it needs some initial setup before we can use it. Open up your web browser and navigate to http://Your_Server_IP/zabbix
Click Next step to continue.

This page will show you the table that lists all of the prerequisites to run Zabbix. If anything missing make sure to fix it first then proceed to Next.


Keep it default and proceed next.

This is the summary screen, verify and proceed next.

This screen confirms that you have successfully installed Zabbix.
Click Finish

Zabbix frontend is ready! The default user name is Admin, password zabbix.

Once logged in, you will see below dashboard screen and from here you can administer and manage your Zabbix server.

Install Zabbix Agent
In this step we will show you how to install and configure Zabbix agent 4.4 on a CentOS, RHEL, Ubuntu and Windows machine.For CentOS/RHEL 7
Now edit /etc/zabbix/zabbix_agentd.conf file and update the Server= parameter with your zabbix server IPSave and close.
For CentOS/RHEL 8
Now edit /etc/zabbix/zabbix_agentd.conf file and update the Server= parameter with your zabbix server IPSave and close.
For Ubuntu 16
Now edit /etc/zabbix/zabbix_agentd.conf file and update the Server= parameter with your zabbix server IPSave and close.
For Ubuntu 18/19
Now edit /etc/zabbix/zabbix_agentd.conf file and update the Server= parameter with your zabbix server IPSave and close.
For Windows
Zabbix Windows agent can be installed from Windows MSI installer packages (32-bit or 64-bit) available for download:To install, double-click the downloaded MSI file.

Click Next

Accept the licence to proceed to the next step.

Specify the following parameters and click next.

Click next

Click install

Click finish

Zabbix components along with the configuration file is now installed in a Zabbix Agent folder in Program Files. zabbix_agentd.exe will be set up as Windows service with automatic startup.
Adding Devices to Zabbix Server
When you are done installing Zabbix agent on your Linux or Windows machines, go back to your Zabbix server web interface and start creating devices to monitor them.
Navigate to Configuration tab

Click Hosts then click Create host
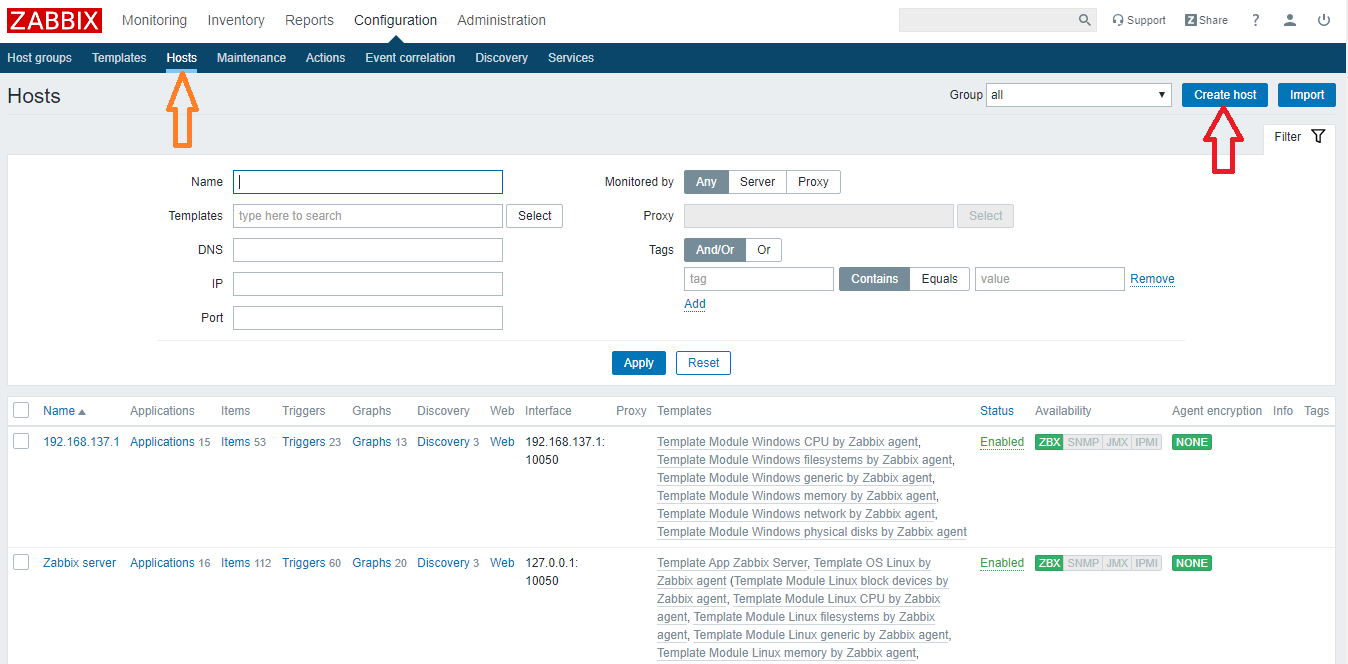
This is our Windows 10 zabbix agent machine. Specify the following parameters according to yours and click Add
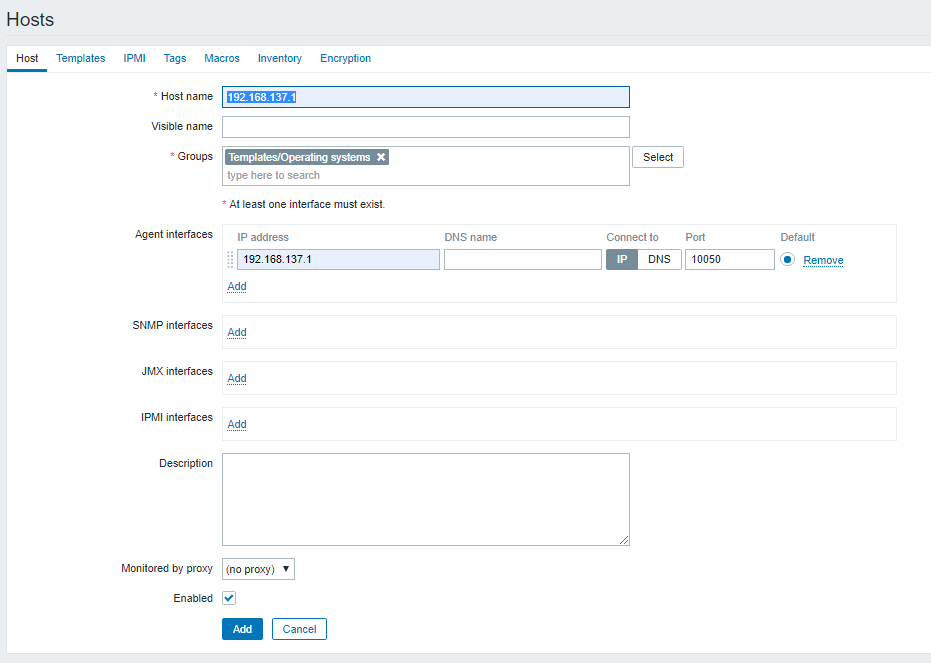
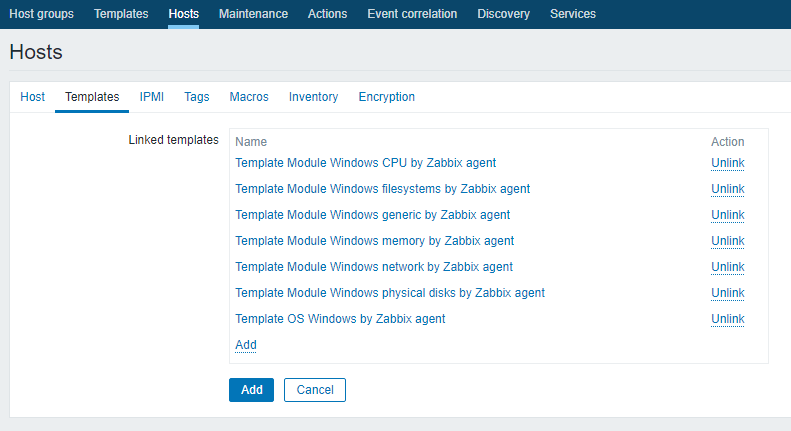
Click Templates and add the templates according to your need.
When done adding hosts, navigate back to Dashboard and there you can see number of hosts you have added in zabbix server to monitor.
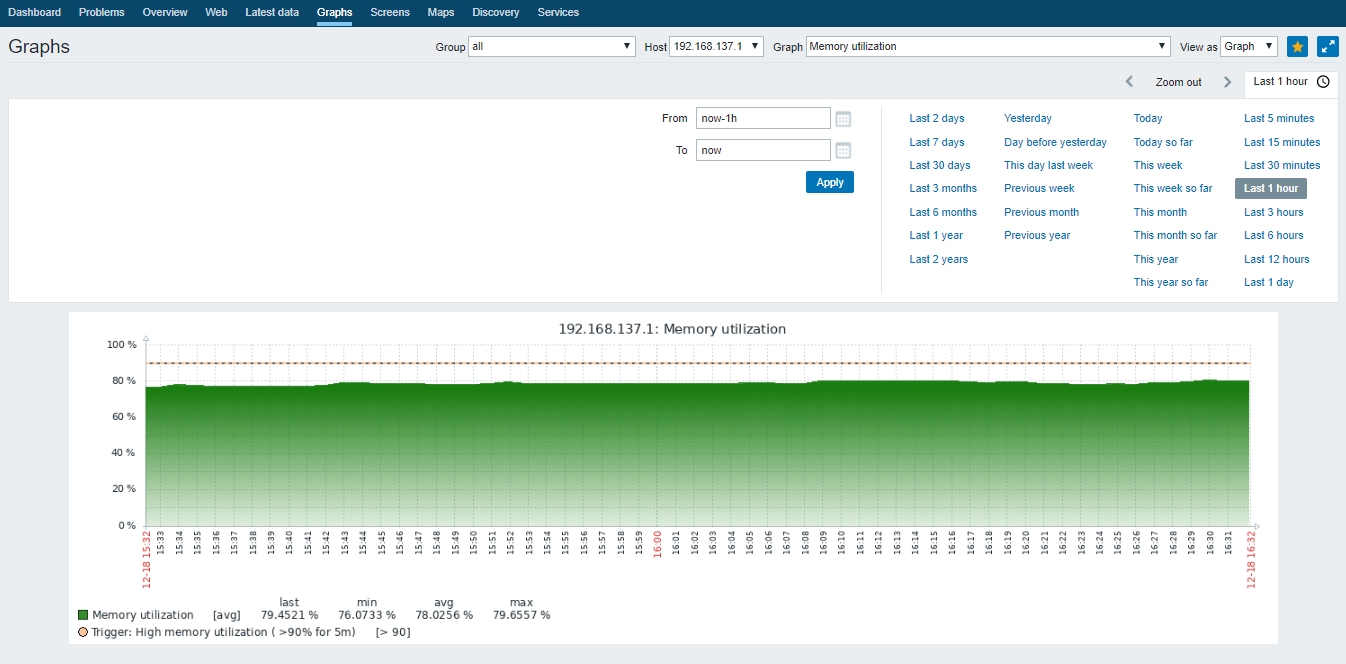
Navigate to Graphs, select your host and graph from the drop down list and see if your host monitoring data is being collected like below.
This is how you can add and monitor your Windows and Linux machines in zabbix server. For the devices like switches, routers, firewall etc, of course you can not install zabbix agent, but you can add and monitor them in zabbix server via SNMP and IPMI interface.
Navigate to Configuration tab

Click Hosts then click Create host

This is our Windows 10 zabbix agent machine. Specify the following parameters according to yours and click Add

Click Templates and add the templates according to your need.

When done adding hosts, navigate back to Dashboard and there you can see number of hosts you have added in zabbix server to monitor.
Navigate to Graphs, select your host and graph from the drop down list and see if your host monitoring data is being collected like below.

This is how you can add and monitor your Windows and Linux machines in zabbix server. For the devices like switches, routers, firewall etc, of course you can not install zabbix agent, but you can add and monitor them in zabbix server via SNMP and IPMI interface.
Wrapping up
In this tutorial, you set up a simple and secure solution which will help you monitor your servers. It can now warn you of problems, and you have the opportunity to plot some graphs based on the obtained data so you can analyze it and plan accordingly.

No comments: