LibreNMS is an auto-discovering PHP/MySQL/SNMP based network monitoring which includes support for a wide range of network hardware and operating systems including Cisco, Linux, FreeBSD, Juniper, Brocade, Foundry, HP and many more.
This guide will walk you through the steps to install and configure LibreNMS with Apache web server on a CentOS, RHEL 8.
Throughout this tutorial, we assume you are the root user. If you are not, prepend sudo to the shell commands or temporarily become a user with root privileges using sudo -s or sudo -i command.
Note: With CentOS 8 release, yum command has been replaced with dnf and in near future yum package manager will be discontinued. It is now recommended to use dnf for installing packages but if you still wish to use yum you can use it.
Prerequisites
You will need one CentOS / RHEL 8 (physical or virtual) machine with minimal installed having root user privileges.
Set Timezone
You can set timezone using the following command and replace highlighted text with yours
timedatectl set-timezone Asia/Karachi
Disabling SELinux
Edit /etc/selinux/config file and change
SELINUX=enforcing parameter to
SELINUX=disabled like below:
vi /etc/selinux/config

SELINUX=disabled
Save and close.
Now reboot your machine by typing the following reboot command on terminal:
reboot
Installing EPEL Repository
It is recommended practice to add extra packages for enterprise linux repository before proceeding to install packages.
yum install https://dl.fedoraproject.org/pub/epel/epel-release-latest-8.noarch.rpm

ARCH=$( /bin/arch )

dnf config-manager --set-enabled PowerTools
Installing Required Dependencies
First, you need to install these important librenms dependencies
dnf -y install git cronie fping ImageMagick mtr net-snmp net-snmp-utils nmap rrdtool unzip tar wget python36
Installing MariaDB
You can install MariaDB database using the following command:
dnf -y install mariadb mariadb-server
Installing Apache
You can install Apache web server using the following command:
dnf -y install httpd httpd-devel
Installing PHP
You can install important PHP packages using the following commands:
dnf -y localinstall http://rpms.remirepo.net/enterprise/remi-release-8.rpm

dnf -y install php-process php73 php73-php-cli php73-php-common php73-php-curl php73-php-gd php73-php-mbstring php73-php-process php73-php-snmp php73-php-xml php73-php-zip php73-php-memcached php73-php-mysqlnd php-json php-gd php-mbstring php-pdo php73-php-pdo-dblib php-mysqlnd php-xml
Adding User
Type the following commands to add a librenms user:
useradd librenms -d /opt/librenms -M -r

usermod -a -G librenms apache
Cloning LibreNMS
You will need to clone librenms software from GitHub like below:
cd /opt

git clone https://github.com/librenms/librenms.git
Set Permissions
Type the following commands to set appropriate permission:
chown -R librenms:librenms /opt/librenms

chmod 770 /opt/librenms

setfacl -d -m g::rwx /opt/librenms/rrd /opt/librenms/logs /opt/librenms/bootstrap/cache/ /opt/librenms/storage/ /opt/librenms/cache

setfacl -R -m g::rwx /opt/librenms/rrd /opt/librenms/logs /opt/librenms/bootstrap/cache/ /opt/librenms/storage/ /opt/librenms/cache
Run Composer Wrapper
Type the following commands to run composer wrapper script:
cd /opt/librenms

curl -sS https://getcomposer.org/installer | php

su - librenms

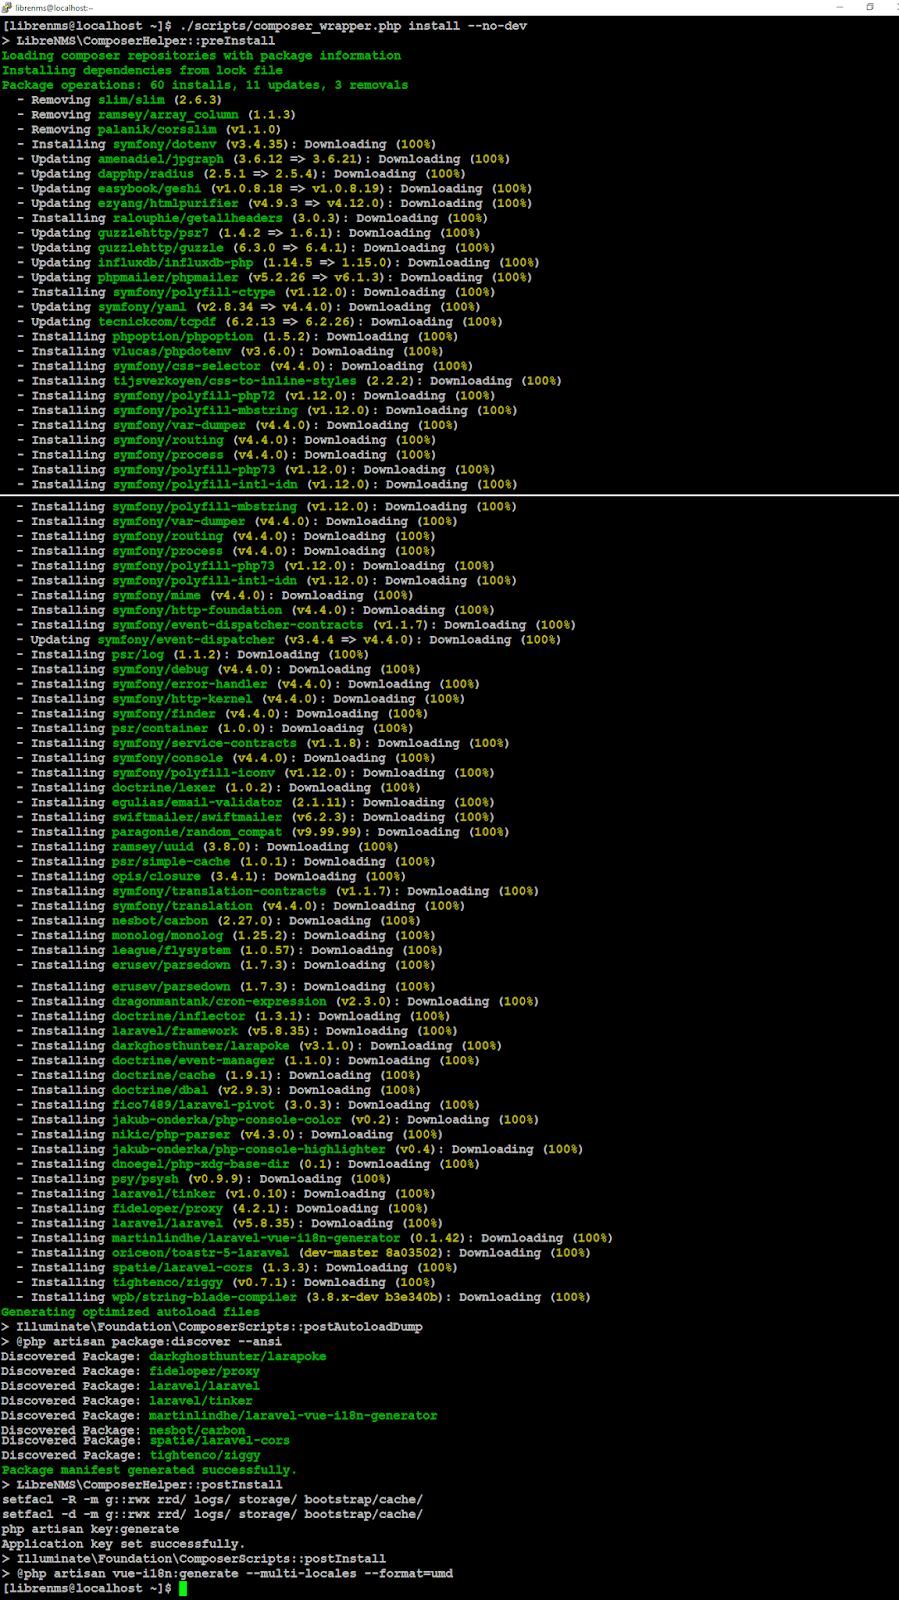
./scripts/composer_wrapper.php install --no-dev
You will see similar to the following output while running composer wrapper script and it will take few minutes to complete.
When above process done, type the exit command to go back to root user prompt.
exit
Securing Database
By default MariaDB installation is insecure and anyone can intrude into your database. To make it secure, run the following commands and follow the instruction to complete.
systemctl start mariadb

systemctl enable mariadb
mysql_secure_installation
NOTE: RUNNING ALL PARTS OF THIS SCRIPT IS RECOMMENDED FOR ALL MariaDB
      SERVERS IN PRODUCTION USE!  PLEASE READ EACH STEP CAREFULLY!

In order to log into MariaDB to secure it, we'll need the current
password for the root user.  If you've just installed MariaDB, and
you haven't set the root password yet, the password will be blank,
so you should just press enter here.

Enter current password for root (enter for none):
OK, successfully used password, moving on...

Setting the root password ensures that nobody can log into the MariaDB
root user without the proper authorisation.

Set root password? [Y/n] y
New password:
Re-enter new password:
Password updated successfully!
Reloading privilege tables..
 ... Success!


By default, a MariaDB installation has an anonymous user, allowing anyone
to log into MariaDB without having to have a user account created for
them.  This is intended only for testing, and to make the installation
go a bit smoother.  You should remove them before moving into a
production environment.

Remove anonymous users? [Y/n] y
 ... Success!

Normally, root should only be allowed to connect from 'localhost'.  This
ensures that someone cannot guess at the root password from the network.

Disallow root login remotely? [Y/n] y
 ... Success!

By default, MariaDB comes with a database named 'test' that anyone can
access.  This is also intended only for testing, and should be removed
before moving into a production environment.

Remove test database and access to it? [Y/n] y
 - Dropping test database...
 ... Success!
 - Removing privileges on test database...
 ... Success!

Reloading the privilege tables will ensure that all changes made so far
will take effect immediately.

Reload privilege tables now? [Y/n] y
 ... Success!

Cleaning up...

All done!  If you've completed all of the above steps, your MariaDB
installation should now be secure.

Thanks for using MariaDB!
Creating Database
Now you need to create a database and a user for librenms like below:
mysql -u root -p
CREATE DATABASE librenms CHARACTER SET utf8 COLLATE utf8_unicode_ci;

CREATE USER 'librenms'@'localhost' IDENTIFIED BY 'TypePasswordHere';

GRANT ALL PRIVILEGES ON librenms.* TO 'librenms'@'localhost';

FLUSH PRIVILEGES;

exit
vi /etc/my.cnf
Within the [mysqld] section, add following:
[mysqld]
innodb_file_per_table=1
lower_case_table_names=0
Save and close.
systemctl enable mariadb

systemctl restart mariadb
Configuring PHP
Make sure date.timezone parameter is set in php.ini to your preferred time zone. See http://php.net/manual/en/timezones.php for a list of supported timezones. Valid examples are: "America/New_York", "Australia/Brisbane", "Etc/UTC".
vi  /etc/php.ini

date.timezone = Asia/Karachi
Save and close.
Configuring Apache
Now create the
librenms.conf file under
/etc/httpd/conf.d/ directory like below. Make sure you replace
ServerName parameter with yours as required:
vi /etc/httpd/conf.d/librenms.conf


  DocumentRoot /opt/librenms/html/
  ServerName  librenms.techsupportpk.com

  AllowEncodedSlashes NoDecode

    Require all granted
    AllowOverride All
    Options FollowSymLinks MultiViews
Save and close.
systemctl start httpd

systemctl enable httpd
Allow Fping
Create the file http_fping.tt with the following contents. You can create this file anywhere, as it is a throw-away file. The last step in this install procedure will install the module in the proper location.
vi /opt/librenms/http_fping.tt
module http_fping 1.0;

require {
type httpd_t;
class capability net_raw;
class rawip_socket { getopt create setopt write read };
}

#============= httpd_t ==============
allow httpd_t self:capability net_raw;
allow httpd_t self:rawip_socket { getopt create setopt write read };
Save and close.
Type the following commands to set proper permission and load the module.
chown -R librenms:librenms /opt/librenms/http_fping.tt
checkmodule -M -m -o http_fping.mod http_fping.tt

Output
checkmodule:  loading policy configuration from http_fping.tt
checkmodule:  policy configuration loaded
checkmodule:  writing binary representation (version 19) to http_fping.mod
semodule_package -o http_fping.pp -m http_fping.mod

semodule -i http_fping.pp
It will take a moment to return back to terminal
Adding Firewall Rules
firewall-cmd --zone public --add-service http
firewall-cmd --permanent --zone public --add-service http
firewall-cmd --reload
SNMP Settings
systemctl start snmpd
systemctl enable snmpd

curl -o /usr/bin/distro https://raw.githubusercontent.com/librenms/librenms-agent/master/snmp/distro
chmod +x /usr/bin/distro

chmod +x /usr/bin/distro
Adding Cron Job
cp /opt/librenms/librenms.nonroot.cron /etc/cron.d/librenms
Copying Logrotate
cp /opt/librenms/misc/librenms.logrotate /etc/logrotate.d/librenms
LibreNMS Web installer
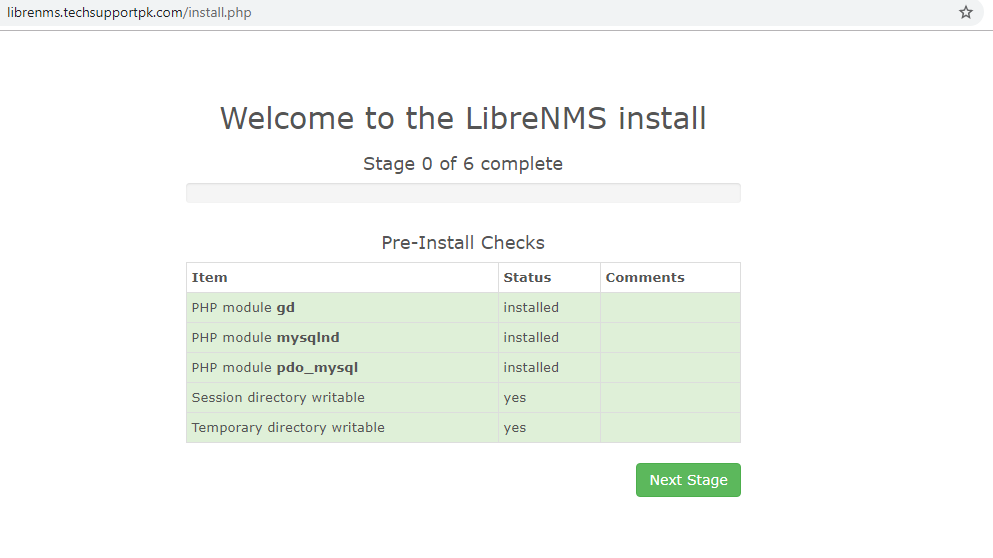
Open up your favorite web browser and navigate to the web installer like http://Your_Server_Name/install.php or http://Your_Server_IP/install.php and follow the on-screen instructions.
Click Next Stage
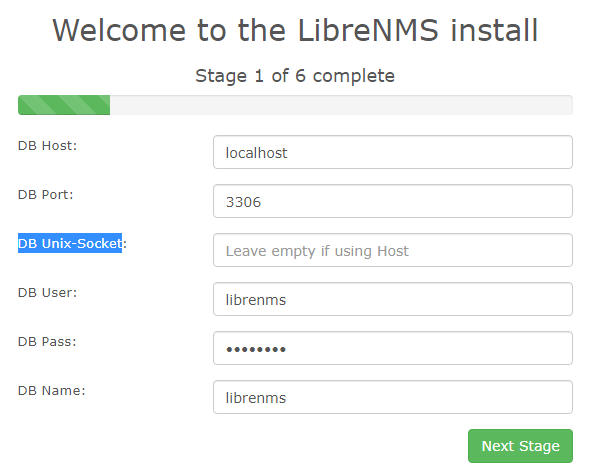
Enter password in DB Pass box for librenms user you created earlier and click Next Stage
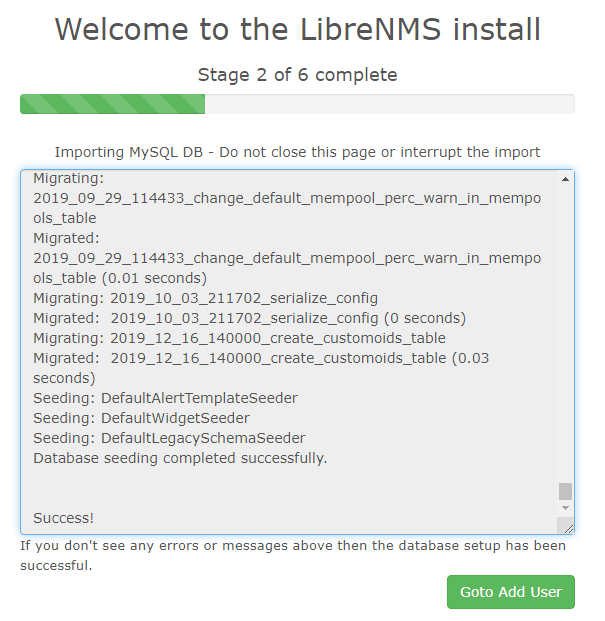
This will take a moment to import database, when done click Goto Add User
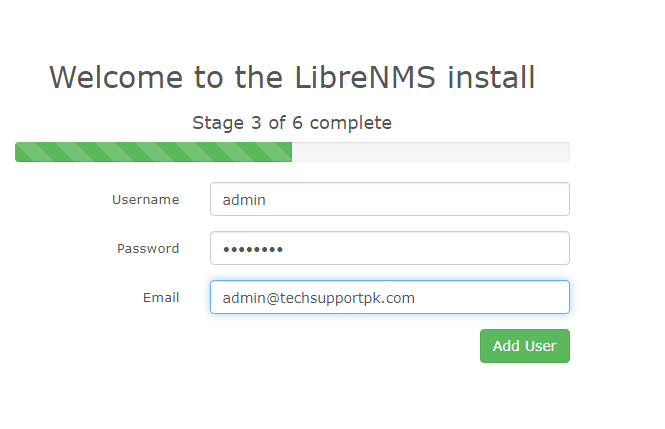
Enter username and password you wish to add and click Add User
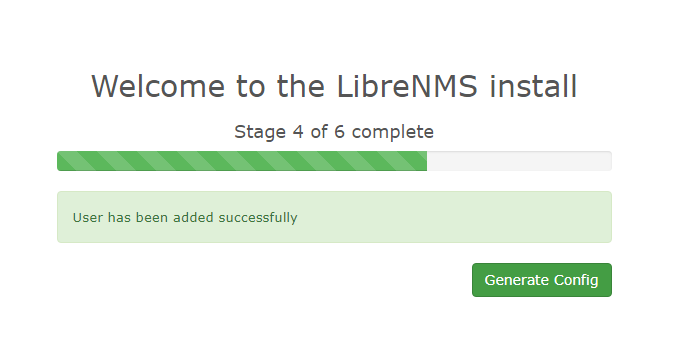
Click Generate Config
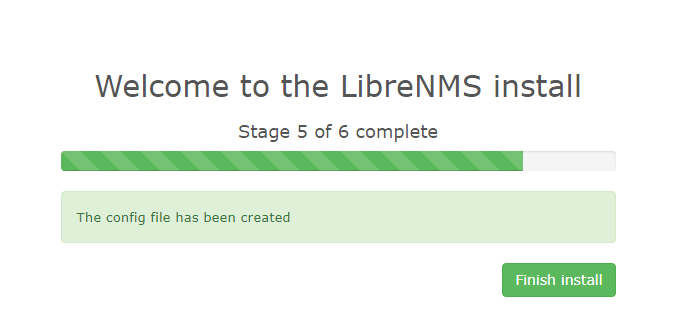
Click Finish Install
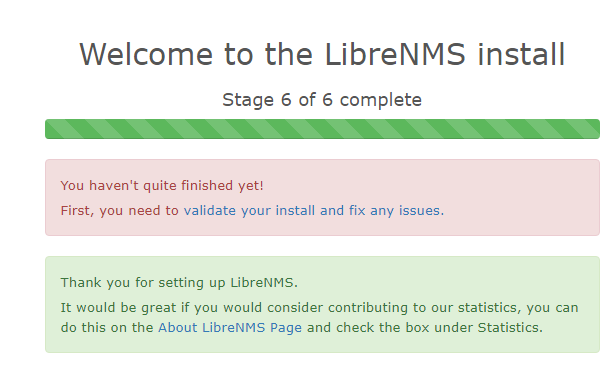
Now stop on this screen.
Go back to command line terminal and perform the following to validate the installation.
cd /opt/librenms

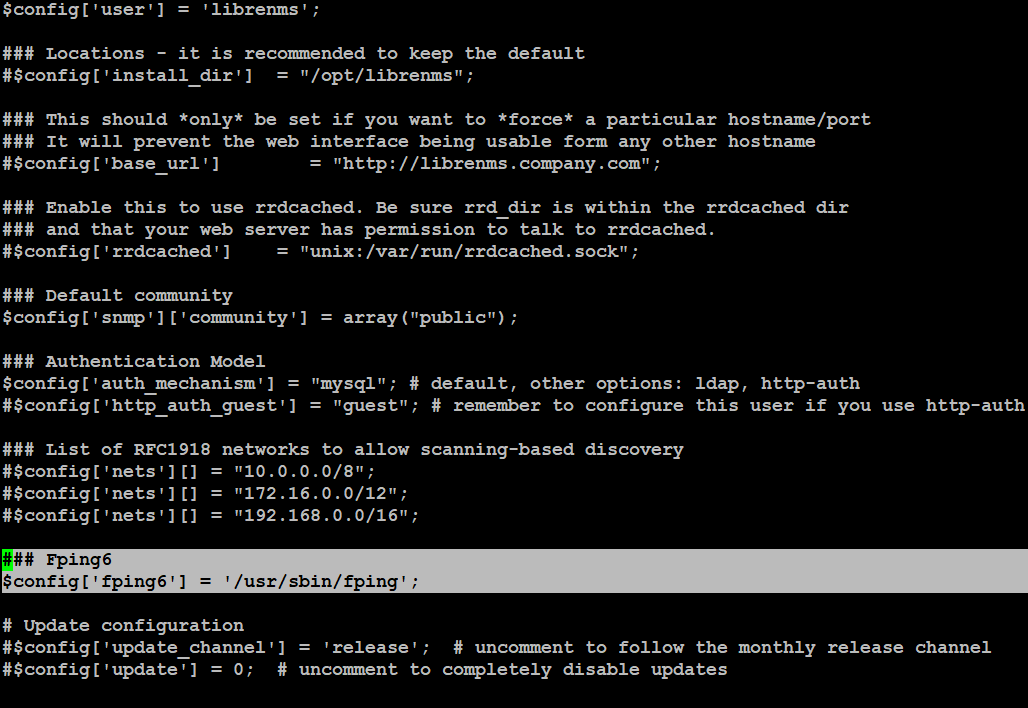
vi /opt/librenms/config.php
Add the following parameter
### Fping6
$config['fping6'] = '/usr/sbin/fping';
This is the screenshot so don't get confuse.
Save and close.
Now type the following commands to set appropriate permission:
chown -R librenms:librenms /opt/librenms

setfacl -d -m g::rwx /opt/librenms/rrd /opt/librenms/logs /opt/librenms/bootstrap/cache/ /opt/librenms/storage/

chmod -R ug=rwX /opt/librenms/rrd /opt/librenms/logs /opt/librenms/bootstrap/cache/ /opt/librenms/storage/
Run the following script:
python3 ./scripts/github-remove -d

Output
Are you sure you want to delete all modified and untracked files? [y/N] y
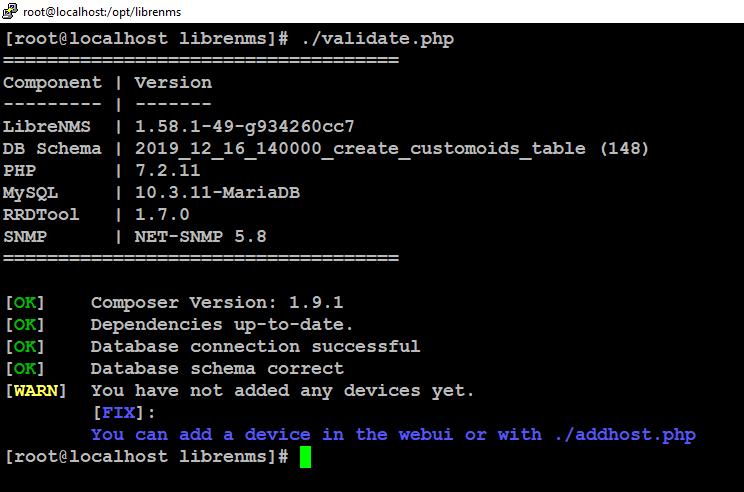
Now validate the installation using the following script
./opt/librenms/validate.php
You will see similar to the following output which says all is well and you can safely ignore (devices add)
warning because we are going to add devices via web interface.
In case you see any warning related to permission etc, fix them first and then move to next step.
Now go back to librenms web interface we left opened earlier and click on '
validate your install and fix any issues'
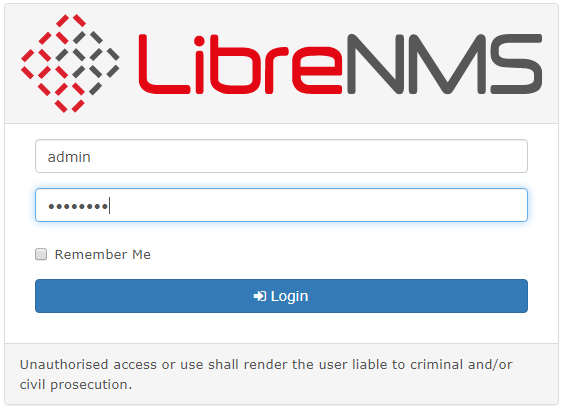
This will bring you to login page, enter username and password you created during web installer process to log in.
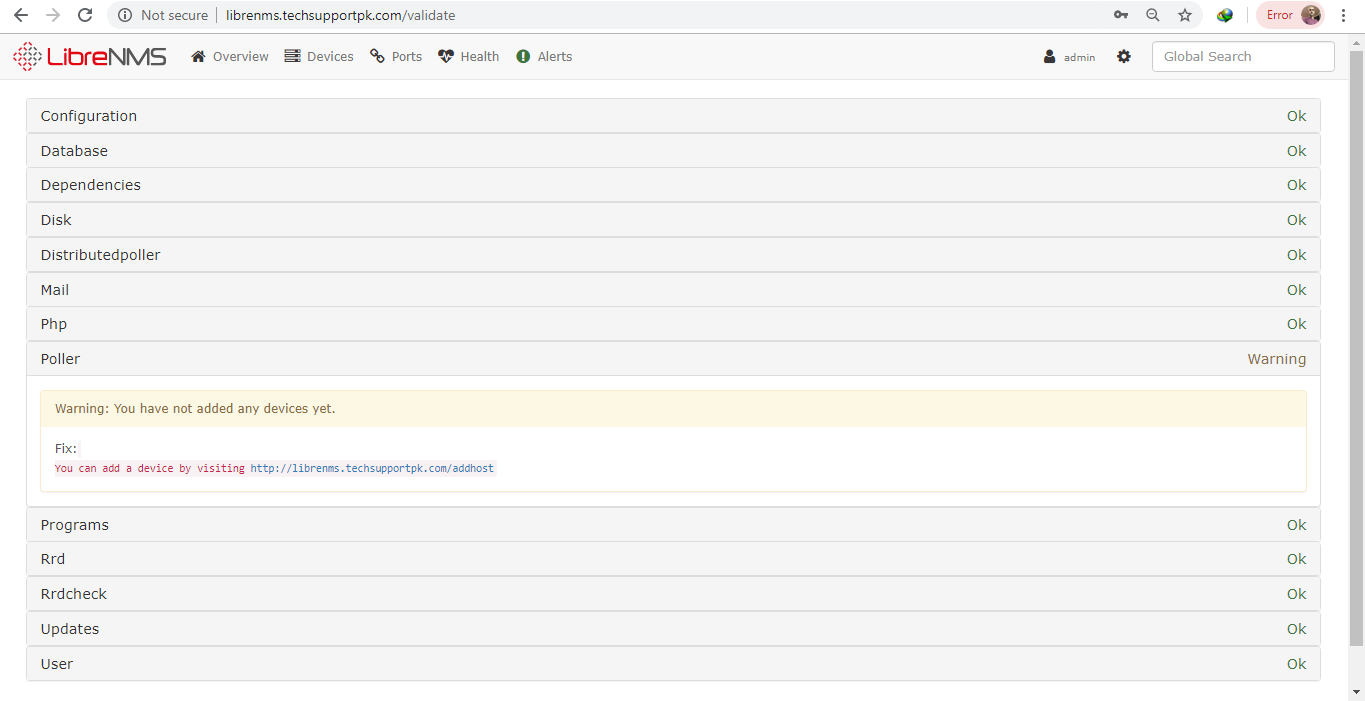
Once you are logged in, you will see the following screen show everything is OK.
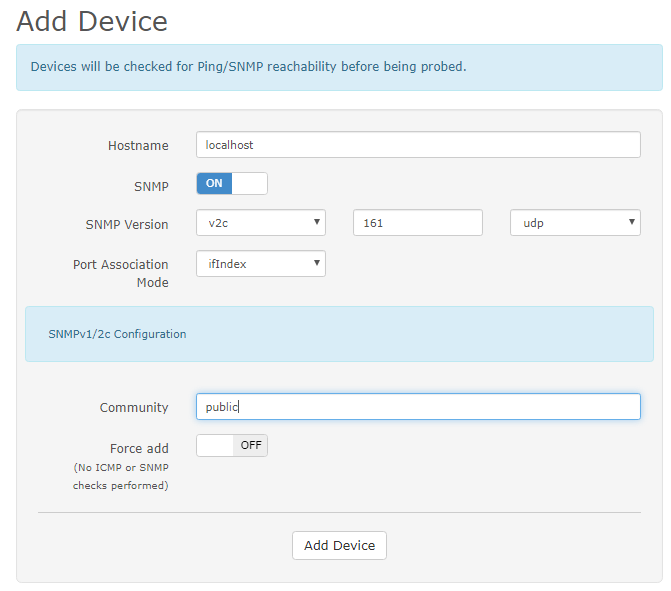
Now we will show you how to add a device in librenms by adding localhost as our first device as an example to monitor its memory, cpu, disk utilization.
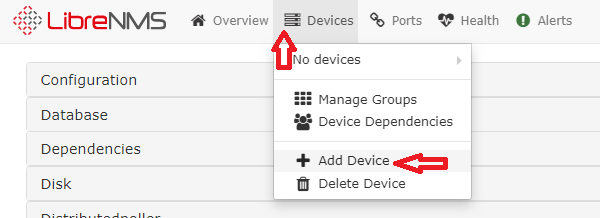
To add a device, navigate to
Devices tab then
Add Device
Provide your device credentials and click
Add Device
This screen will confirm you whether device is added or not.
Click on device name to its result.
You can see below that librenms has started collecting localhost data.
See below memory utilization graph
Wrapping up
You have successfully completed librenms installation on a CentOS/RHEL machine. If you have any question or suggestion, please leave your thoughts in below comment box.




Why turn off SELinux? Just setup a module to handle it. In this day in age, anytime I see turn off SELinux, it means the user has no idea how to use it.
ReplyDeletethe document is complete and very useful
ReplyDeletethank you very much