
This guide will show you how to configure single sign-on in Apache and enable Active Directory authentication using Mellon module on Ubuntu 20.04.
Single sign-on is a property of access control of multiple related, yet independent, software systems. With this property, a user logs in with a single ID and password to gain access to a connected system or systems without using different usernames or passwords, or in some configurations seamlessly sign on at each system.
Apache is the most widely-used web server in the world. It provides many powerful features including dynamically loadable modules, robust media support, and extensive integration with other popular software.
Mellon is an authentication module for Apache. It authenticates the user against a SAML 2.0 IdP, and grants access to resources depending on attributes received from the identity provider (IdP).
AD FS is a software component developed by Microsoft that can be hosted on-premises on any Windows Server operating system, but if your application is a hybrid in
which some parts are implemented in the cloud, it may be more efficient to
replicate your on-premises AD DS to Azure AD in order to provide users with seamless access to systems and applications.
We will use below information throughout this tutorial to demonstrate SSO implementation steps in Apache:
Prerequisites
To follow this tutorial along, you will need one (physical or virtual) machine installed with either Ubuntu 18.04, 20.04 or Debian 9, 10. These instruction assume that your Active Directory domain and AD FS service are already in place.
We have recorded all the steps in this video to avoid confusion while performing these steps
Install Required Packages
Login to your Ubuntu system with non-root sudo privileged user and type below command to install OpenSSL, Apache, Mellon, and PHP:
Once installation completed, edit php.ini files, uncomment date.timezone directive and set correct timezone.
If you don't know your correct timezone, you can list all the timezones with sudo timedatectl list-timezones command.
Save and close the editor when you are finished.
Make sure you repeat the same steps for /etc/php/7.4/cli/php.ini, and /etc/php/7.4/apache2/php.ini as well:
When you are done, restart PHP to make changes effect:
Configure Mellon
Create a directory under /etc/apache2 location to store your mellon metadata files:
Type /usr/sbin/mellon_create_metadata ENTITY-ID ENDPOINT-URL to create metadata, and SSL certificate files like an example below:
The above script creates three files under /etc/apache2/mellon location, you should rename these files to something appropriate like an example below:
At this stage, ask your AD FS administrator to provide you metadata or you can obtain it by yourself like an example below:
Create a mellon configuration file under /etc/apache2/conf-available location like an example below:
Add configuration directives like an example below:
Save and close the editor when you are finished.
Create Apache VirtualHost
To make https://sp.techsupportpk.com/ accessible over the web browser, we need to create a configuration file in Apache. We will use a Self-signed SSL certificate in our case, if you wish, you can use your own Signed SSL certificate to avoid browser warning.
Create a Self-signed certificate like an example below:
Enter appropriate information on the following prompts:
Create a VirtualHost configuration file like an example below:
Add configuration directives like an example below:
Save and close the editor when you are finished.
We will keep all the web contents under /var/www/html/protected location in our case:
Create a simple index page under /var/www/html/protected like an example below:
Insert simple html code:
Save and close the editor when you are finished. Verify Apache Configuration
Type below command to verify your Apache configuration:
If everything configured correctly, this will return Syntax OK in the output. If there is any configuration error, fix them first then proceed to next step.
Type below command to activate your Apache configuration:
Restart Apache to make changes effect:
Synchronize your Ubuntu clock with your AD FS like below:
At this stage your Apache and Mellon configuration is completed on your Ubuntu system.
Configure AD FS Relying Party Trust
First, you need to transfer mellon_metadata.xml file from your Ubuntu system to your AD FS server using WinSCP or whatever tool you wish to use.
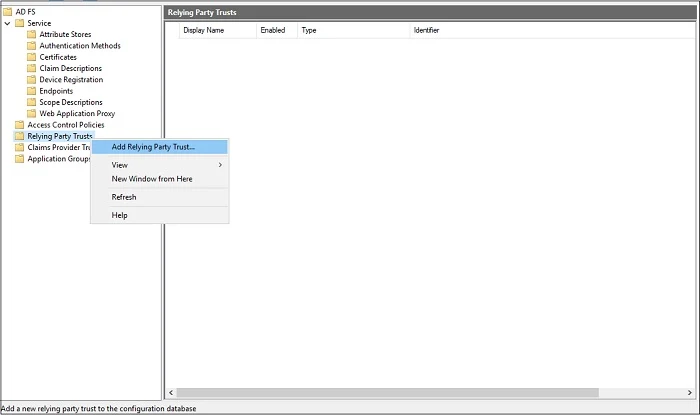
Login to your ADFS server, open up AD FS Management console, Right-click Relying Party Trust, Click Add Relying Party Trust
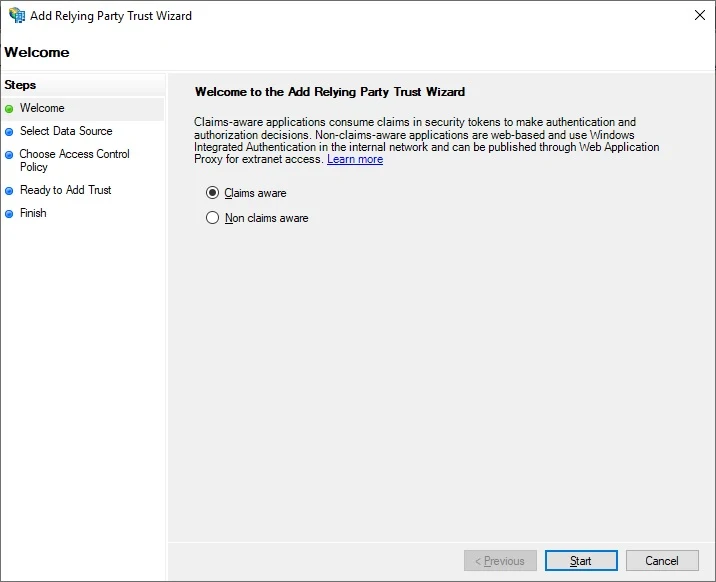
Keep default Claims aware, click Start
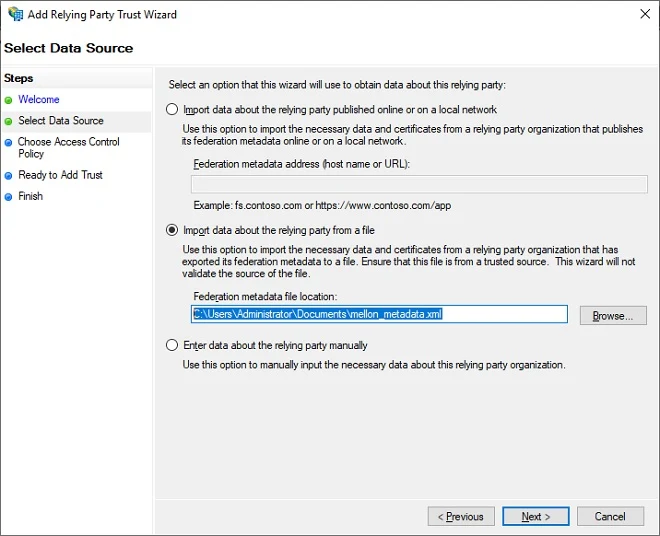
Click Import data about the replying party from a file, click Browse, select your mellon_metadata xml file, click Next
You can safely ignore if this warning popup appears, Click OK

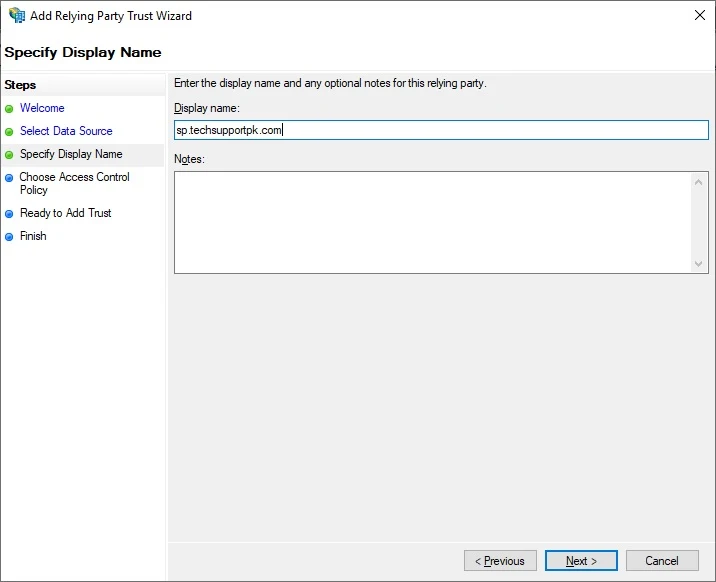
Display name has no impect on configuration, you can keep whatever display name you like, click Next
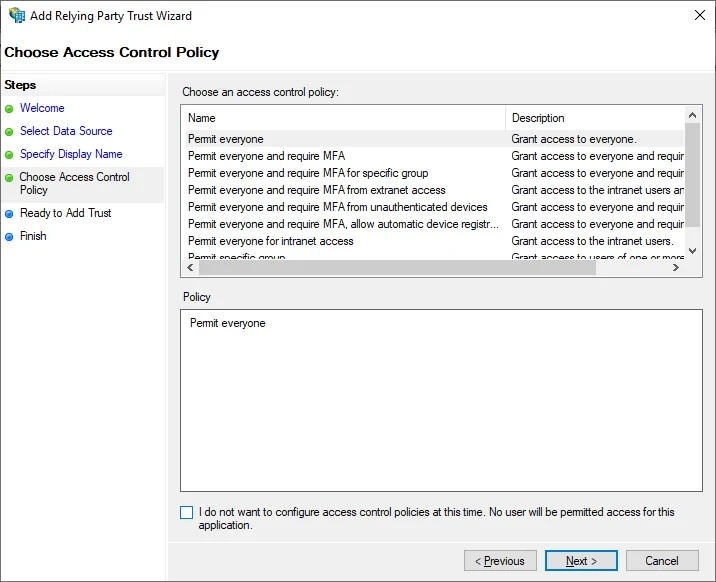
Keep the Permit everyone access policy, Click Next
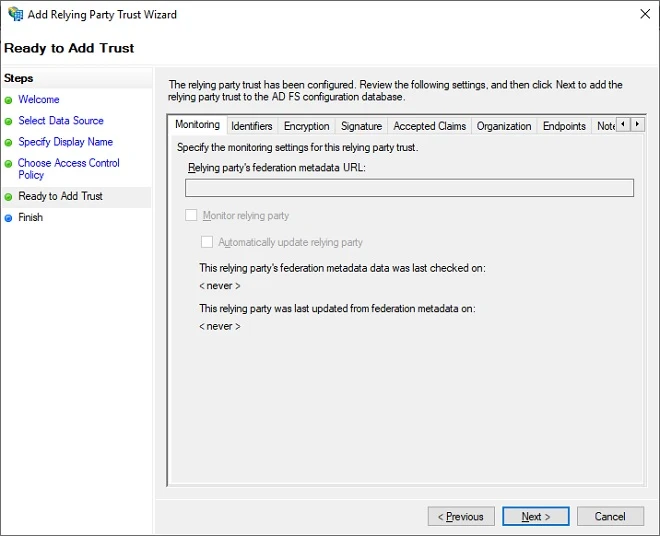
Click Next
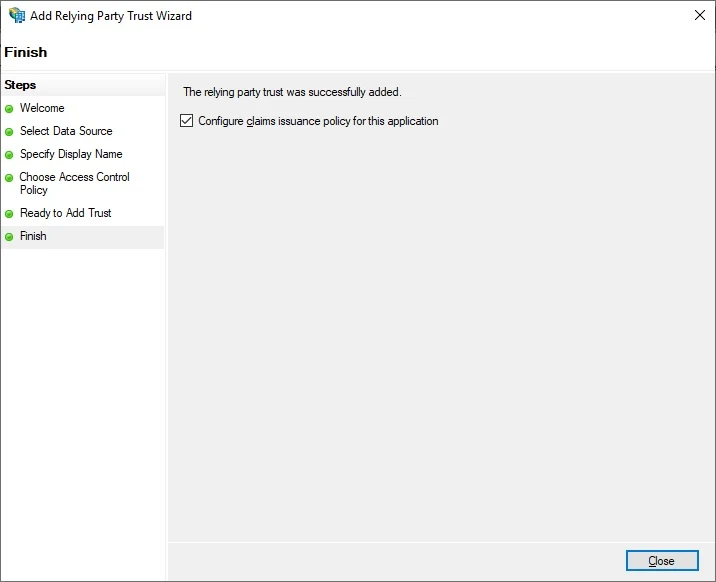
Click Close
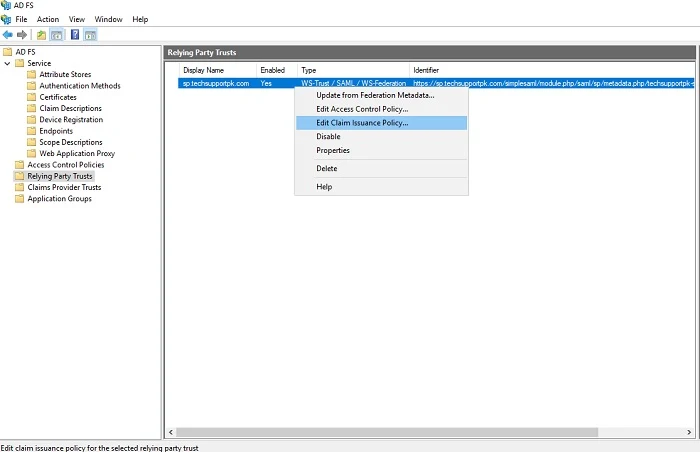
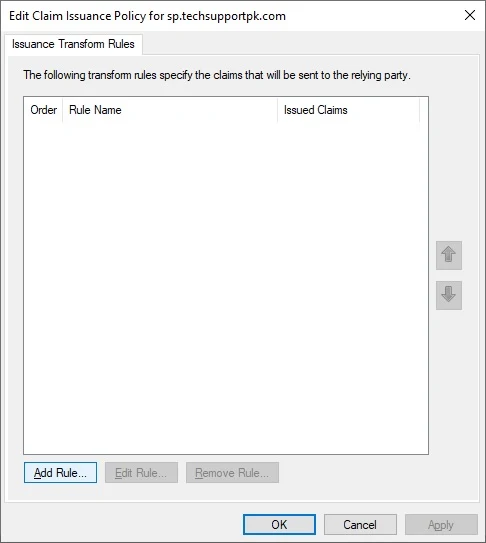
Right-click on your added Relying Party Trust, click Edit Claim Issuance Policy
Click Add Rule
Select Send LDAP Attributes as Claim, click Next

Configure claim rule like below:
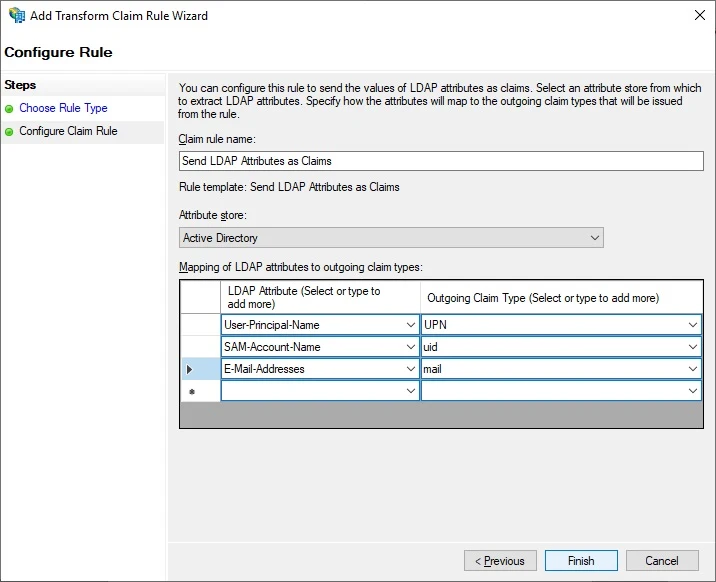
Click Finish when you are done.
Add another rule, this time select Transform an Incoming Claim, click Next
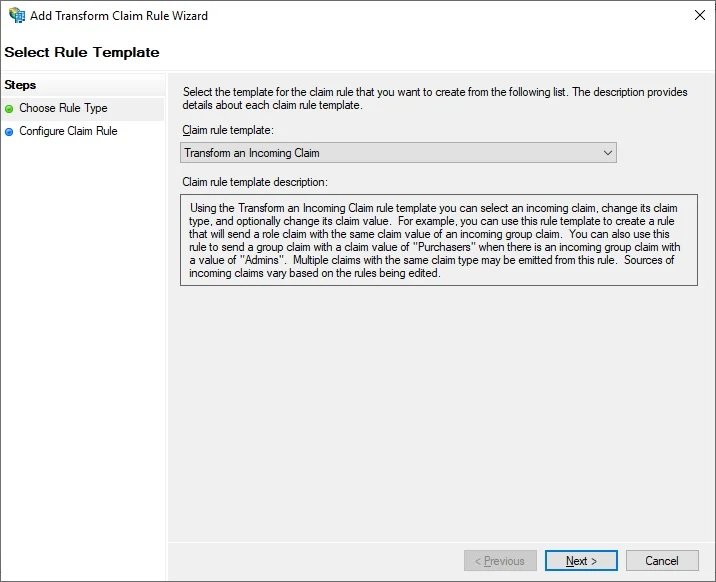
Configure rule like below:

Click Finish when you are done.
Click Apply, OK

With this Relying Party Trust configuration, your AD FS is ready to serve the purpose.
Verify SSO
Open up a web browser and type https://sp.techsupportpk.com/protected in the address bar, you will be taken to your AD FS login page as shown in screenshot below:
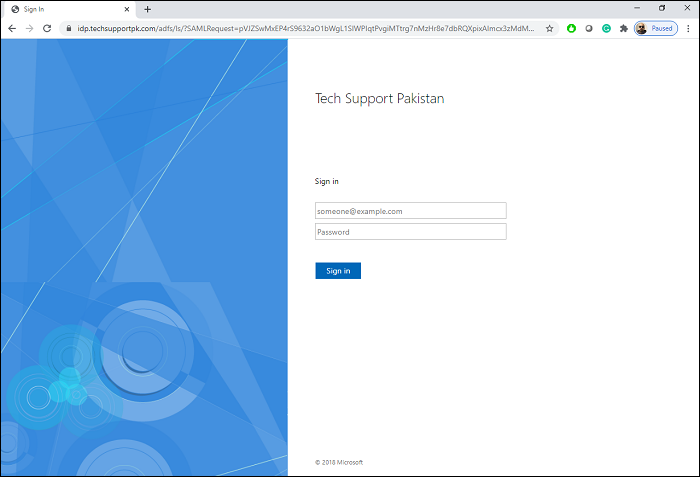
Enter your valid username and password to Sign in:

Upon successful authentication, you will be bounced back to your https://sp.techsupportpk.com/protected page as shown in screenshot below:
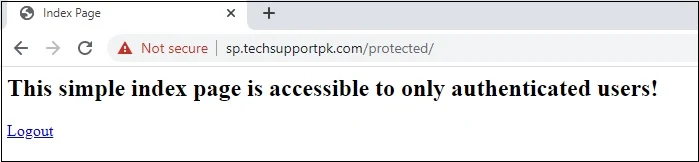
Click logout to test your Ad FS logout functionality.
Conclusion
Now
that you have successfully configured SSO in Apache using Mellon
and Active Directory Federation Service, you can start deploying your
applications with SSO functionality.
This is awesome mate.
ReplyDelete