
This tutorial will show you how to configure single sign-on and enable Active Directory authentication in Apache using SimpleSAMLphp on CentOS/RHEL 8 Linux.
Single sign-on (SSO) is a property of access control of multiple related, yet independent, software systems. With this property, a user logs in with a single ID and password to gain access to a connected system or systems without using different usernames or passwords, or in some configurations seamlessly sign on at each system.
Apache is the most widely-used web server in the world. It provides many powerful features including dynamically loadable modules, robust media support, and extensive integration with other popular software.
SimpleSAMLphp is an award-winning application written in native PHP that deals with authentication. It authenticates the user against a SAML 2.0 IdP, and grants access to resources depending on attributes received from the identity provider (IdP).
Active Directory Federation Services (AD FS) is a software component developed by Microsoft that can be installed on Windows Server operating systems to provide users with single sign-on access to systems and applications located across organizational boundaries.
The following information will be used throughout this tutorial:
These instructions can also be applied if you are running Oracle Linux on your system.
Prerequisites
To follow this tutorial along, you will need one (physical or virtual) machine installed with CentOS, or RHEL 8. This guide assume that you already have Active Directory domain and Active Directory Federation Service in place.
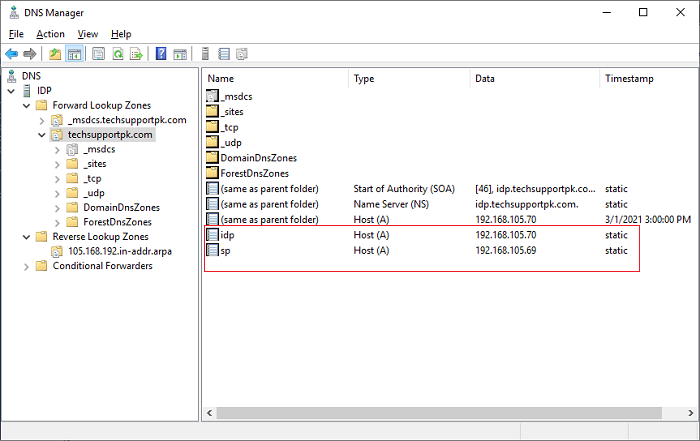
Make sure you have proper DNS entries for your Linux and AD FS FQDN:
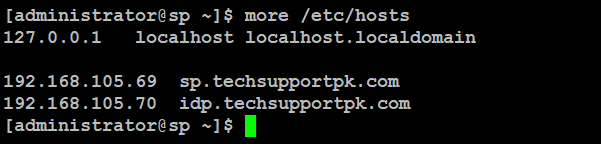
Make sure you have proper FQDN entries in /etc/hosts file on your Linux system:
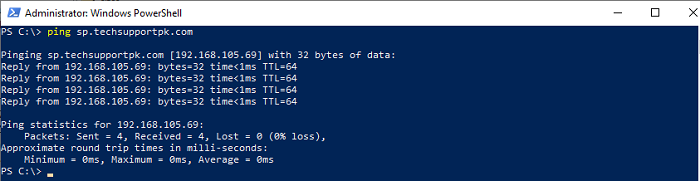
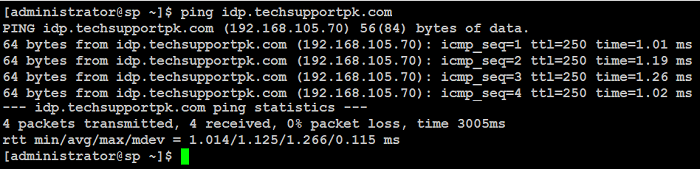
Make sure your Linux and AD FS machines are reachable to each-other using their FQDN:
Ping your AD FS FQDN from your Linux machine like below:
When you have all the prerequisites in place, you can proceed with below steps.
Video Tutorial
If you wish, you can watch below quick video tutorial to configure single-sign-on in Apache:
Install Required Packages
Log in to your Linux system using non-root sudo privileges and install the required packages like below:
Configure PHP
Update following parameter with your correct timezone:
Start PHP to make changes effect:
Download SimpleSAMLphp
At the time of writing this article, the latest stable release of SimpleSAMLphp is ( 1.18.8). You can check latest stable release at GitHub page before download.
You can download stable release on your Linux system from GitHub repository like below:
Create Self-signed SSL Certificate
Type below command to generate a self-signed SSL certificate for your Apache:
Enter the following information accordingly:
Type below command to generate a self-signed SSL certificate for your identity provider:
Enter the following information accordingly:
Configure SimpleSAMLphp
Type below command to generated a random string to be used as secretsalt:
Copy the generated string, save it in a text file, we will use it in a while:
You will need to log in with administrator account to access some of the secure pages of SimpleSAMLphp from its web interface. Type below command to generate hashed password for administrator account:
Copy the generated hashed password, save it in a text file, we will use it in a while:
Edit config.php with any of your preferred text editor:
Locate the following parameters, and replace their values with yours:
Replace timezone value with yours:
Replace secretsalt value with the one you generated earlier:
Replace auth.adminpassword with the one you generated earlier:
Save and close the editor when you are finished.
Configure Apache
Create a simplesamlphp.conf file like below:
Add following parameters in it:
Save and close the editor when you are finished.
Create a VirtualHost configuration file like an example below:
Add following parameters in it, replace highlighted text with yours:
Create a directory that serve your web contents like an example below:
Test Apache configuration with below command:
If everything configured correctly, you will see the output like below:
If you see any configuration error, fix them first, then proceed to next.
Type below command to start Apache:
Synchronize your Linux system clock with your AD FS like below:
You will see output like below:
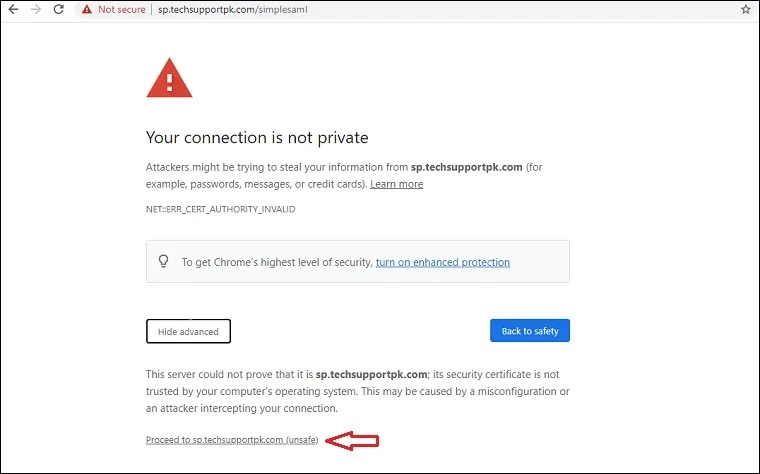
Open up web browser, type https://sp.techsupportpk.com/simplesaml in the address bar, ignore browser SSL warning:
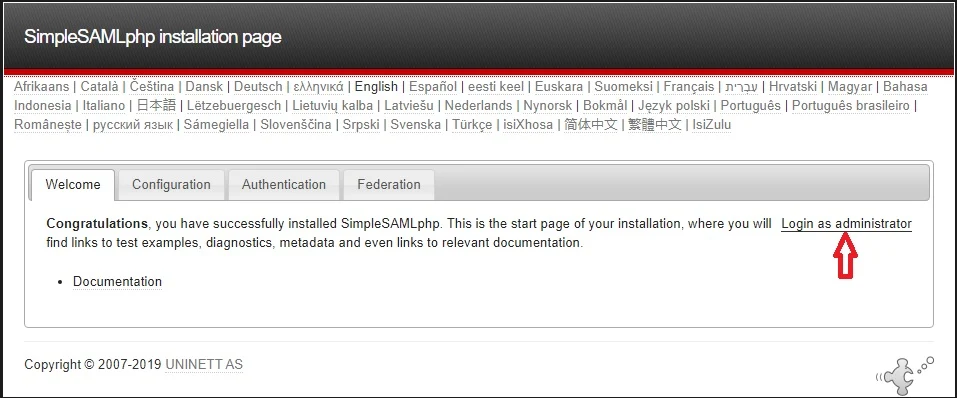
You will see SimpleSAMLphp dashboard like below.
Click Login as administrator
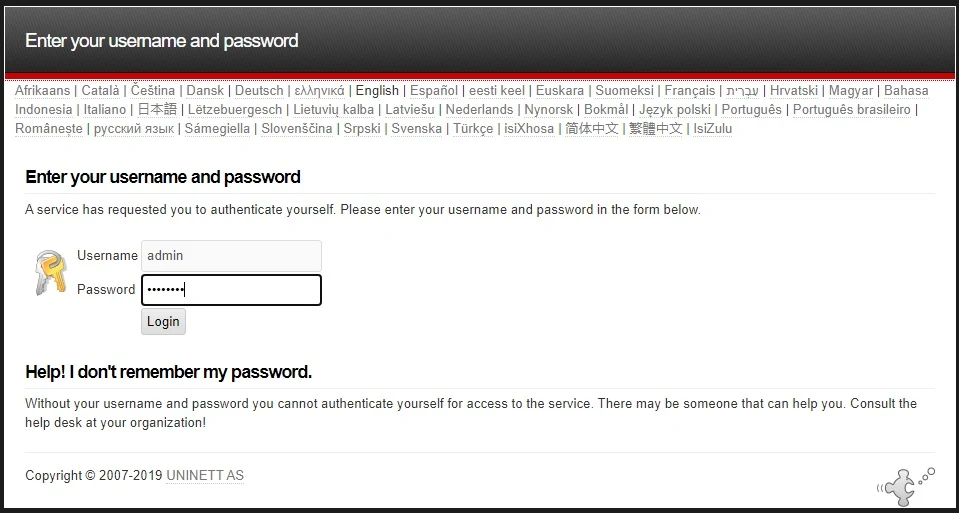
Enter your password you created with pwgen.php command and click Login:
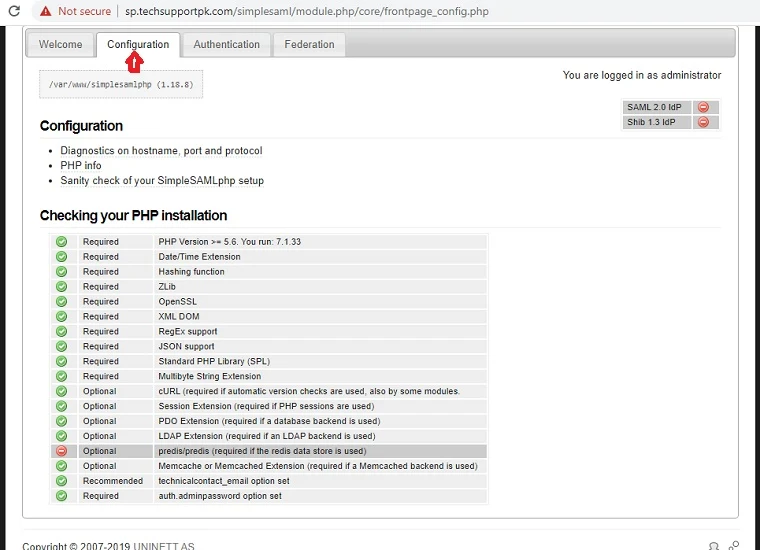
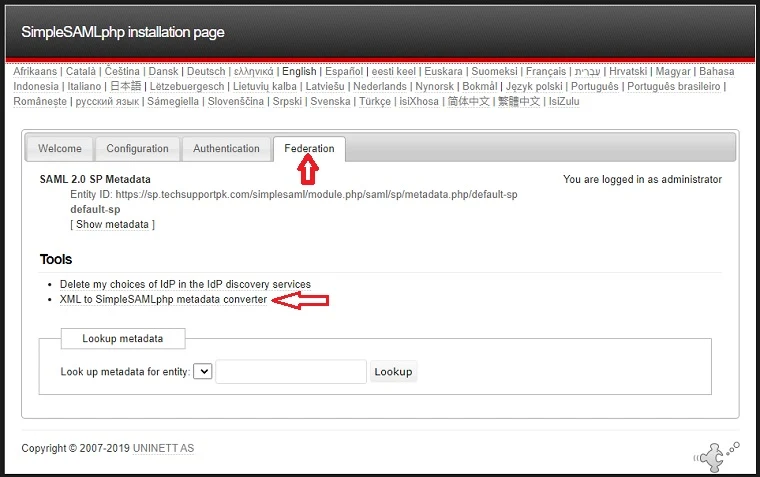
Navigate to Federation tab, click XML to SimpleSAMLphp metadata converter
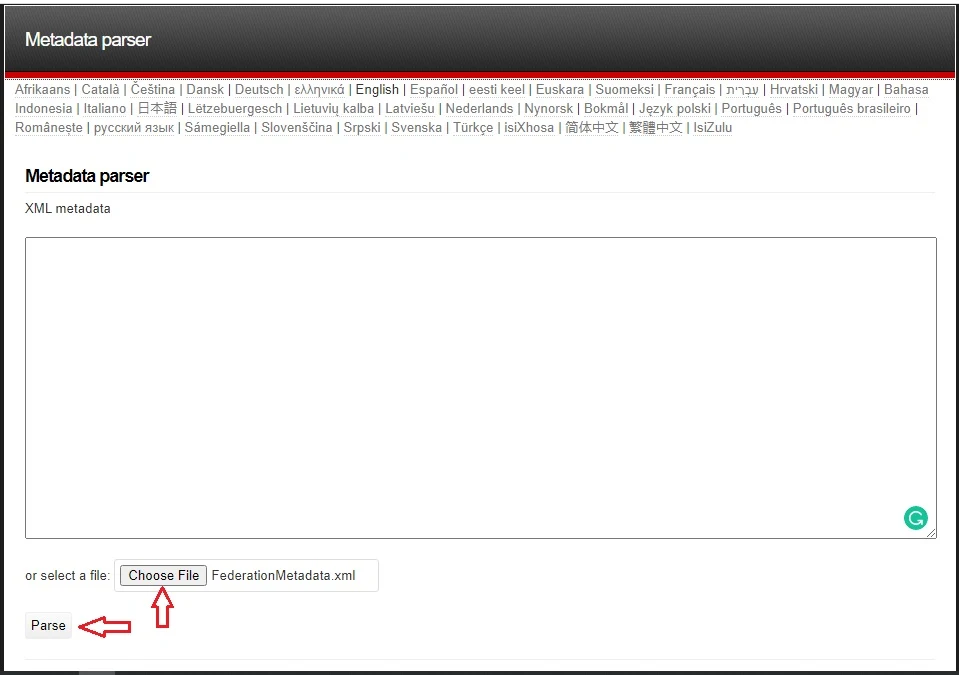
Click Choose File to upload your AD FS metadata xml file, click Parse
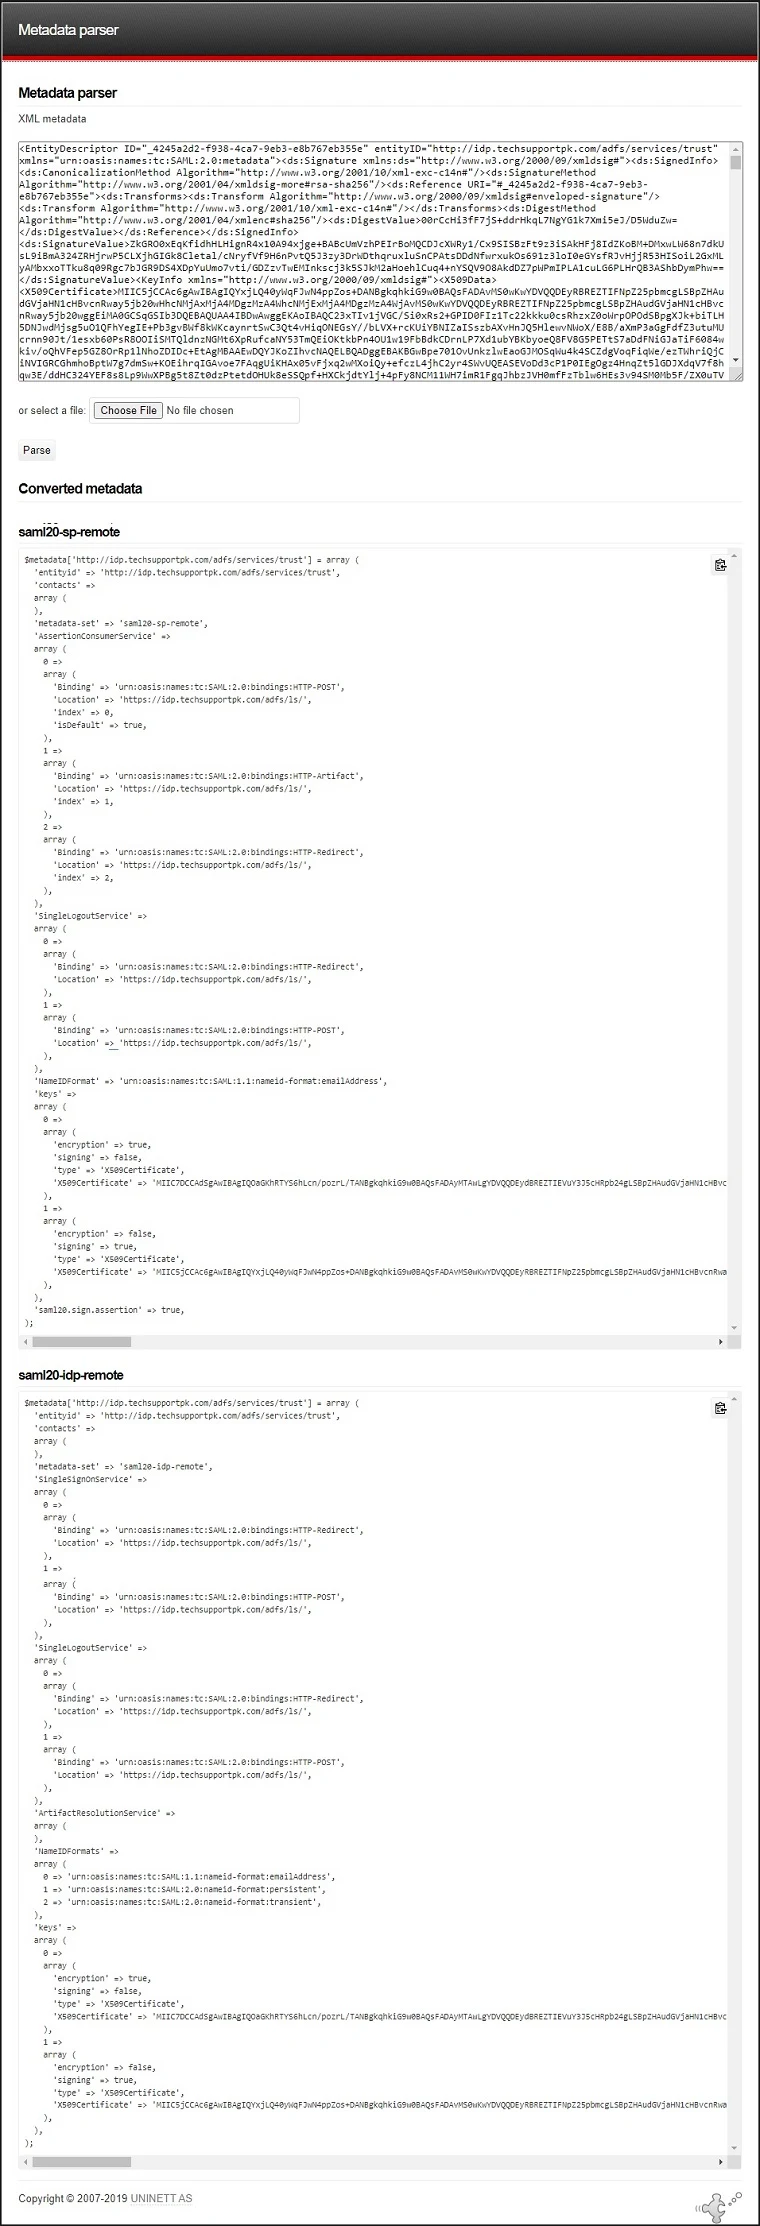
This will return two sets of data:
The first: saml20-sp-remote can be ignored as we do not need it.
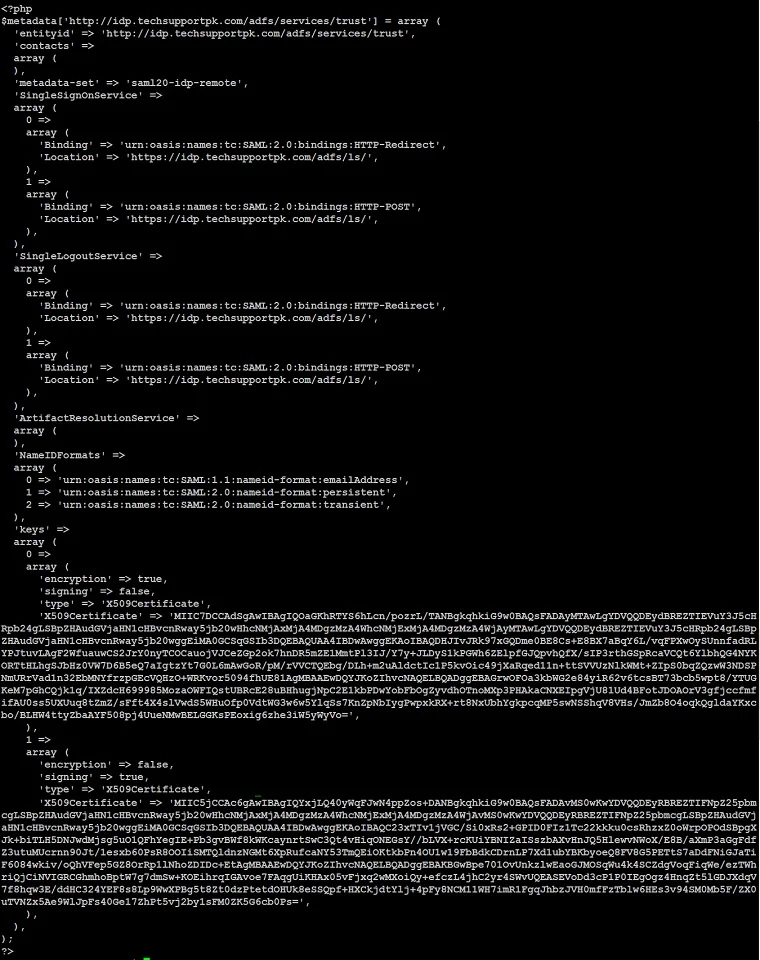
Scroll down to saml20-idp-remote section and copy the contents of this field to the clipboard.
Go back to your Linux terminal, edit saml20-idp-remote.php file like below:
Paste copied contents in it:
Save and close the editor when you are finished.
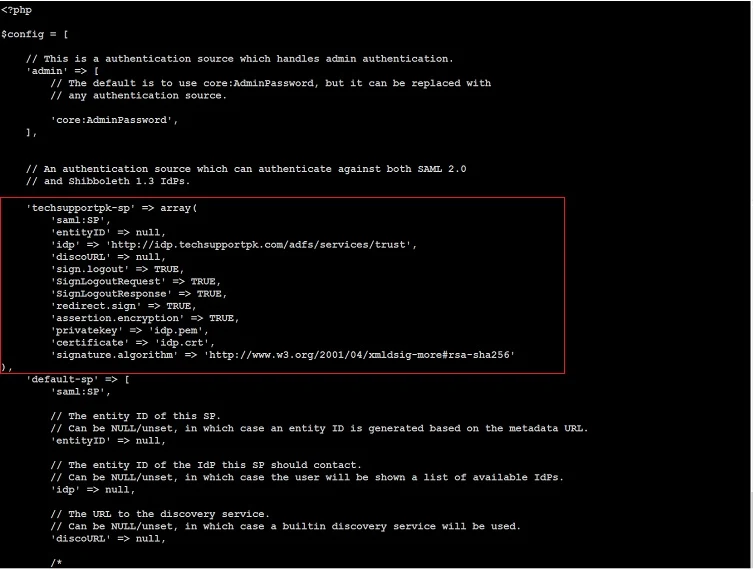
Edit authsources.php with any of your preferred text editor:
Add your AD FS as an identity provider in authsource.php like below:
Save and close the editor when you are finished.
After modification, authsources.php will look similar to like below:
Go back to your browser, refresh https://sp.techsupportpk.com/simplesaml page, navigate to Federation tab, and you will see your recently added SP metadata like below:

You will need this SP metadata url to configure your AD FS Relying Party Trust in the next step.
Configure AD FS Relying Party Trust
Log in to your AD FS machine, access SP metadata url with any of your preferred web browser, save metadata file anywhere on your AD FS machine. Once you have SP metadata file downloaded, rename it like techsupportpk-sp.xml
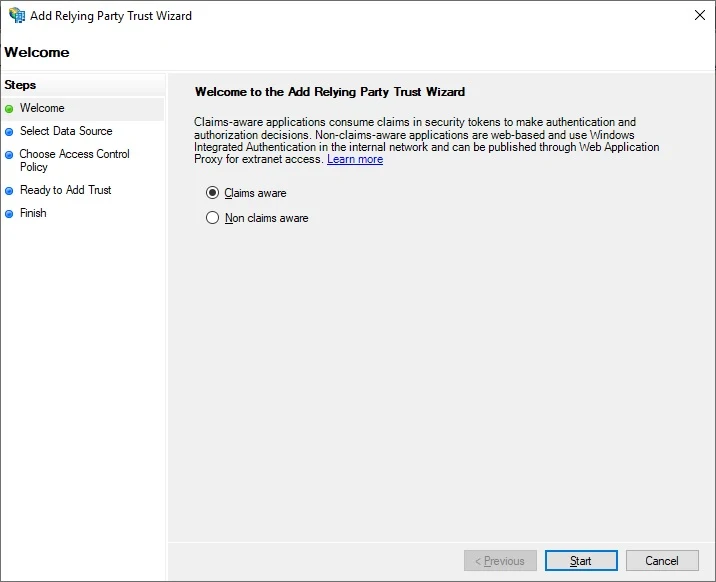
Open up AD FS Management console, Right-click Relying Party Trust, Click Add Relying Party Trust
Keep default Claims aware, click Start
Click Import data about the replying party from a file, click Browse, select your SP metadata xml file, click Next

You can safely ignore this warning popup, Click OK

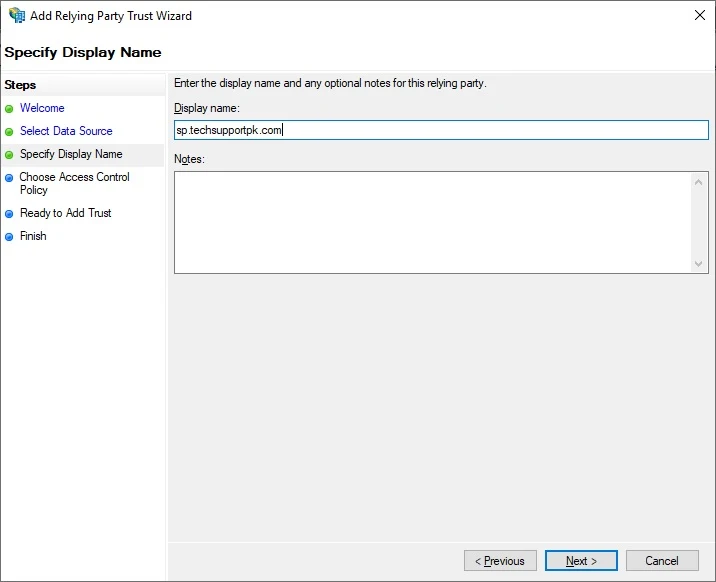
Enter the display name, click Next
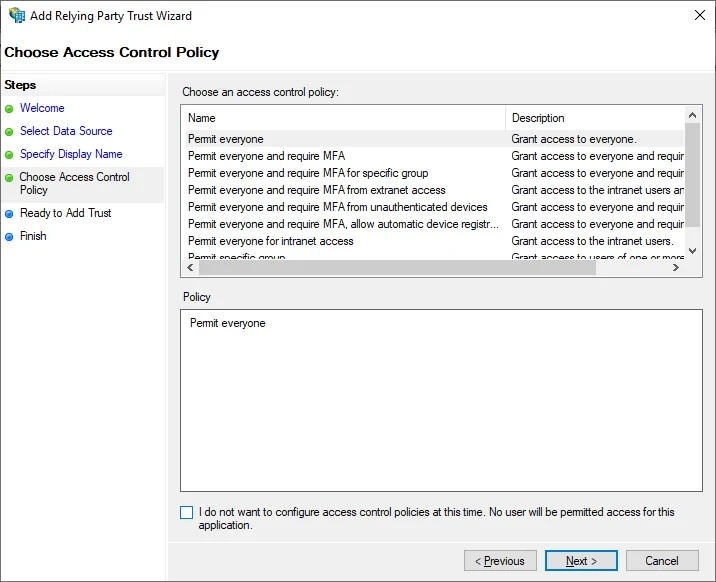
Keep the Permit everyone access polity, Click Next
Click Next
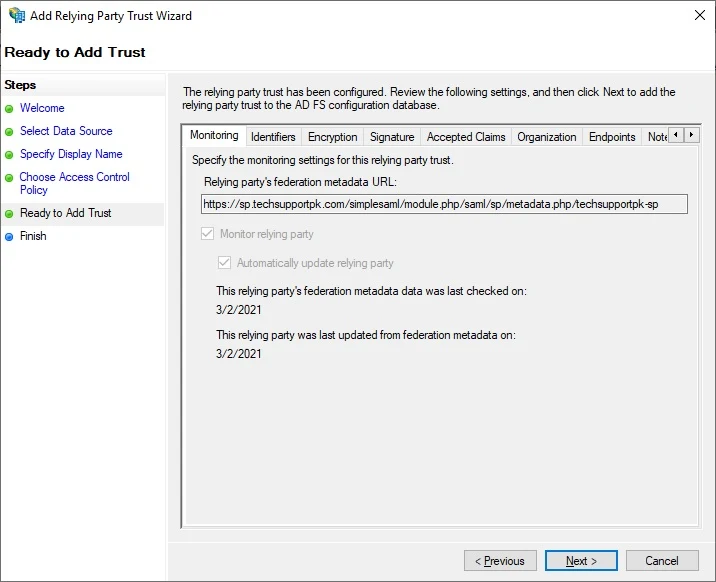
Click Close
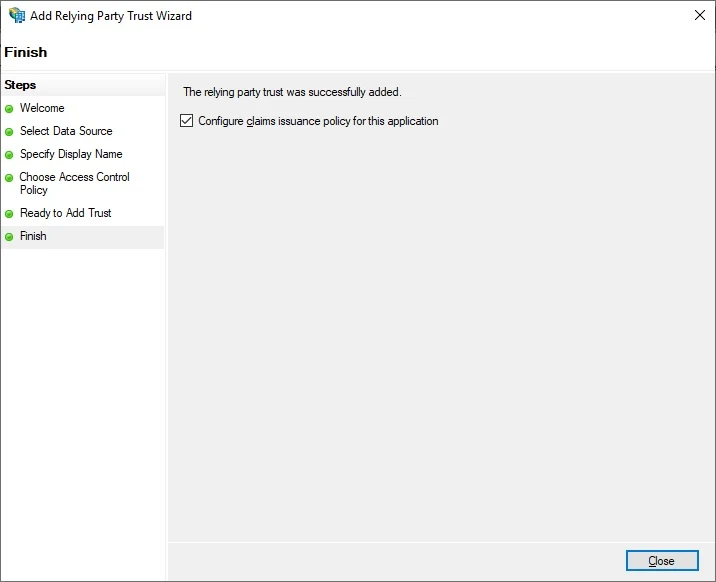
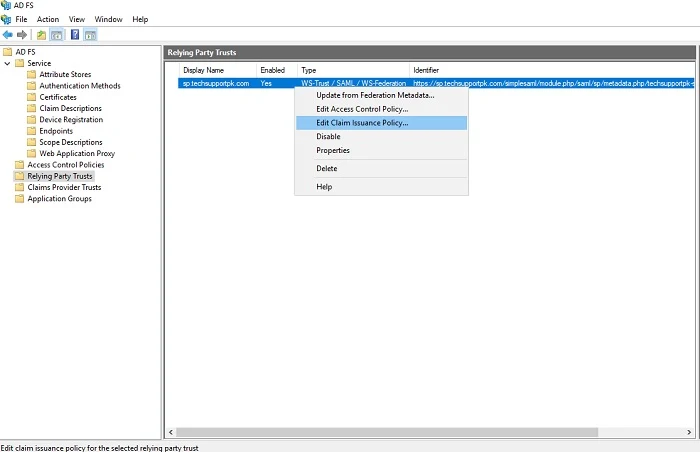
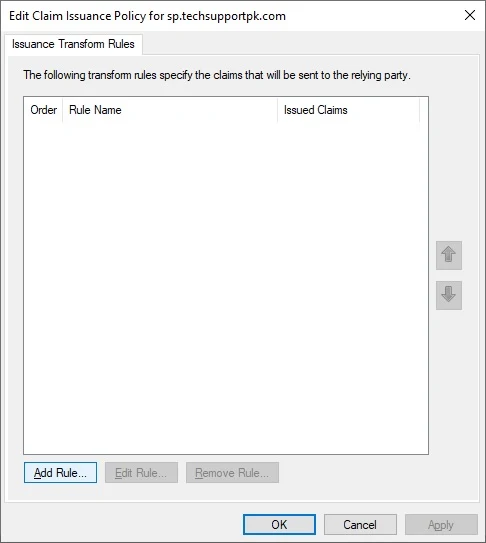
Right-click on your Relying Party Trust entity, click Edit Claim Issuance Policy
Click Add Rule
Select Send LDAP Attributes as Claim, click Next

Configure claim rule like below:
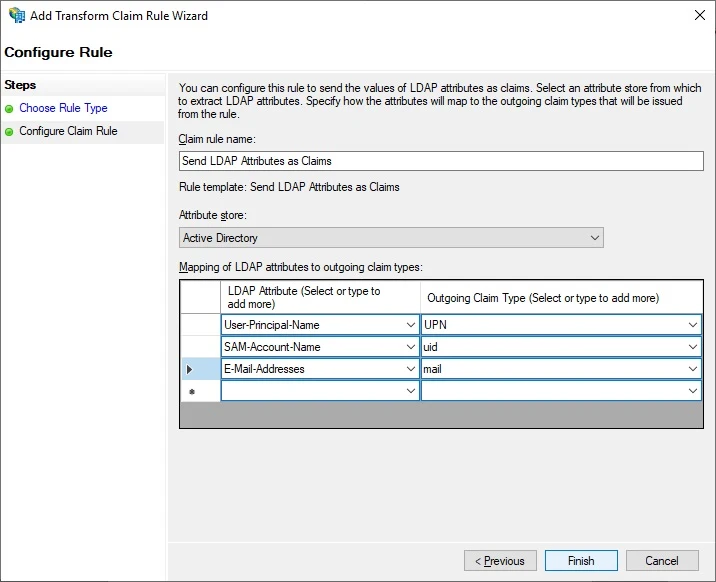
Click Finish when you are done.
Add another rule, select Transform an Incoming Claim, click Next
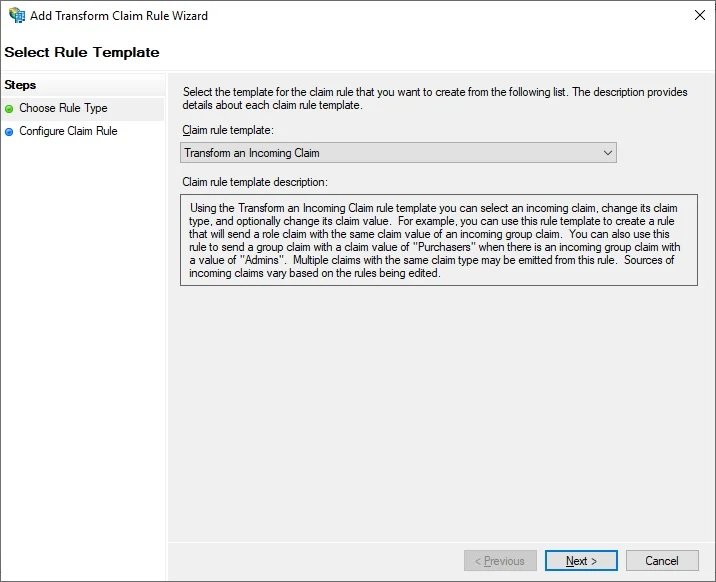
Configure rule like below:

Click Finish when you are done.
Click Apply, OK

At this stage, your AD FS Relying Party Trust configuration is ready to serve the purpose.
Verify AD FS Relying Party Trust Configuration
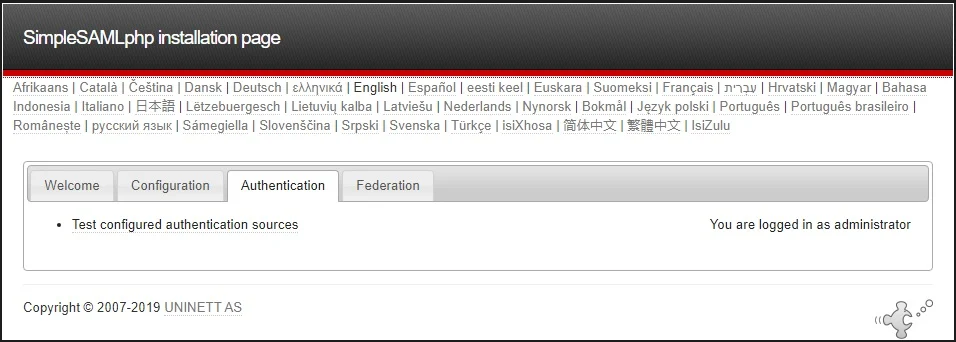
From a web browser, access your https://sp.techsupportpk.com/simplesaml and navigate to Authentication tab, click Test configured authentication sources
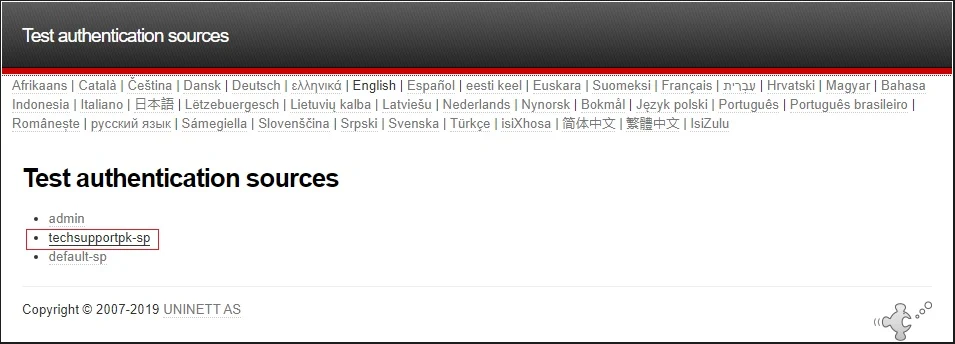
Click on a authentication source you added for AD FS like (techsupportpk-sp) in our case.
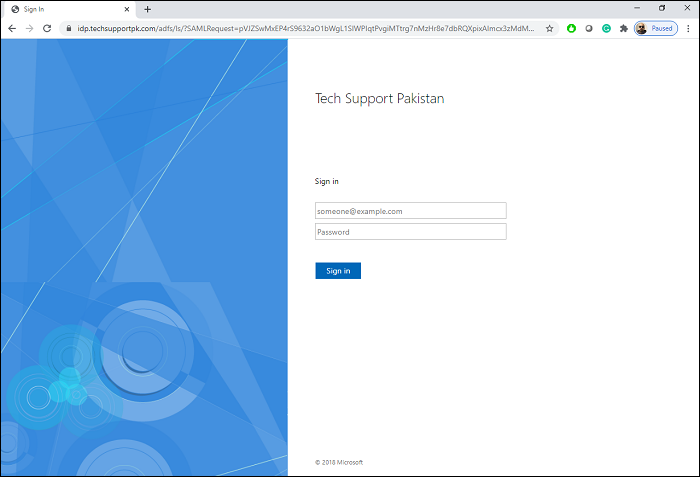
If everything configured correctly, you will be taken to your AD FS login page:
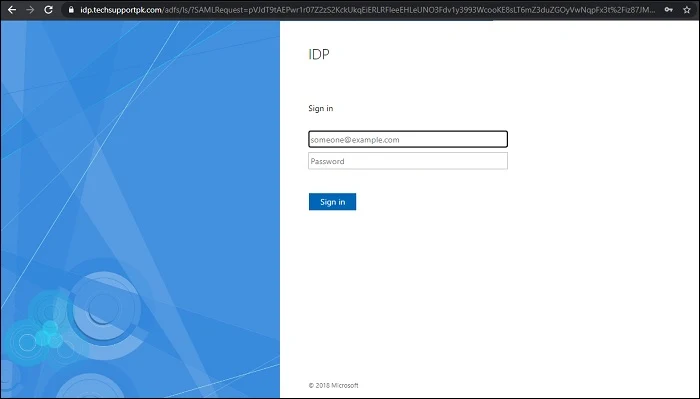
Enter your valid username and password like below to sign-in:
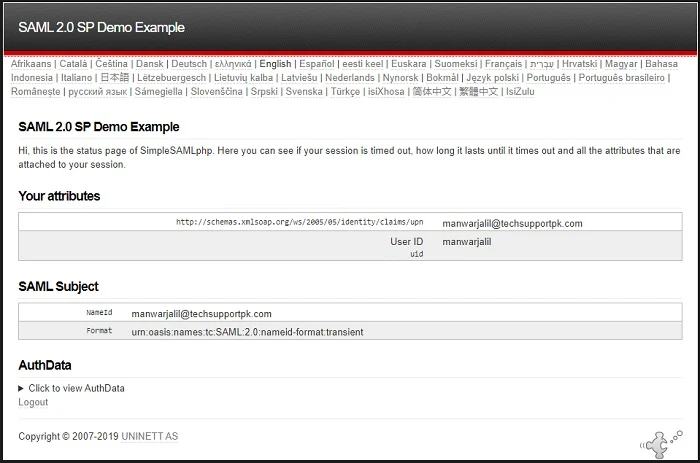
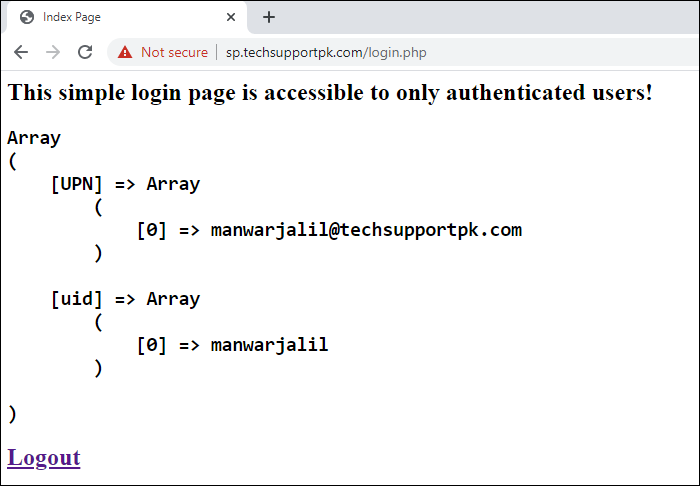
Upon successful login, you’ll be bounced back to SimpleSAMLphp with information of your authentication claims as you can see in screenshot below:
If you face any issue, double-check everything you configured and then check the logs for hints as to what could have gone wrong.
Verify Apache SSO
To test Apache single-sign-on (SSO) functionality we configured, lets create a simple index.php page in /var/www/sp.techsupportpk.com/ like an example below:
Add following code in it:
Save and close the editor when you are finished.
Add following code in it:
Save and close the editor when you are finished.
Create a simple logout.php page to test SSO logout function.
Save and close the editor when you are finished.
Create a simple logged_out.php page:
Add following code in it"
Save and close the editor when you are finished.
Open up web browser, enter https://sp.techsupportpk.com/ in the address bar, you will see your simple index.php page as shown in screenshot below:
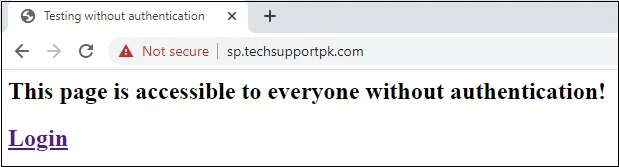
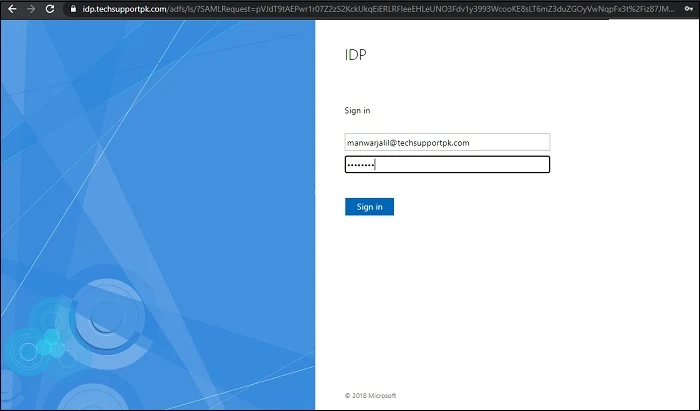
When you click on Login, you will be taken to your AD FS login page as shown in screenshot below:
Once signed-in with valid credentials, you will be redirected to your simple login.php page as shown in screenshot below:
Conclusion
Now that you have successfully configured SSO in Apache using SimpleSAMLphp and Active Directory Federation Service, you can start deploying your applications with SSO functionality.
No comments: