LibreNMS is an auto-discovering PHP/MySQL/SNMP based network monitoring which includes support for a wide range of network hardware and operating systems including Cisco, Linux, FreeBSD, Juniper, Brocade, Foundry, HP and many more.
Note: With CentOS 8 release, yum command has been replaced with dnf and in near future yum package manager will be discontinued. It is now recommended to use dnf for installing packages on your CentOS 8 server, but if you still wish to use yum you can use it.
Save and close.
Now reboot your machine by typing the following reboot command on terminal:
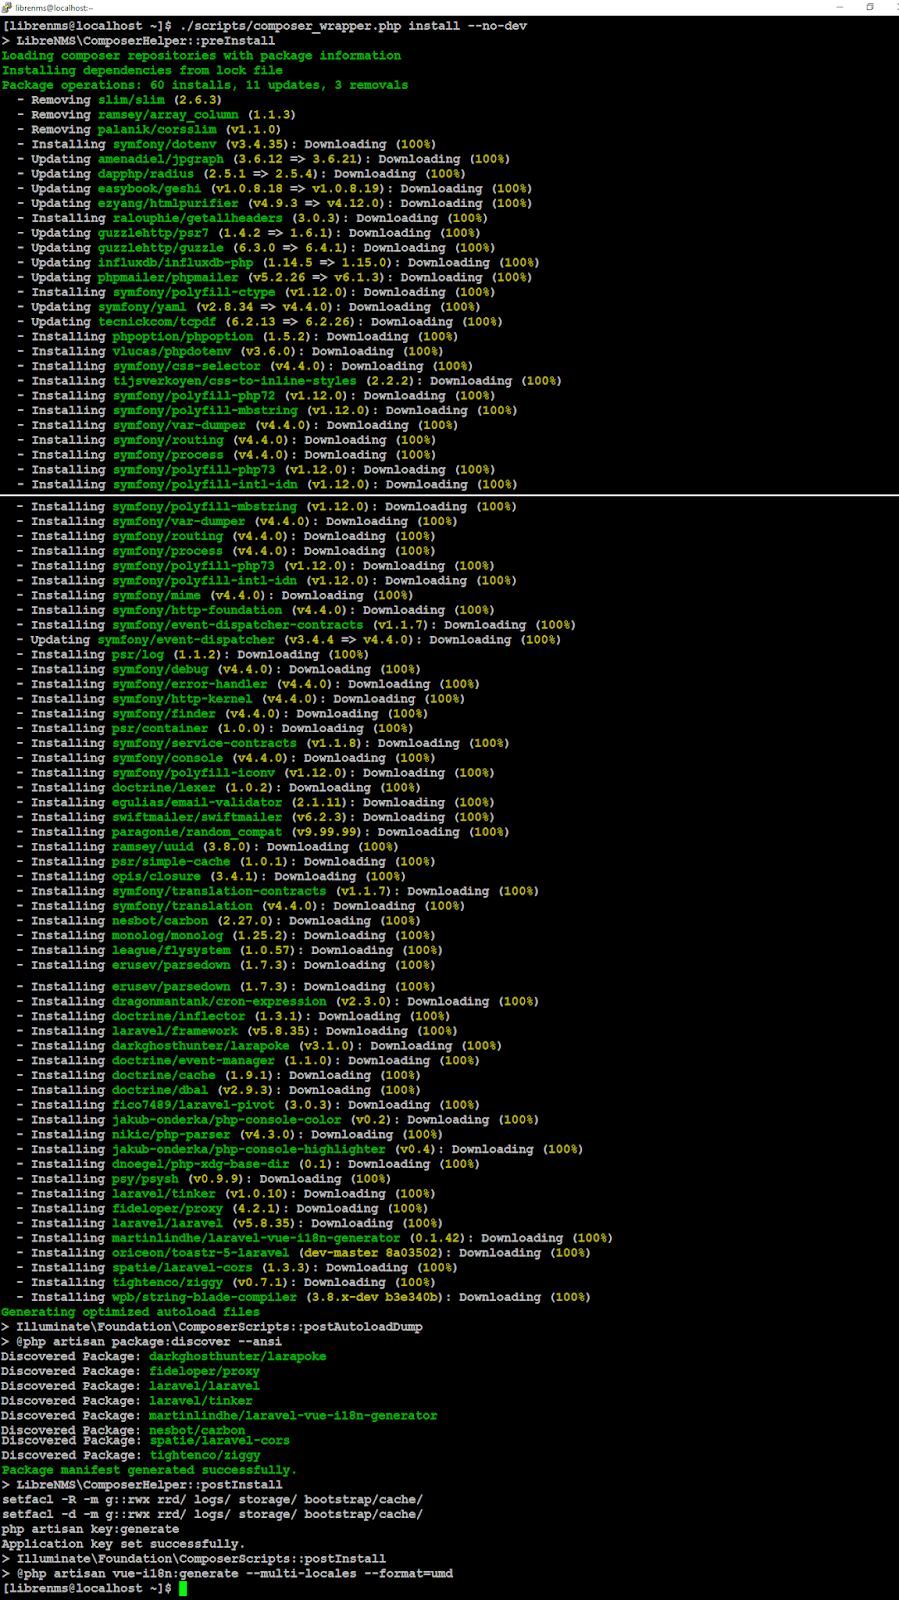
You will see similar to the following output while running composer wrapper script and it will take few minutes to complete.
When above process done, issue the exit command to go back to root user prompt.
Within the [mysqld] section, add following:
Save and close.
Save and close.
Save and close.
NOTE: If this is the only site you are hosting on this server then you will need to disable the default site by removing the server section from /etc/nginx/nginx.conf file:
Type the following commands to set proper permission and load the module.
It will take a moment to return back to terminal
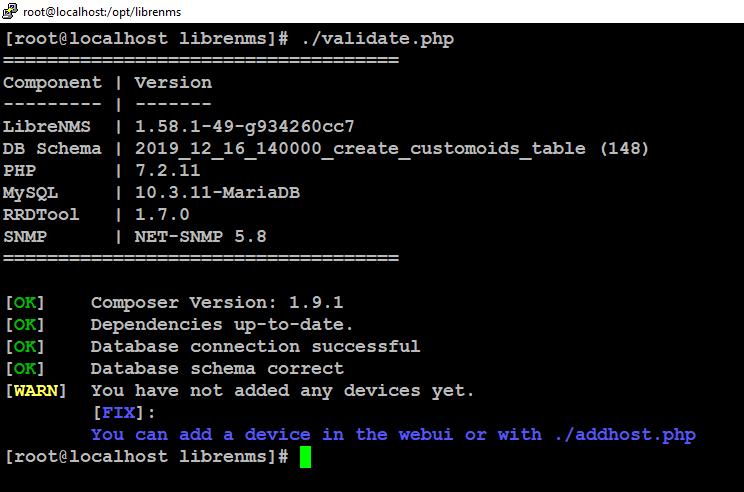
You will see similar to the following output which says all is well and you can safely ignore (devices add) warning because we are going to add devices via web interface.
In case you see any warning related to permission etc, fix them first and then move to next step.
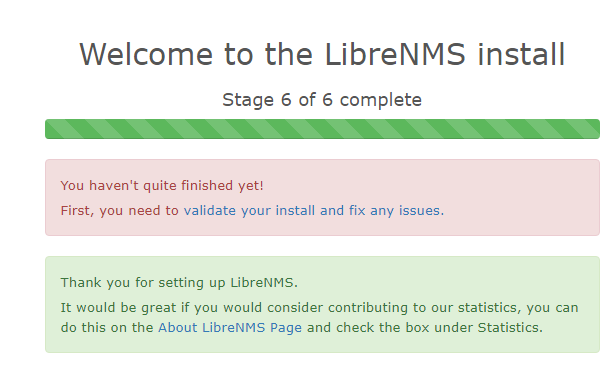
Now go back to librenms web interface we left opened earlier and click on 'validate your install and fix any issues'

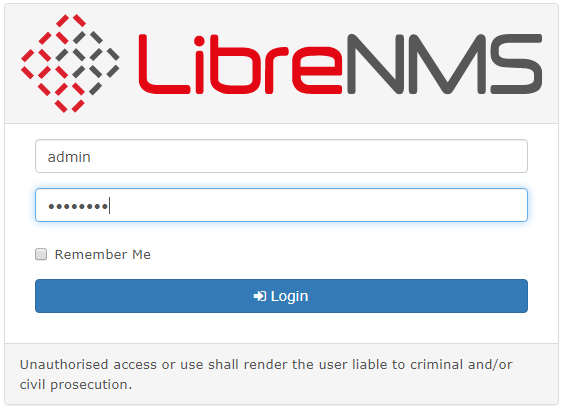
This will bring you to login page, enter username and password you created during web installer process to log in.
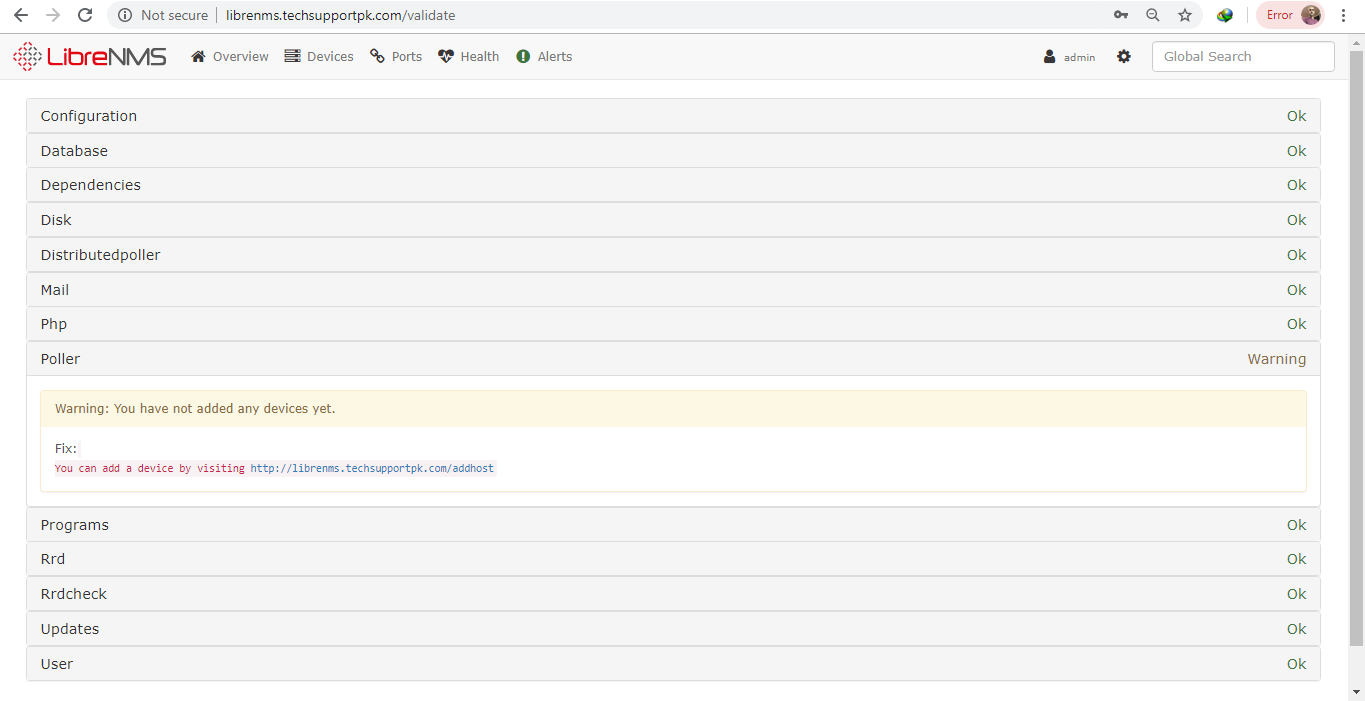
Once you are logged in, you will see the following screen show everything is OK.
Now we will show you how to add a device in librenms by adding localhost as our first device as an example to monitor its memory, cpu, disk utilization.
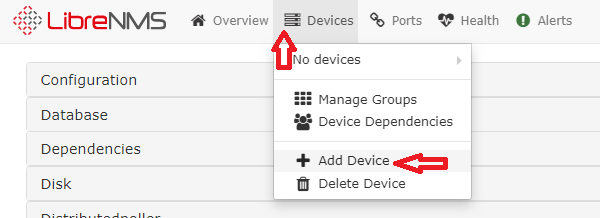
To add a device, navigate to Devices tab then Add Device
Provide your device credentials and click Add Device
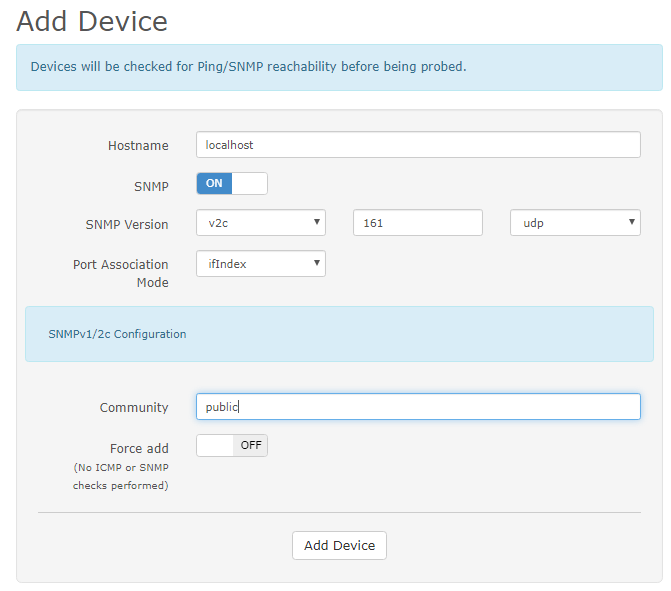
This screen will confirm you whether device is added or not.
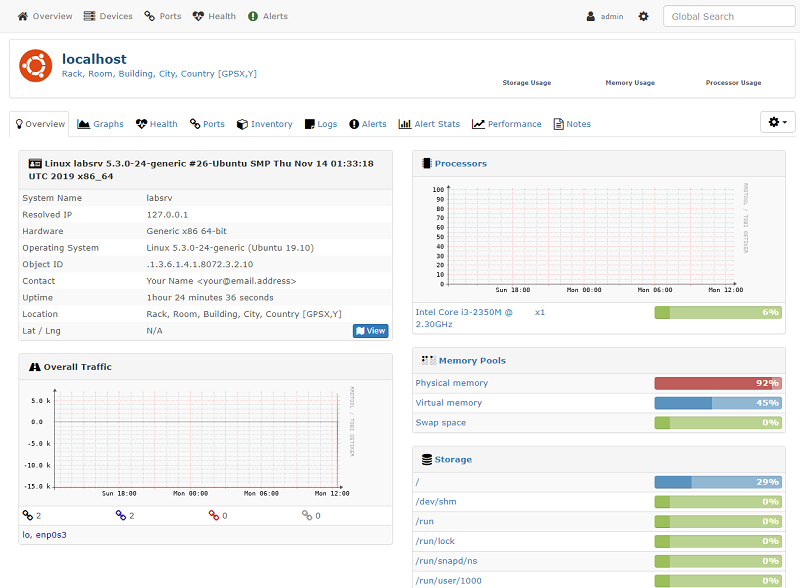
Click on device name to its result.

You can see below that librenms has started collecting localhost data.
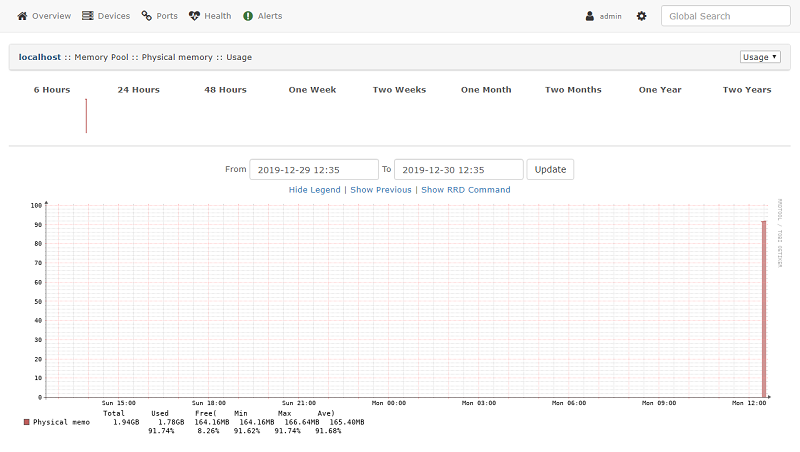
Also see below memory utilization graph
This guide will walk you through the steps to install and configure LibreNMS with Nginx web server on a CentOS 8 machine. These instruction can also be applied if you are running RHEL 8 or Fedora 30. In case of Fedora, you will just need to replace yum command with dnf for packages installation.
Throughout this tutorial, we assume you are the root user. If you are not, prepend sudo to the shell commands or temporarily become a user with root privileges using sudo -s or sudo -i command.
Note: With CentOS 8 release, yum command has been replaced with dnf and in near future yum package manager will be discontinued. It is now recommended to use dnf for installing packages on your CentOS 8 server, but if you still wish to use yum you can use it.
Prerequisites
You will need one CentOS / RHEL 8 (physical or virtual) machine with minimal installed having root user privileges.
Set Timezone
You can set timezone using the following command and replace highlighted text with yours
Disabling SELinux
Edit /etc/selinux/config file and change SELINUX=enforcing parameter to SELINUX=disabled like below:Save and close.
Now reboot your machine by typing the following reboot command on terminal:
Installing EPEL Repository
It is recommended practice to add extra packages for enterprise linux repository before proceeding to install packages.Installing Required Dependencies
First, you need to install these important librenms dependenciesInstalling MariaDB
You can install MariaDB database using the following command:Installing Nginx
You can install Nginx web server using the following command:Installing PHP
You can install important PHP packages using the following commands:Adding User
Issue the following commands to add a librenms user:Cloning LibreNMS
You will need to clone librenms software from GitHub like below:Set Permissions
Issue the following commands to set appropriate permission:Run Composer Wrapper
Issue the following commands to run composer wrapper script:You will see similar to the following output while running composer wrapper script and it will take few minutes to complete.

When above process done, issue the exit command to go back to root user prompt.
Securing Database
By default MariaDB installation is insecure and anyone can intrude into your database. To make it secure, run the following commands and follow the instruction to complete.Creating Database
Now you need to create a database and a user for librenms like below:Within the [mysqld] section, add following:
Save and close.
Configuring PHP
Make sure date.timezone parameter is set in php.ini to your preferred time zone. See http://php.net/manual/en/timezones.php for a list of supported timezones. Valid examples are: "America/New_York", "Australia/Brisbane", "Etc/UTC".
Save and close.Save and close.
Configuring Nginx
Now create the librenms.conf file under /etc/nginx/conf.d/ directory like below. Make sure you replace server_name parameter with yours as required:Save and close.
NOTE: If this is the only site you are hosting on this server then you will need to disable the default site by removing the server section from /etc/nginx/nginx.conf file:
Allow Fping
Create the file http_fping.tt with the following contents. You can create this file anywhere, as it is a throw-away file. The last step in this install procedure will install the module in the proper location.
Save and close.Type the following commands to set proper permission and load the module.
It will take a moment to return back to terminal
Adding Firewall Rules
SNMP Settings
Adding Cron Job
Copying Logrotate
LibreNMS Web installer
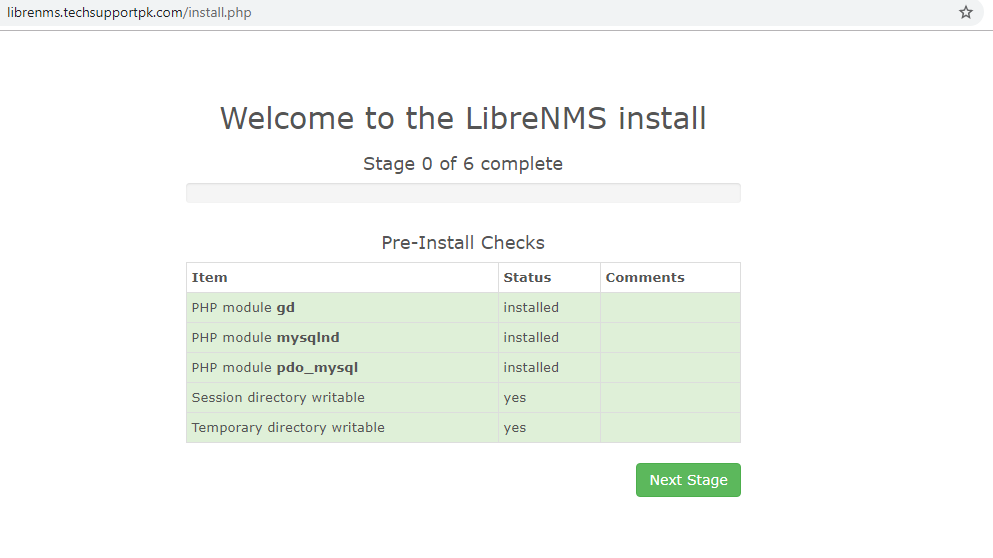
Open up your favorite web browser and navigate to the web installer like http://Your_Server_Name/install.php or http://Your_Server_IP/install.php and follow the on-screen instructions.
Click Next Stage

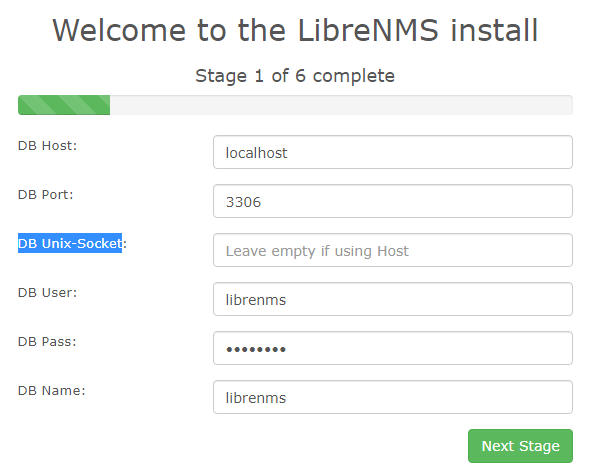
Enter password in DB Pass box for librenms user you created earlier and click Next Stage

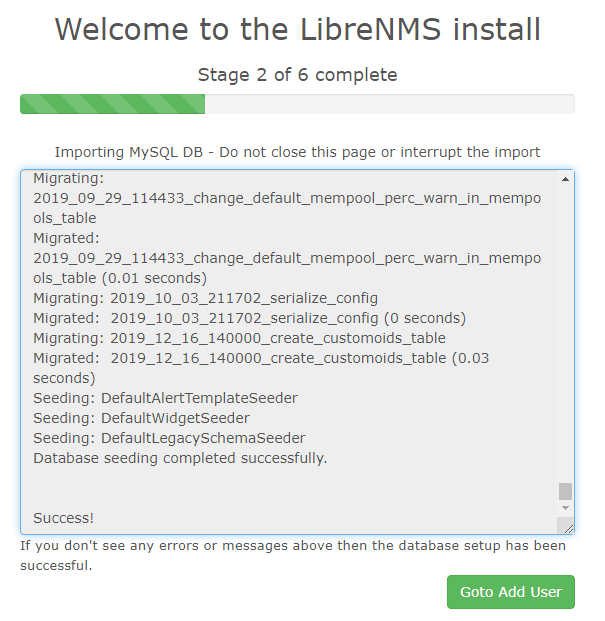
This will take a moment to import database, when done click Goto Add User

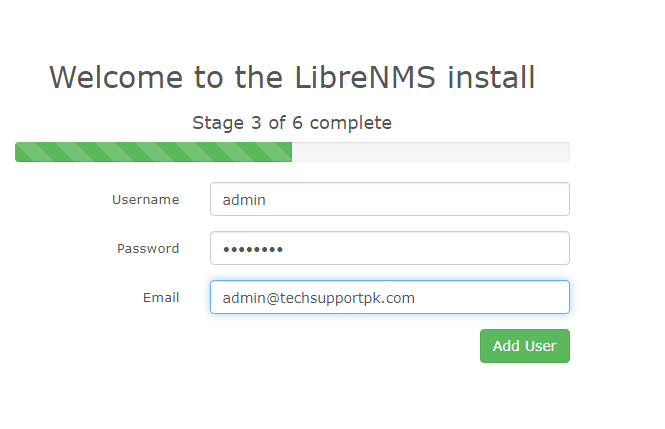
Enter username and password you wish to add and click Add User

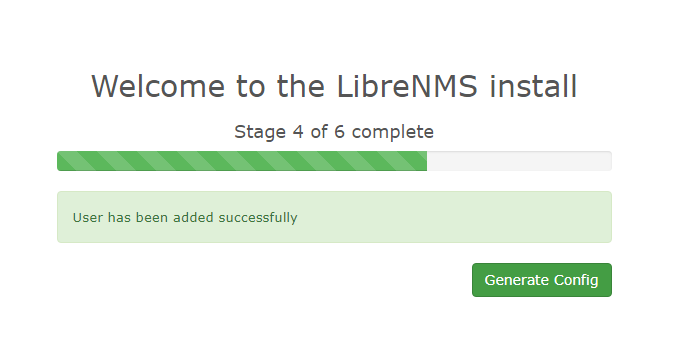
Click Generate Config

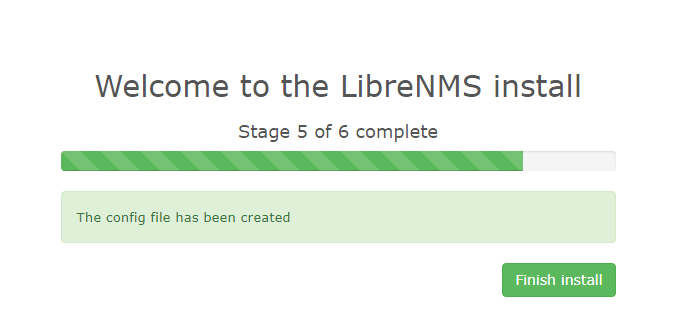
Click Finish Install

Now stop on this screen.

Go back to command line terminal and perform the following to validate the installation.
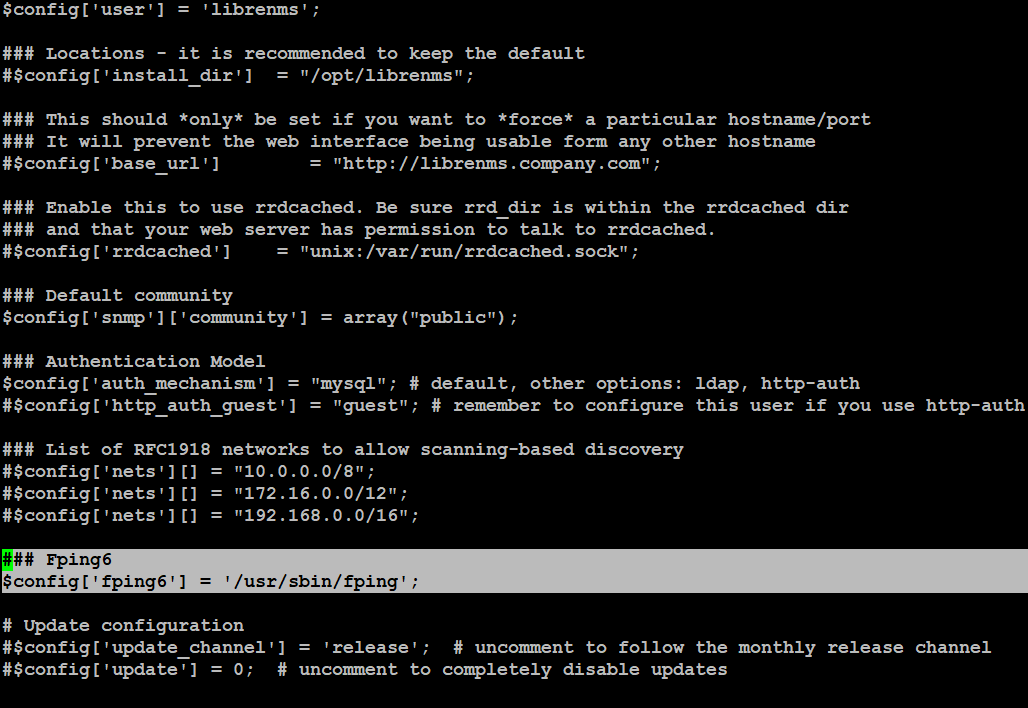
Add the following parameter
This is the screenshot so don't get confuse.
Save and close.
Now type the following commands to set appropriate permission:
Run the following script:
Now validate the installation using the following scriptThis is the screenshot so don't get confuse.

Save and close.
Now type the following commands to set appropriate permission:
Run the following script:
You will see similar to the following output which says all is well and you can safely ignore (devices add) warning because we are going to add devices via web interface.
In case you see any warning related to permission etc, fix them first and then move to next step.

Now go back to librenms web interface we left opened earlier and click on 'validate your install and fix any issues'

This will bring you to login page, enter username and password you created during web installer process to log in.

Once you are logged in, you will see the following screen show everything is OK.

Now we will show you how to add a device in librenms by adding localhost as our first device as an example to monitor its memory, cpu, disk utilization.
To add a device, navigate to Devices tab then Add Device

Provide your device credentials and click Add Device

This screen will confirm you whether device is added or not.
Click on device name to its result.

You can see below that librenms has started collecting localhost data.

Also see below memory utilization graph


No comments: