This guide will show you how to safely upgrade from Ubuntu 18.04 LTS (Bionic Beaver) to latest Ubuntu 20.04 LTS (Focal Fossa). This guide will explain several methods to make your upgrade process easy and simple.
This will launch the upgrade process using a Gtk3-based GUI.

The wizard will ask you several questions, and run through several steps:
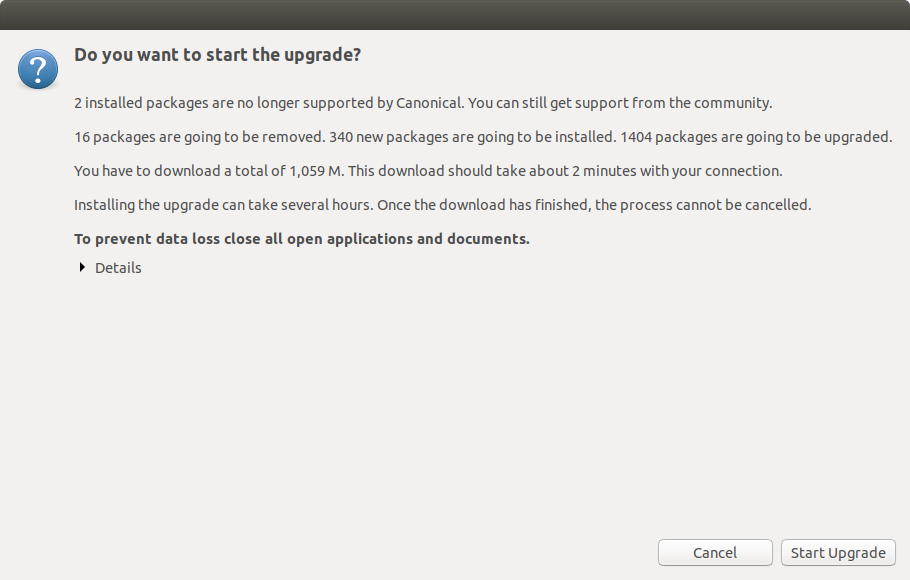
You will first be asked to confirm the upgrade.

The upgrade wizard will notify you that the lock screen will be disabled during the process.
The tool will then download the necessary system files and applications for the upgrade. The process can take some time, so please be patient.
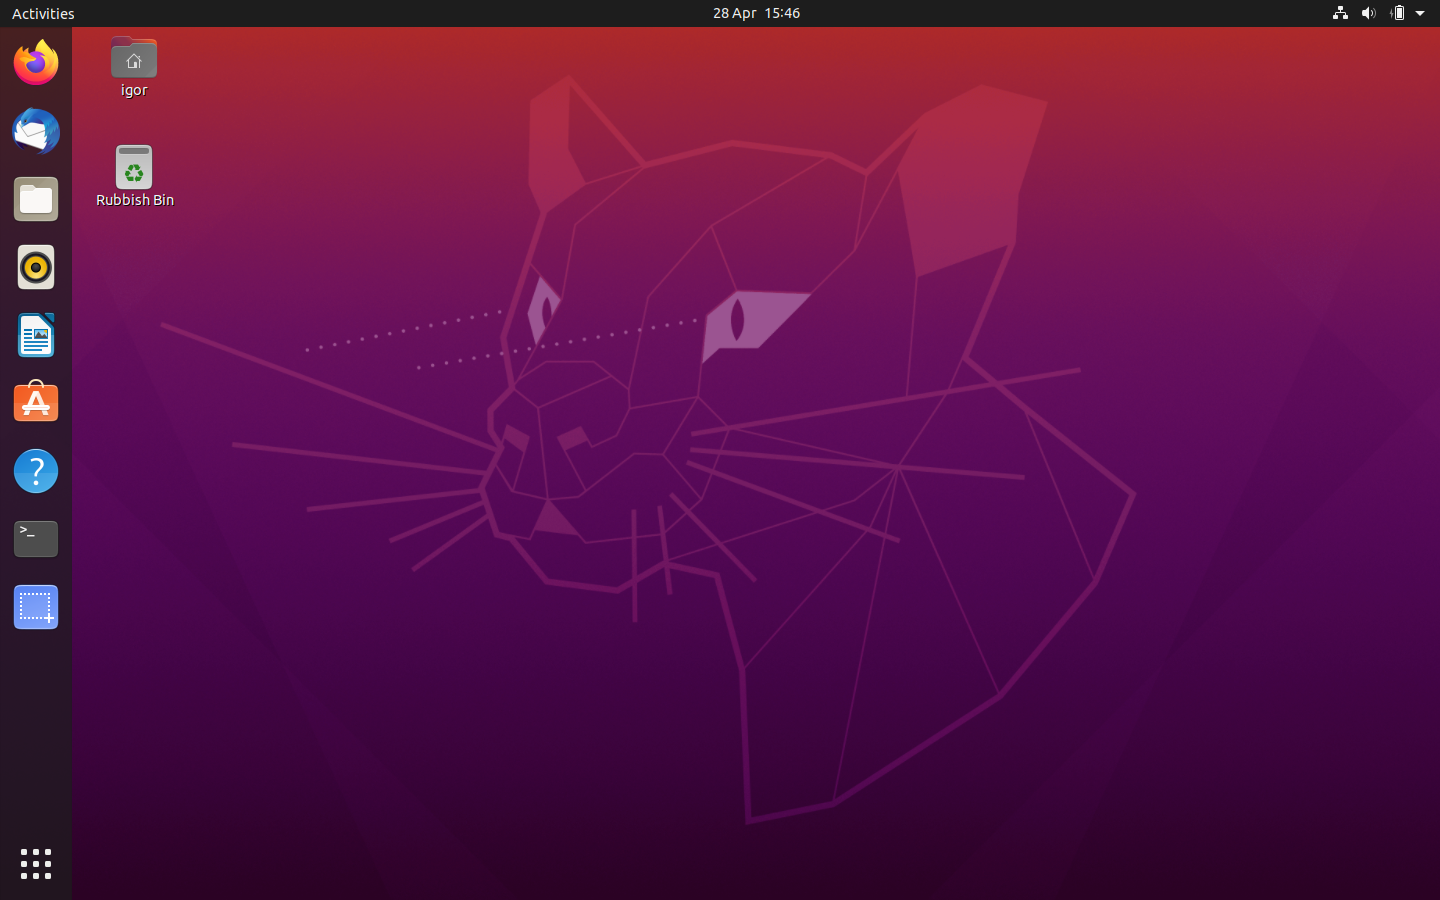
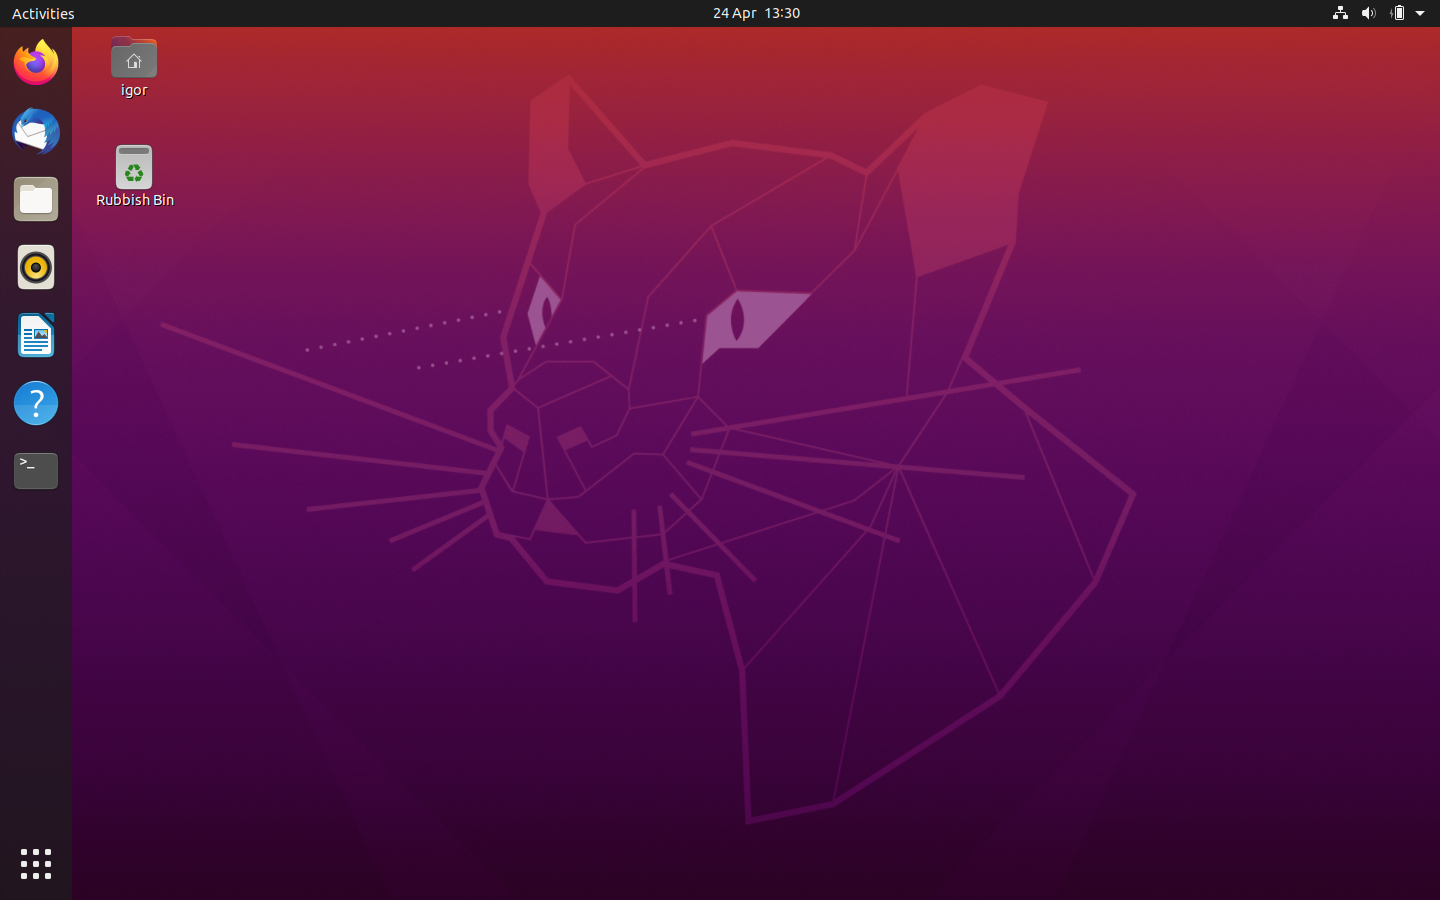
After a while, the upgrade should complete, and you should see yourself logged into the 20.04 desktop!
In general, you can control what Ubuntu release upgrades are available, regardless of which tool you use and run. This can be done by editing the following configuration file:
Here, you can check the line Prompt=XXXX, whereby:
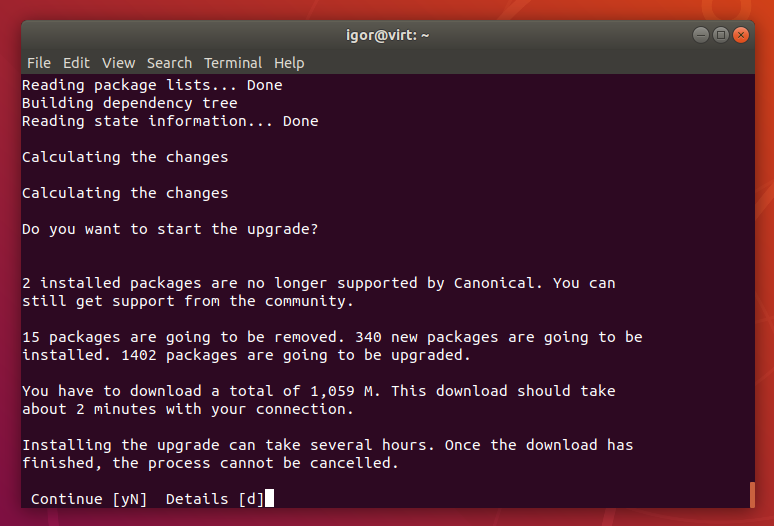
The sequence of steps shown here is identical to the work we’ve done earlier with the graphical guided wizard. The first step is to confirm that you want to proceed.
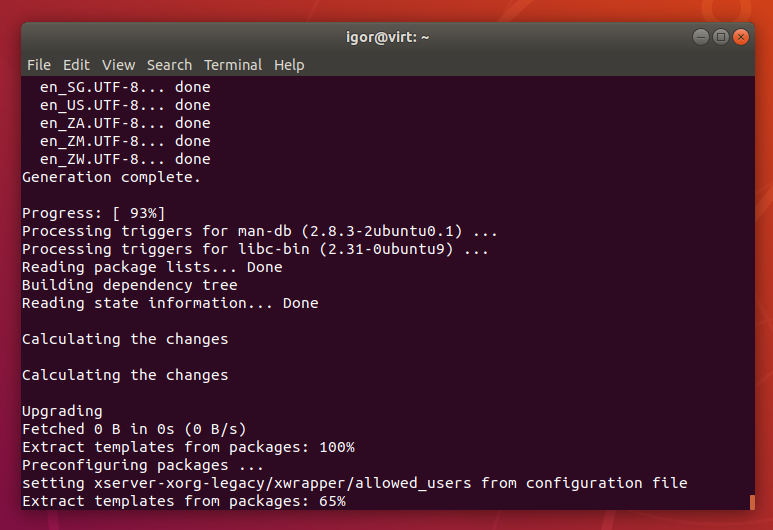
The image above shows the scrolling text of the ongoing upgrade process.
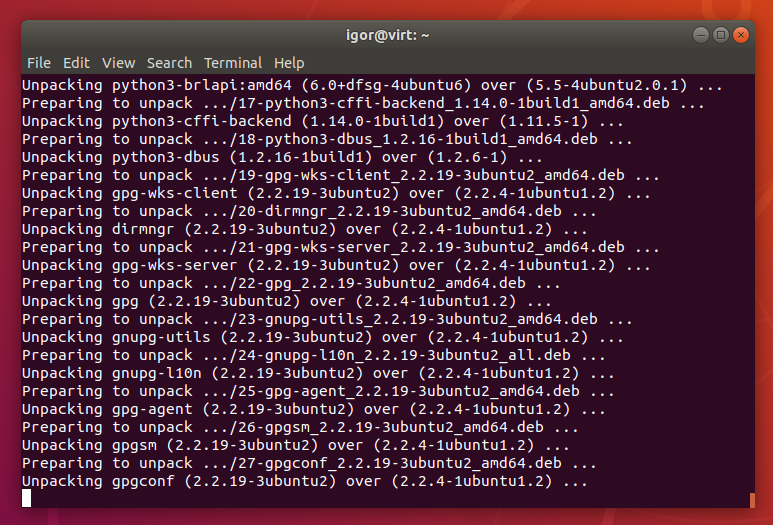
Various system packages have been downloaded, and are being unpacked and copied over the older versions as part of the upgrade process.
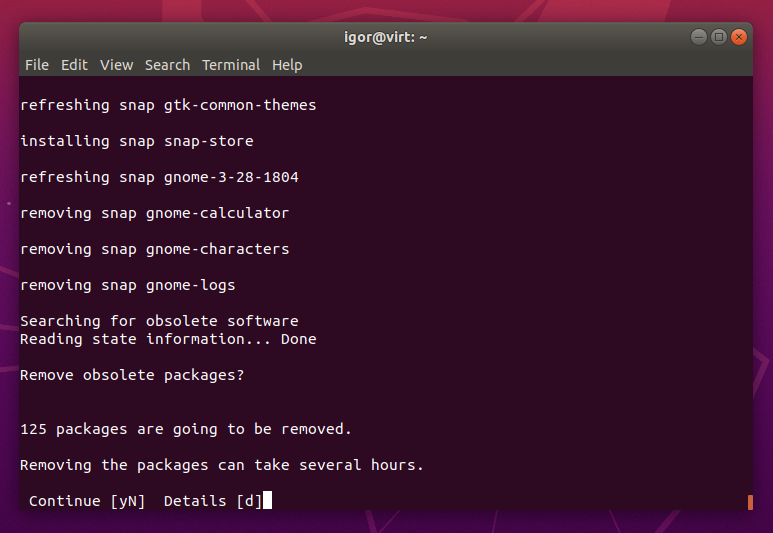
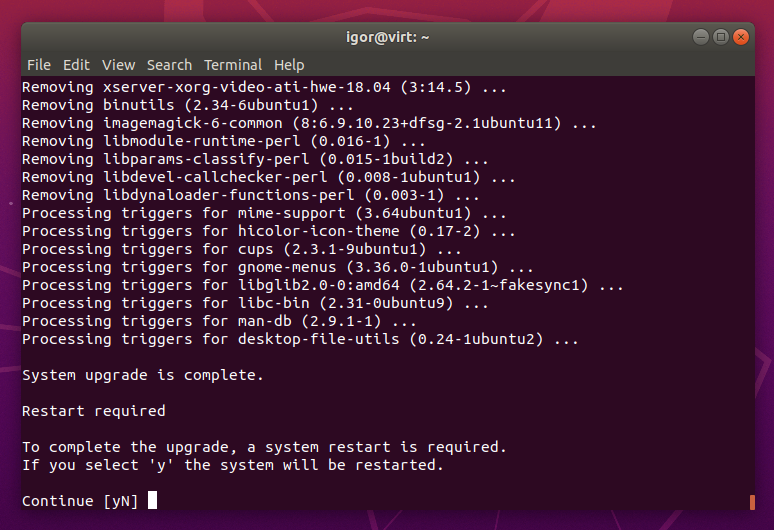
The cleanup step removes the packages that are no longer required (or relevant) in the new version of Ubuntu. This will also free space on your hard disk.
Once complete, you will be logged into the 20.04 desktop:
Upgrade using a graphical guided wizard
This will launch the upgrade process using a Gtk3-based GUI.

The wizard will ask you several questions, and run through several steps:

You will first be asked to confirm the upgrade.

The upgrade wizard will notify you that the lock screen will be disabled during the process.
The tool will then download the necessary system files and applications for the upgrade. The process can take some time, so please be patient.
After a while, the upgrade should complete, and you should see yourself logged into the 20.04 desktop!

Alternative options to upgrade
On the command line, you can run update-manager -c to initiate the upgrade. Like the do-release-update tool, you can run the above with the optional -d flag to get the “development” release ahead of the 20.04.1 availability.In general, you can control what Ubuntu release upgrades are available, regardless of which tool you use and run. This can be done by editing the following configuration file:
Here, you can check the line Prompt=XXXX, whereby:
- never – no upgrades will be offered.
- normal – supported release that immediately succeeds the currently running release will be offered.
- lts – LTS releases will be offered.
Upgrade to 20.04 LTS using the command line
The upgrade process on the command-line is very similar to what we have already done. The only difference is no GUI will be launched and you will be asked Y/N questions in the terminal window.
The sequence of steps shown here is identical to the work we’ve done earlier with the graphical guided wizard. The first step is to confirm that you want to proceed.

The image above shows the scrolling text of the ongoing upgrade process.

Various system packages have been downloaded, and are being unpacked and copied over the older versions as part of the upgrade process.

The cleanup step removes the packages that are no longer required (or relevant) in the new version of Ubuntu. This will also free space on your hard disk.

Once complete, you will be logged into the 20.04 desktop:


No comments: