
The 389 Directory Server is an open-source enterprise-class LDAP server for Linux that can be deployed in less than an hour. This guide will help you to set up a 389 Directory Server on CentOS, RHEL 8.
Prerequisites
You will need one (physical or virtual) machine installed with CentOS, or RHEL 8 having root or sudo non-root user privileges.Disable SELinux
Login to your Linux server and make the following required changes in /etc/selinux/config file:Save and close the editor.
You should set the correct timezone on your Linux system:
Reboot your server to apply these changes.
Add EPEL Repository
Type below command if you are on CentOS 8:Type below command if you are on RHEL 8:
Install 389 Directory Server
There are two 389-ds streams available: stable and testing. Testing is a bleeding-edge development version. As its name implies, it is NOT supposed to be used in production. After a period of testing and bug fixing it becomes the next stable version.Each stream has 3 profiles:
default - 389-ds-base and cockpit web ui
minimal - just 389-ds-base
legacy - same as default plus legacy Perl tools and scripts
Type below command to install 389-ds on your CentOS/RHEL 8:
Configure 389 Directory Server
You will see the following prompts:Verify ldap instance name with below command:
You will see the output similar to the following:
Check whether your ldap instance is running with below command:
You will see the output similar to the following:
You can also check your ldap instance status using the systemctl command:
Next, start cockpit service with below command:
Add Firewall Rules
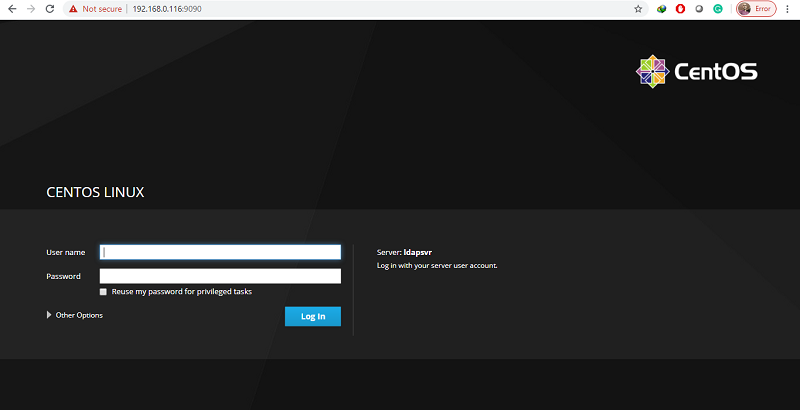
Open up your preferred web browser and access the cockpit web interface by navigating to http://your_server_ip:9090.
Enter the username and password to Log In.
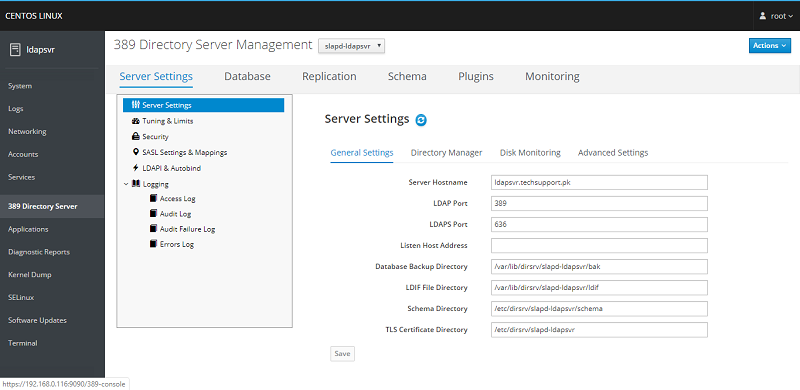
Navigate to 389 Directory Server to administer and manage your LDAP
The 389 Directory Server Development Team says that the old Java Console and Admin Server have been deprecated and there will no longer be a Java Console (389-console), Admin Express, or Directory Server Gateway starting in Fedora 31, RHEL 8, CentOS 8, and SUSE 15.
So User & Group management needs to be done via the new CLI tools or via free products like Apache Directory Studio.
How To Install Apache Directory Studio
You can install Apache Directory Studio on your CentOS 8 or RHEL 8 using the below steps.
Install java:
Verify java version:
Download Apache Directory Studio latest version from official source like below:
Extract zip archive:
You should have graphical display to run Apache Directory Studio:
You will see Apache Directory Studio starting up
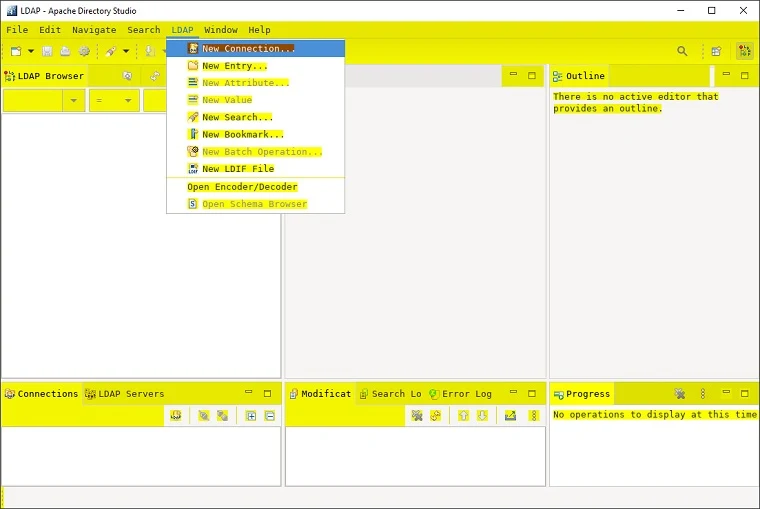
Click LDAP, New Connection
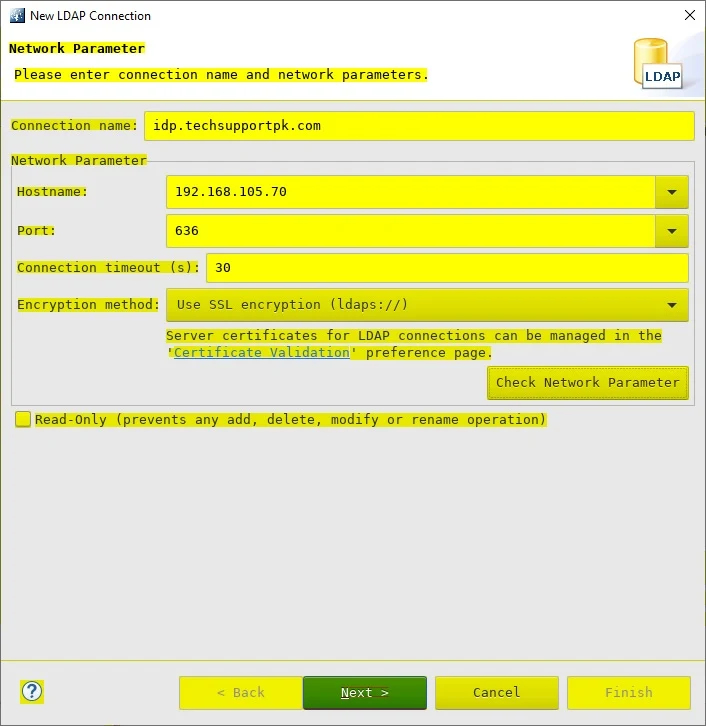
Connection name: your_ldap_server_name
Hostname: your ldap server ip.
Port: 389
Encryption method: No encryption
Click Next

If you are using encrypted connection:
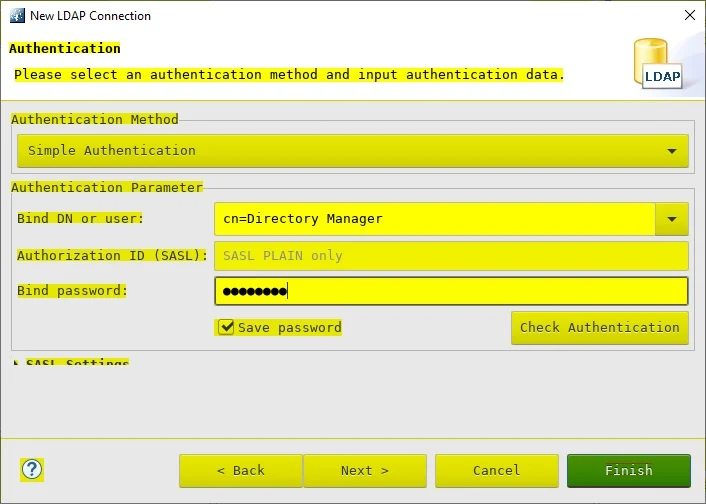
Keep Simple Authentication, enter Bind DN and Bind password as shown in screenshot below:
Click Finish
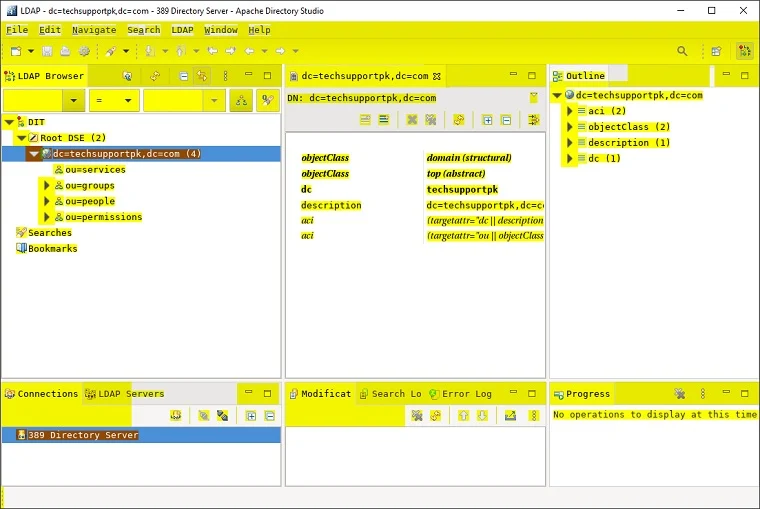
You will see your LDAP server connection as shown in screenshot below:
Conclusion
Now that you have successfully deployed your 389 Directory Server, you can begin configuring your clients for central authentication.
Is this for real? In 2020, we are still recommending diabling SELinux?
ReplyDeletemaybe permissive mode betten than disable
Deletemaybe permissive mode better than disable
DeleteWell thing is if your doing it in a production environment.. yes its bad, but if your doing it in a vm lab at home on say virtualbox, that's totally fine to do cause really it's not mission critical whatsoever, that said a better ( and usually what most folks do) alternative is to set it to permissive which removes some of the need for permissions but keeps the core os safe.
DeleteI thought the same thing.
ReplyDeleteDisable it is only for lazy admin...
Err well not quite, for you see we have better features to protect the OS ( like system hardening but partial cause while a fully hardened system seems like a good idea.. it can cause a whole lot of issues esp. when it comes to interacting with Windows/MSDOS machines(in hybrid environment), also can lead to connection issues) in-fact SELinux is now kinda pointless against anything, but kernel-hardening is beyond the scope of this tutorial so the short answer is this: in virtualized environments at home, it just makes life easier for you. Now in production environments we pay vendors to provide kernel hardening ( and usually disabeling/messing around with SELinux is pointless cause the OS no-longer usually relies on it )
DeleteThank you for this howto!
ReplyDeleteHow would someone manager 60 LDAPS with 4 masters in one view?
ReplyDeletephpldapadmin will serve the purpose.
Deletecan you client side configuration
ReplyDeleteWhat are you exactly looking for? What sort of client side configuration you need?
DeleteI guess client to manage users, groups, GPO.. in WebUI
ReplyDeleteI need that configuration too
You can install and use 389 Management Console GUI either on LDAP server or on a client machine to manage your LDAP.
DeletePlease tell me how to authenticate a pc via ldap 389-ds
ReplyDeleteHow should RHDS integrate Samba?
ReplyDelete