
Creating a bootable Ubuntu USB from Windows is a very simple and easy process. With a bootable Ubuntu USB stick, you can test out the Ubuntu desktop experience even without installing it on your personal computer. You can, of course, install or upgrade Ubuntu on your system using a bootable USB stick or boot into Ubuntu to repair, fix a broken configuration.
Prerequisites
To make a bootable Ubuntu USB, you will need at least 4GB or larger USB stick/flash drive.
Download Rufus, a utility that helps format and creates bootable USB flash drives, such as USB keys/pen drives, memory sticks, etc.
An Ubuntu ISO image file can be obtained from Ubuntu's official website.
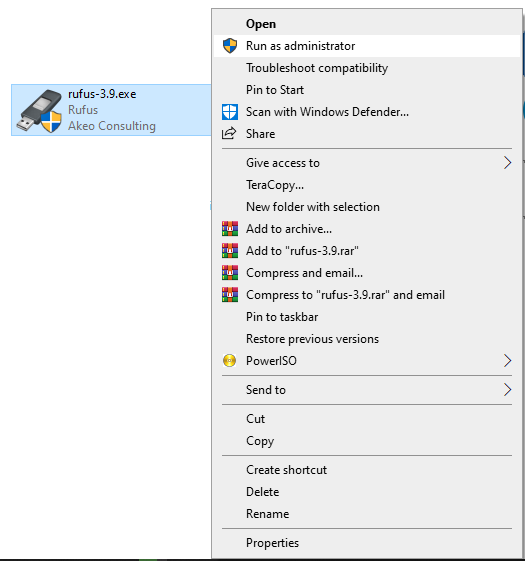
When you have all the perquisites in place, Right-click on Rufus.exe file you downloaded and click Run as administrator on your Windows machine.
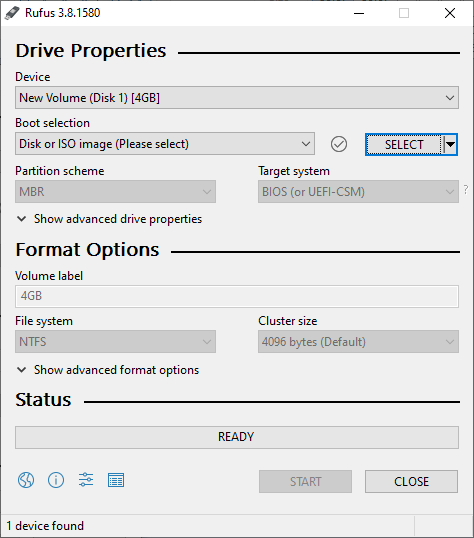
The following Rufus screen will appear.

Rufus will automatically detect when you attach a USB stick with your system. Once USB stick is detected, click the SELECT button to select an Ubuntu ISO image file.
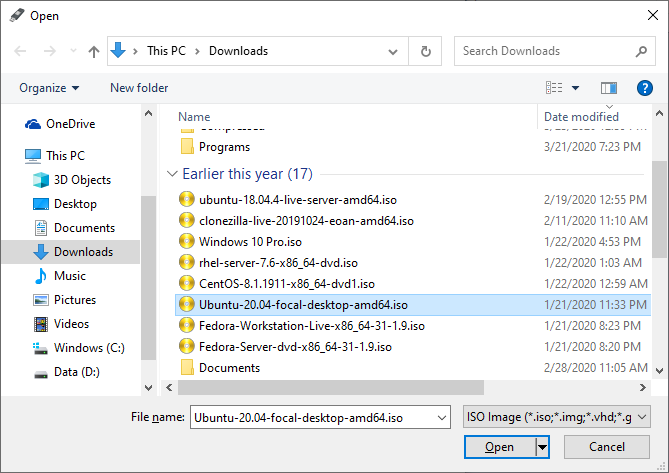
Select your appropriate Ubuntu ISO image file.
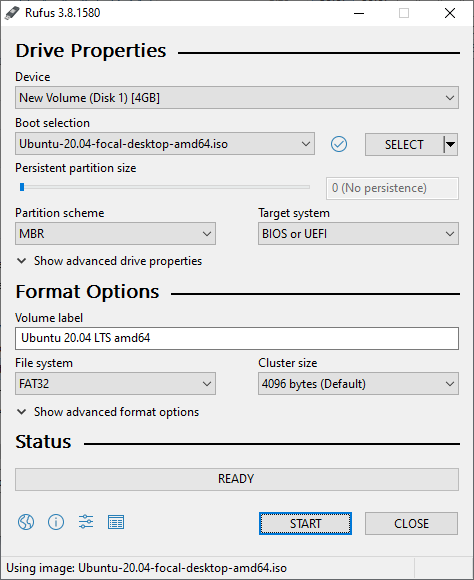
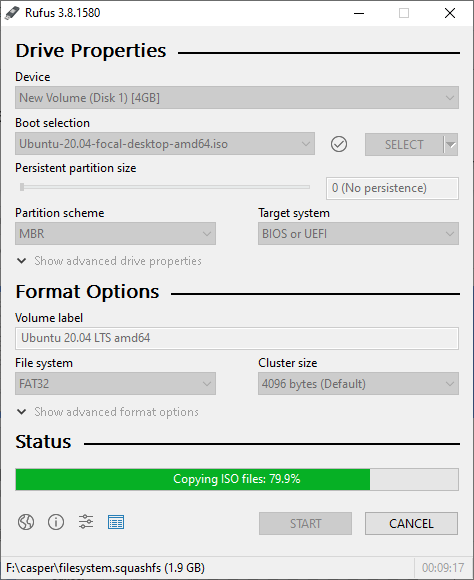
This will automatically select remaining options as you can see in the below screenshot. Next, click on START to begin writing Ubuntu into your USB stick.
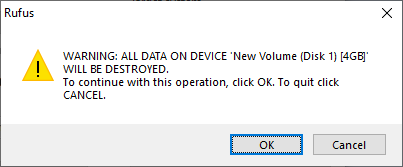
Click Yes on the below warning screen.

Keep the default option on below screen, click OK.
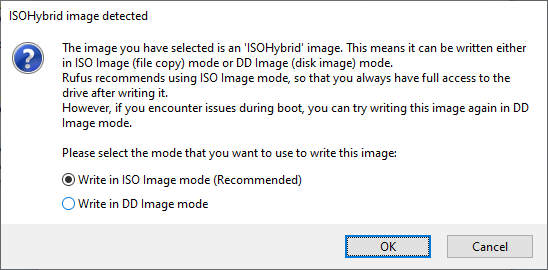
Click OK.
This will start writing Ubuntu ISO into your USB.
Click CLOSE to finish the process.
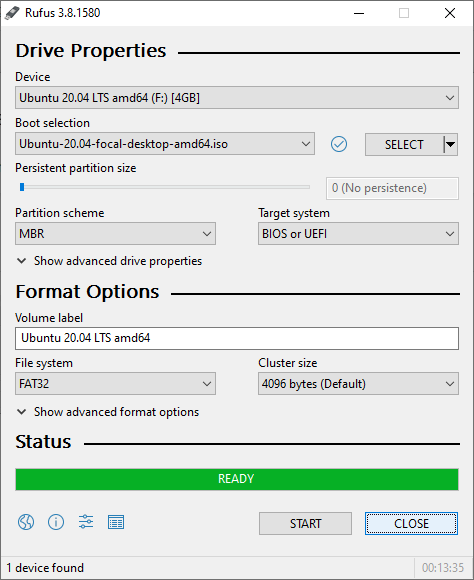
You now have Ubuntu on a USB stick, bootable and ready to use.
No comments: