phpMyAdmin allows you to administer and manage your MySQL/MariaDB database using the web interface. This tutorial will walk you through the steps to install and configure phpMyAdmin on CentOS, or RHEL 8 Linux
Note: With CentOS 8 release, yum command has been replaced with dnf and in near future yum package manager will be discontinued. It is now recommended to use dnf for installing packages but if you still wish to use yum you can use it.
Prerequisites
You will need one CentOS/RHEL8 server installed on (physical or virtual) machine with root or sudo non-root user privilegesSet Timezone
You can correct your server timezone by typing the following command but make sure you replace Asia/Karachi with yoursAdding EPEL Repository
It is always recommended to add extra packages for enterprise Linux on your fresh CentOS/RHEL server:If you are on RHEL 8, execute the following command as well:
Installing PHP
You can install latest PHP and its commonly used extensions with the below command:Installing Apache
Type the following command to install Apache web server:Now starting Apache service and making persistent even when system reboots:
Installing MariaDB
If you would like to user MariaDB as your database, type the below command to install:Starting MariaDB service and making it persistent even when system reboots:
Or if you still wish to use MySQL as your database, type the below command to install:
Securing MariaDB/MySQL
By default MariaDB/MySQL has no root password and anyone can intrude into your database, so run the below script and follow on screen instruction to secure it:
Response to the following prompts on your server like below:Testing Apache, PHP
Now create info.php page under /var/www/html to test your Apache and PHP functionality:Add following code into it:
Save and close file.
Now disable default welcome page from Apache like below:
Reload Apache to take changes into effect:
Add firewall rules to allow HTTP traffic:
Open up your preferred web browser and navigate to http://your_server_name_or_ip/info.php
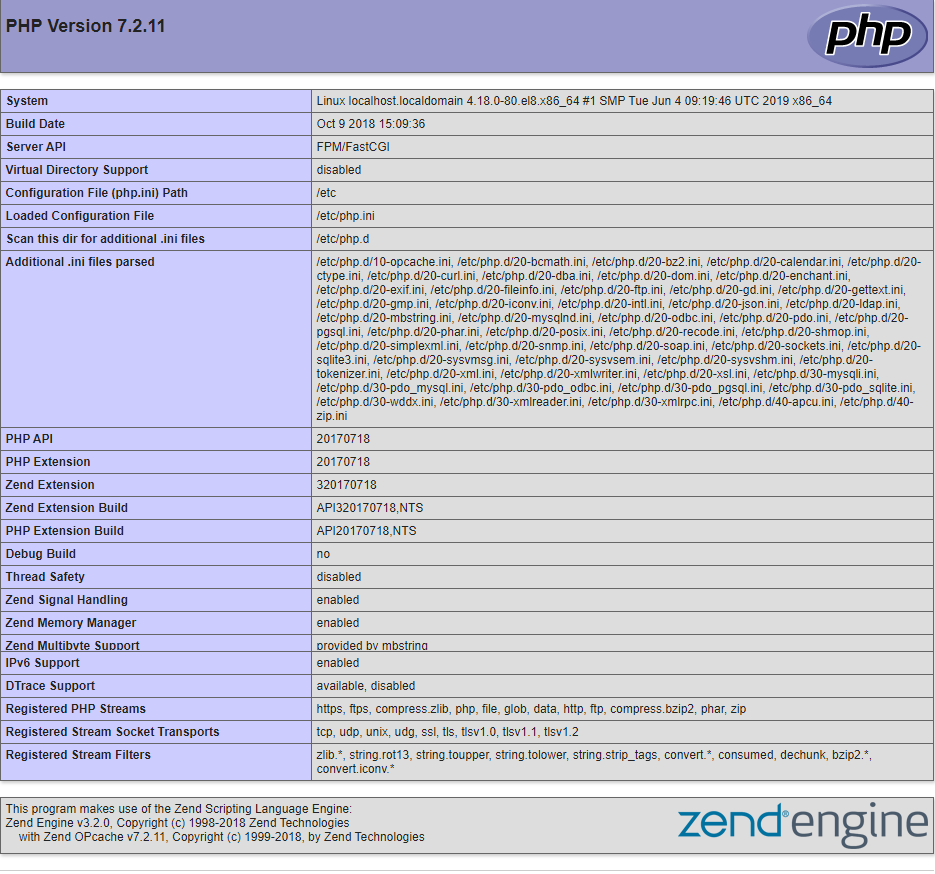
If you can see the below page, then your Apache and PHP working as expected.
Enabling SSL
It is always recommended to access your web services over secure protocol HTTPS. As you have already installed mod_ssl while installing Apache in earlier steps, you just need to add the below firewall rules to allow HTTPS traffic over default port 443 and deny access to HTTP on port 80.
Downloading phpMyAdmin
You can check the current release on phpMyAdmin website, then copy the downloadable link:Set phpMyAdmin version to your CentOS/RHEL server environment variable:
Now download the latest release of phpMyAdmin and extract it like below:
Copy config.sample.inc.php configuration file like below:
Now edit config.inc.php file:
Set a secret passphrase should be 32 chars long as well as set tmp directory like below:
Save and close file when you are finished.
Now create tmp directory and set appropriate permission like below:
Configuring Apache
At this point, you need to create phpmyadmin.conf file under Apache:Add below parameters into it:
Save and close file when you are finished
For security reason, we have restricted phpMyAdmin access to a specific IP with Allow from 192.168.137.1 parameter in above file.
Type the below commands to validate configuration, then restart Apache service to take changes into effect:
Configuring SELinux
If SELinux is in Enforcing mode on your CentOS/RHEL server, you’ll get permission denied error when you try to access phpMyAdmin page.Type the below command to allow it pass-throw selinux:
Or type just below command to disable selinux enforcing:
Access phpMyAdmin Web interface
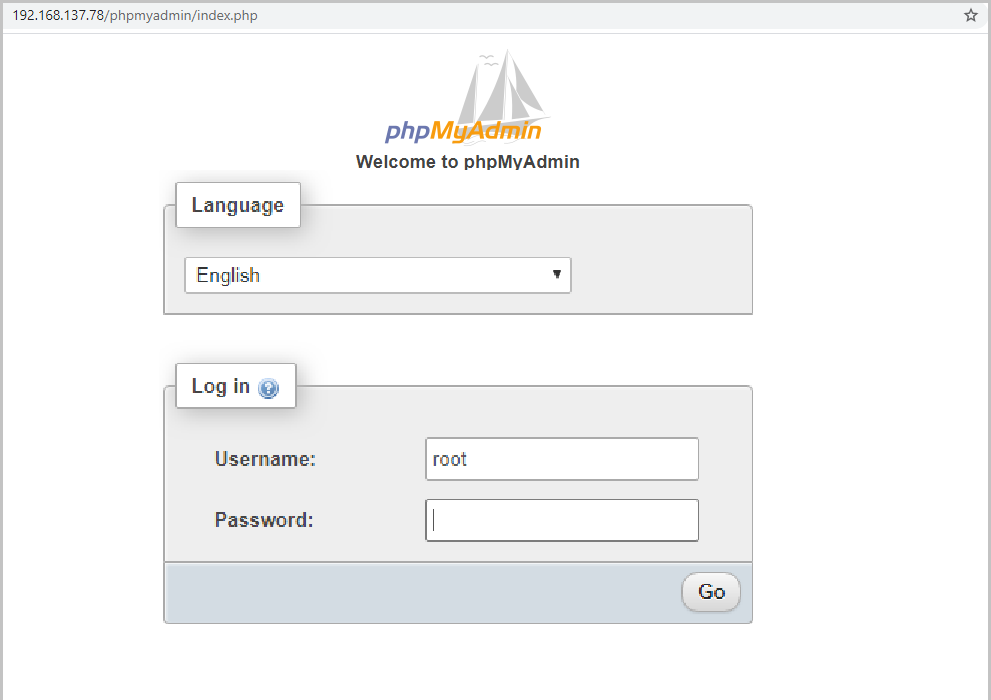
Open up web browser on the host you allowed to access phpMyAdmin web interface in above Apache configuration file, then navigate to https://your_server_name_or_ip/phpmyadmin and you will see the below phpMyAdmin login page.For the first time you can log in with database user root and password whatever you set up during mysql_secure_installation script.
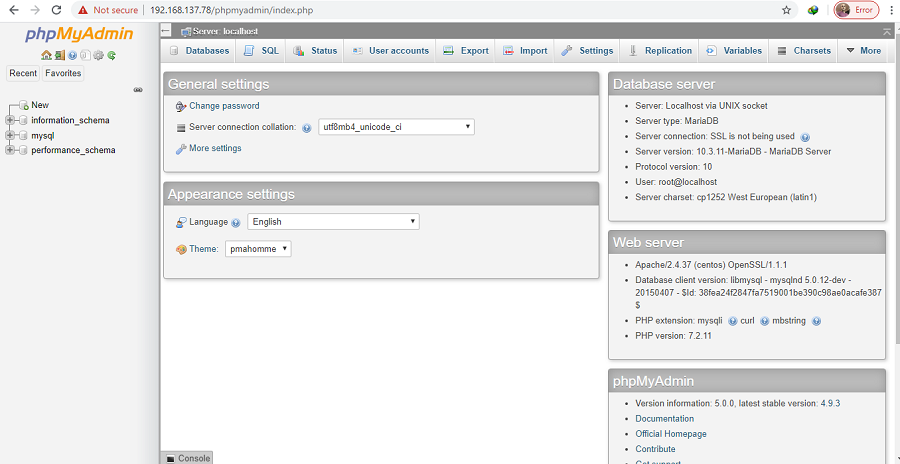
Once you log in, you will see the below man page
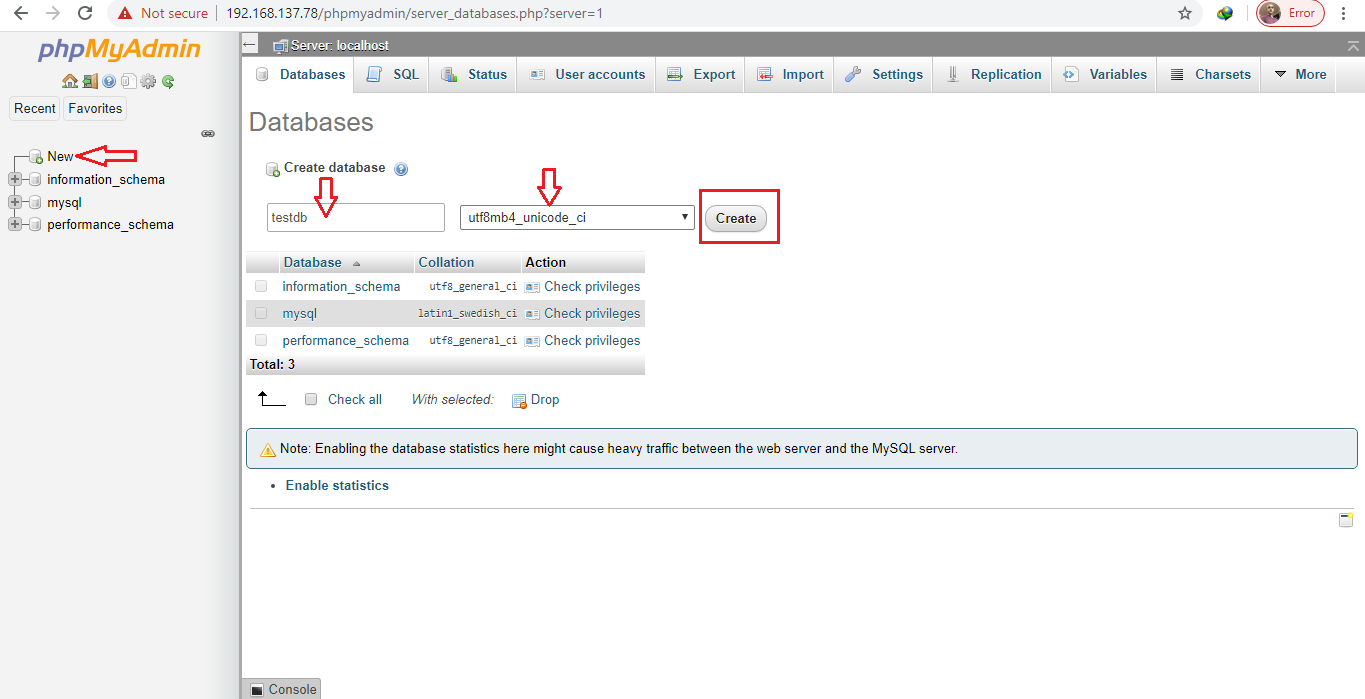
We will create a test database, user and privileges to give you an example:
Creating user for testdb

Set the user's credentials
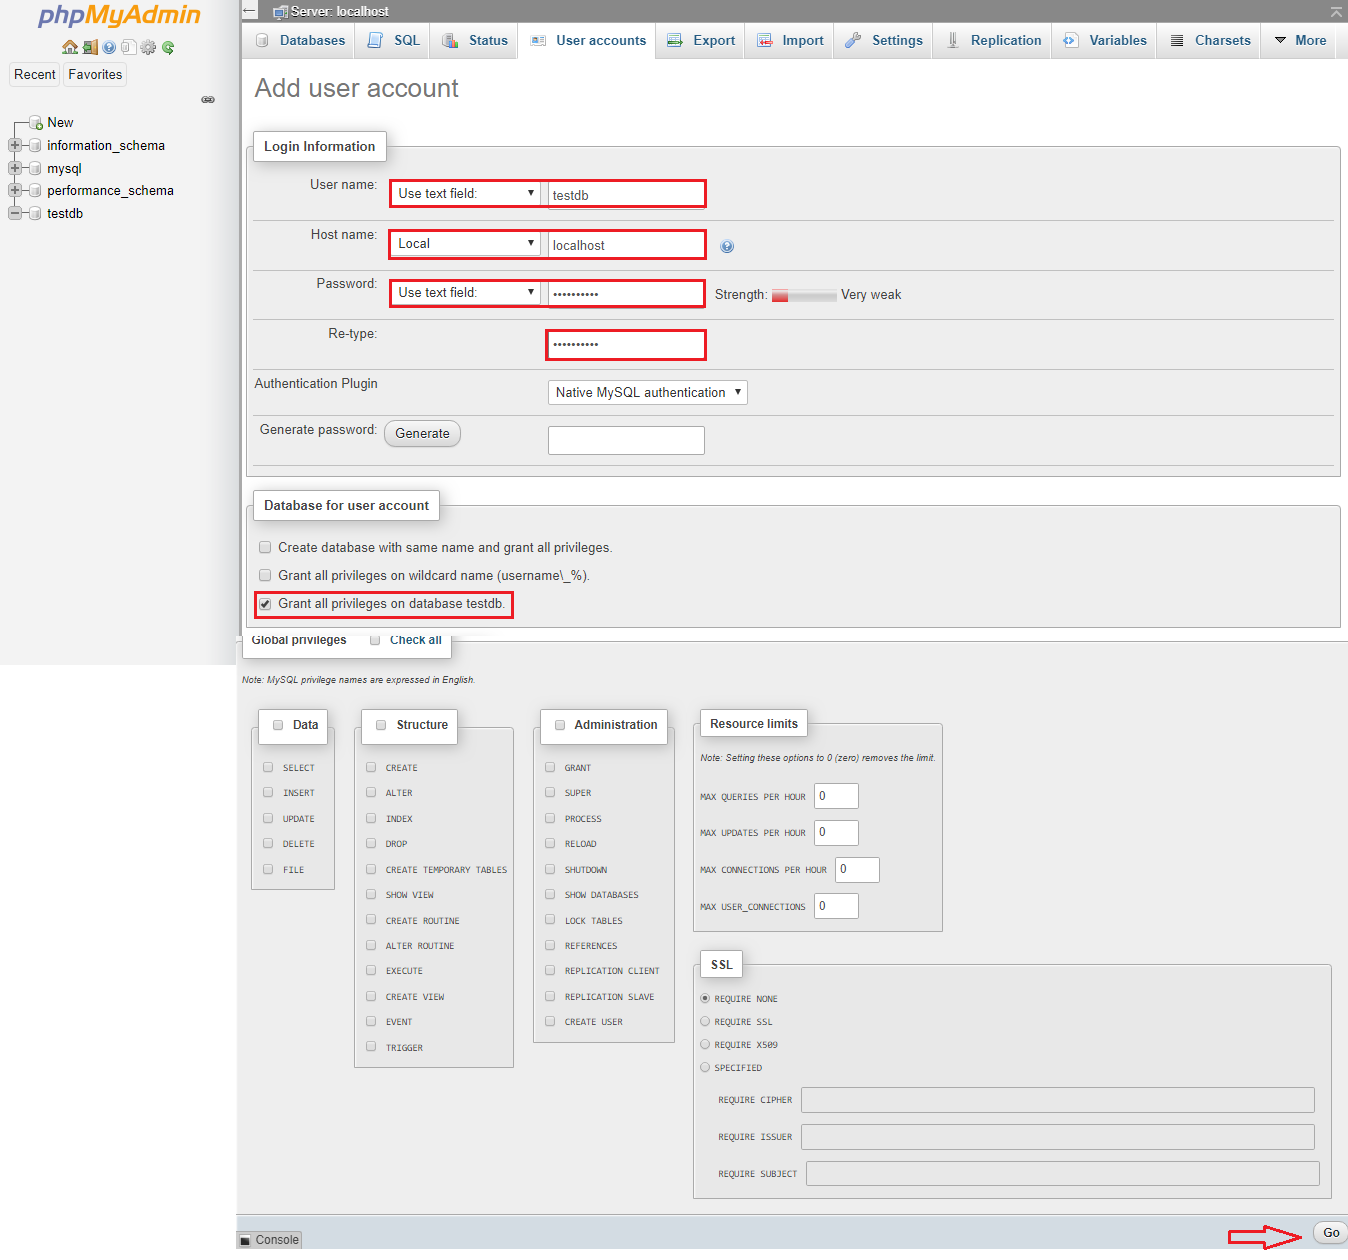
User created with database specific privileges
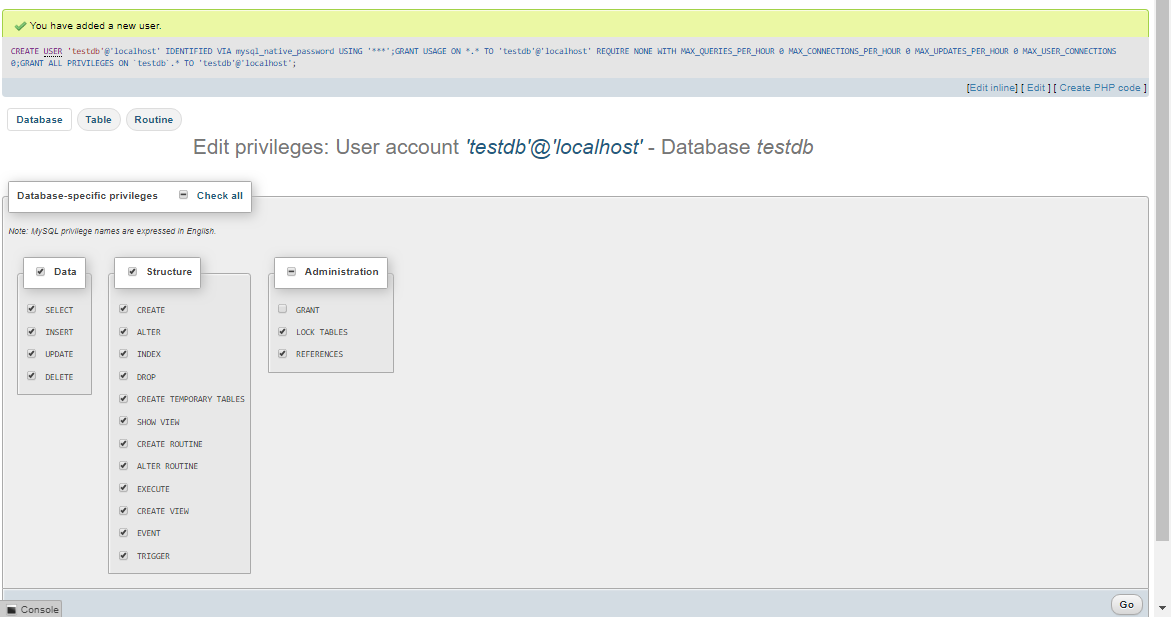
Now logout from the root user

Login with newly created database user testdb
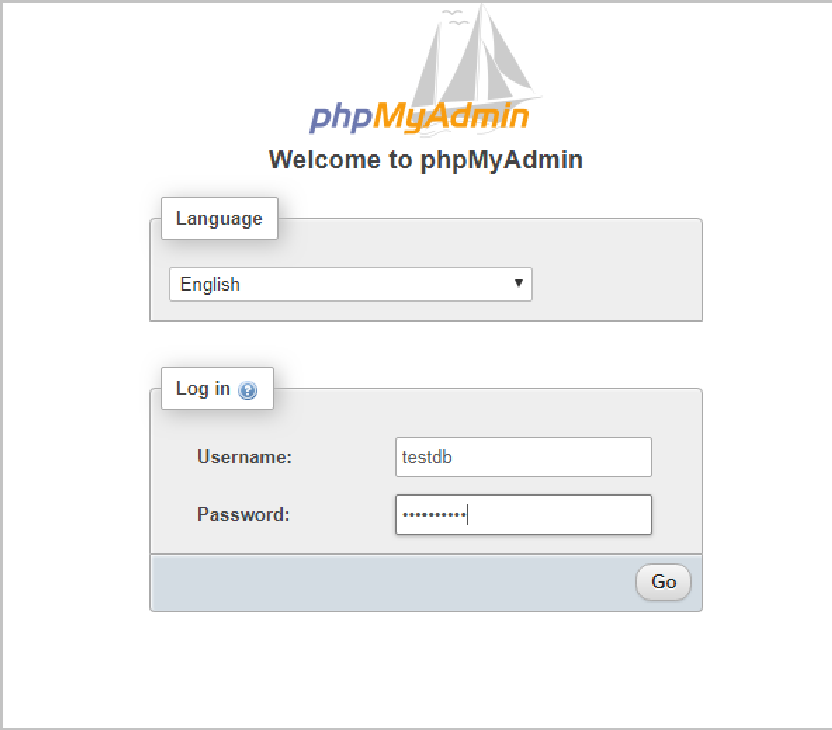
You are log in to testdb database.
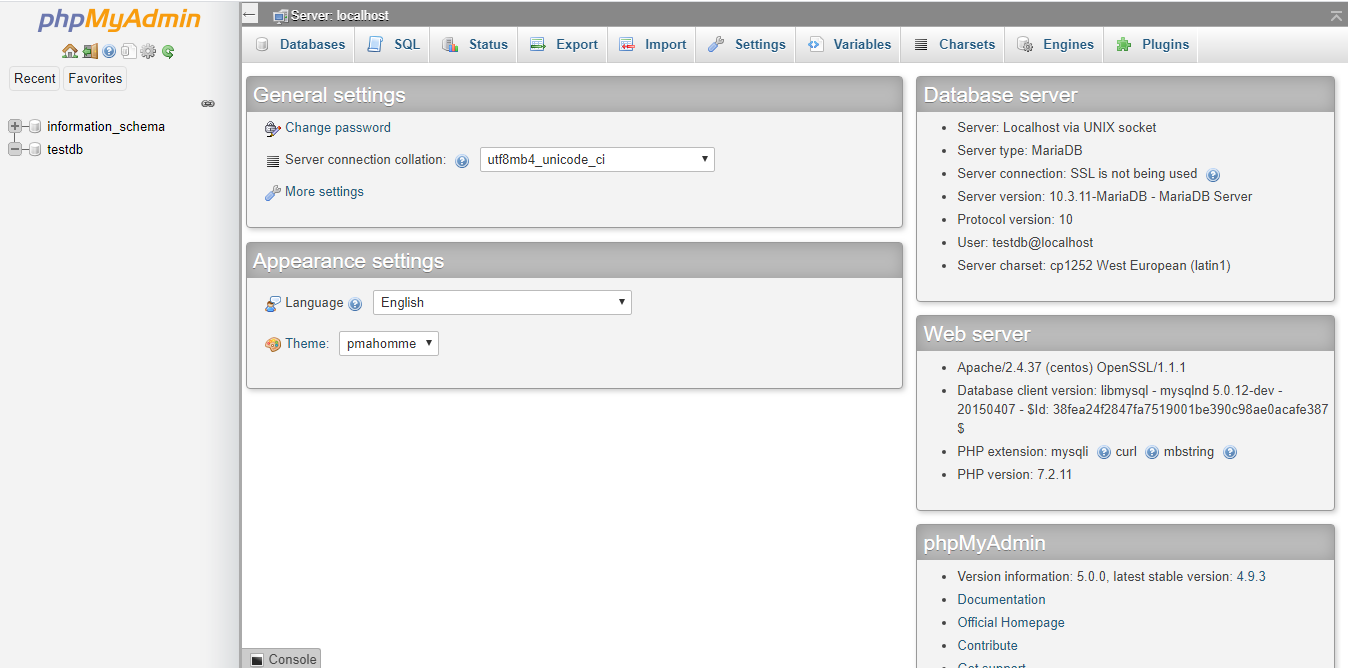
Wrapping up
You have successfully set up phpMyAdmin on your CentOS/RHEL 8 server. Now you can create, administer and manage your MariaDB/MySQL database using phpMyAdmin web interface.

No comments: