Django is a high-level Python Web framework that encourages rapid development and clean, pragmatic design. Built by experienced developers, it takes care of much of the hassle of Web development, so you can focus on writing your app without needing to reinvent the wheel. It’s free and open source.
This tutorial will guide you through the steps to install and configure Django on Ubuntu or Debian.
Prerequisites
To follow this guide, you will need one Ubuntu 18.04 (physical or virtual) machine should have a non-root user with sudo privileges.You will need to replace all the highlighted text and parameters mentioned in this guide to reflect yours.
Installing Dependencies
You need to install following required dependencies prior to set up Django on your Ubuntu server:sudo apt update
sudo apt install -y python3-pip python3-dev libpq-dev
Installing Nginx
You can install Nginx web server from the debian default repository using the below command:sudo apt install -y nginx curl
Installing PostgreSQL
Type the following command to install postgesql database:sudo apt install -y postgresql postgresql-contrib
Creating Database
You can create a database and database user for your Django application like below:sudo -u postgres psql
create database testproject;
create user testprojectuser with password 'TypePasswordHere';
alter role testprojectuser set client_encoding to 'utf8';
alter role testprojectuser SET default_transaction_isolation to 'read committed';
alter role testprojectuser set timezone to 'UTC';
grant all privileges on database testproject to testprojectuser;
\q

Postgres is now set up so that Django can connect to and manage its database information.
Creating Python Virtual Environment
You can set up Python requirements within a virtual environment for easier management.sudo -H pip3 install --upgrade pip
sudo -H pip3 install virtualenv
mkdir ~/testprojectdir
cd ~/testprojectdir
virtualenv testprojectenv

source testprojectenv/bin/activate
pip install django gunicorn psycopg2-binary

You should now have all of the required software in place needed to start a Django project.
Creating New Django Project
Since we already have a project directory, we will tell Django to install the files here. It will create a second level directory with the actual code, which is normal, and place a management script in this directory. The key to this is that we are defining the directory explicitly instead of allowing Django to make decisions relative to our current directory:django-admin.py startproject testproject ~/testprojectdir
Adjust the Project Settings
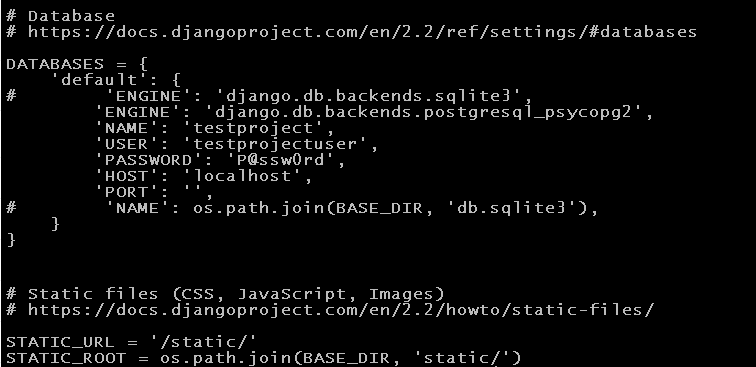
The first thing you should do with your newly created project files is adjust the settings parameters. Open the settings file in your favorite text editor and add, update and replace the following parameters to reflect yours:nano ~/testprojectdir/testproject/settings.py
ALLOWED_HOSTS = ['labserver.techsupportpk.com', 'localhost']
DATABASES = {
'default': {
'ENGINE': 'django.db.backends.postgresql_psycopg2',
'NAME': 'testproject',
'USER': 'testprojectuser',
'PASSWORD': 'TypePasswordHere',
'HOST': 'localhost',
'PORT': '',
}
}
STATIC_URL = '/static/'
STATIC_ROOT = os.path.join(BASE_DIR, 'static/')
Save and close the file when you are done.
Finishing Initial Project Setup
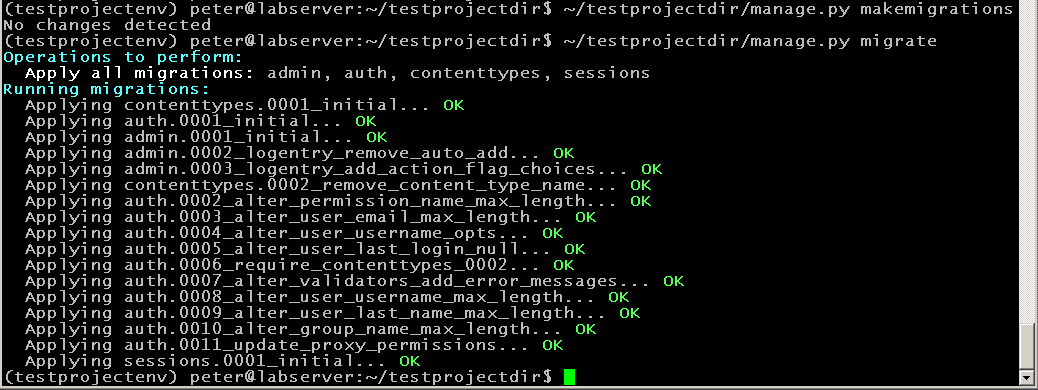
Now, you can migrate the initial database schema to your PostgreSQL database using the management script:~/testprojectdir/manage.py makemigrations
~/testprojectdir/manage.py migrate
Create an administrative user for the project by typing:
~/testprojectdir/manage.py createsuperuser

You will have to select a username, provide an email address, and choose and confirm a password.
You can collect all of the static content into the directory location you configured by typing:
~/testprojectdir/manage.py collectstatic
Output
119 static files copied to '/home/peter/testprojectdir/static'.
You will have to confirm the operation. The static files will then be placed in a directory called static within your project directory.
If UFW firewall protecting your server, you'll have to allow access to the port in order to test the development server.
sudo ufw allow 8000
Lastly, you can test your project by starting up the Django development server with the following command:
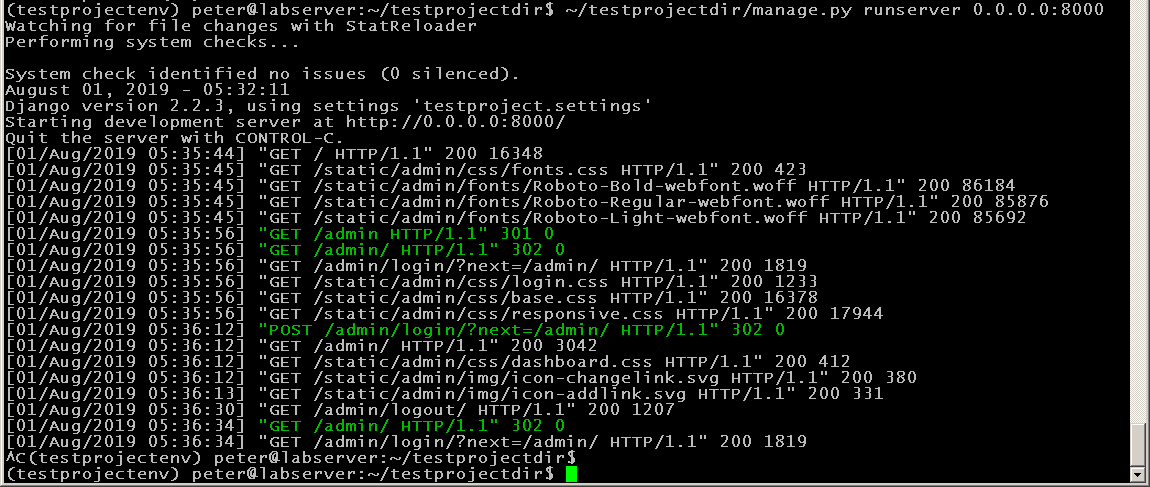
~/testprojectdir/manage.py runserver 0.0.0.0:8000

Open up your web browser, access your server's name or IP address followed by port like:
http://labserver.techsupportpk.com:8000
You should see the following default Django index page:

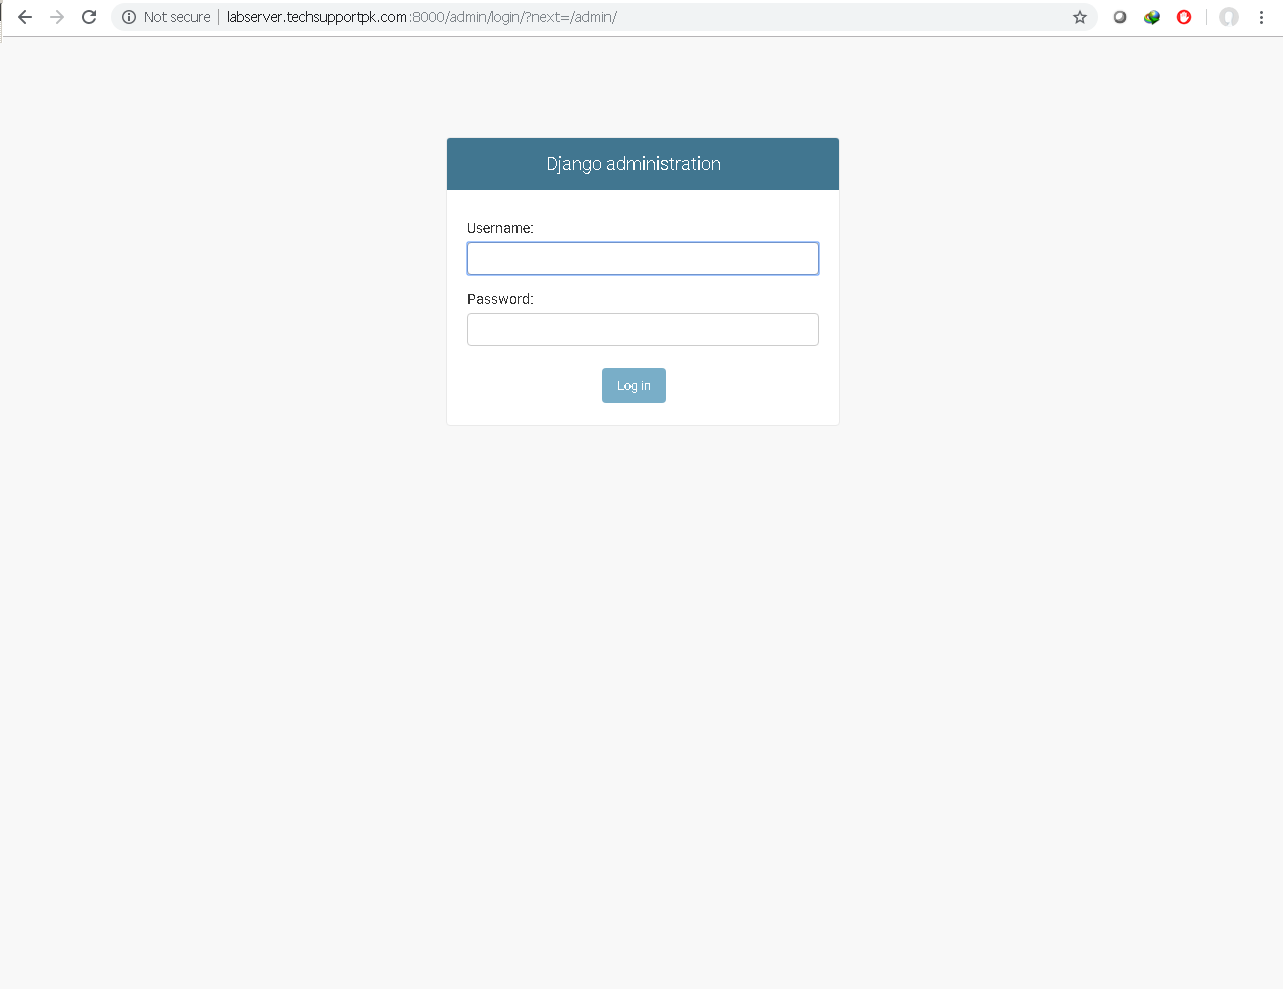
If you append /admin to the end of the URL in the address bar, you will be prompted for the administrative username and password you created earlier with the createsuperuser command:
After authenticating, you can access the default Django admin interface:

When you are finished exploring, press CTRL-C in the terminal window to stop the development server.
Testing Gunicorn
You should test Gunicorn functionality to make sure that it can serve the application. You can do this by entering your project directory and using gunicorn to load the project's WSGI module:cd ~/testprojectdir
gunicorn --bind 0.0.0.0:8000 testproject.wsgi

This will start Gunicorn on the same interface that the Django development server was running on. You can go back and test the app again.

When you are finished testing, press CTRL-C in the terminal window to stop Gunicorn.

You are now finished configuring your Django application. You can back out of our virtual environment by typing:
deactivate
The virtual environment indicator in your prompt will be removed.
Creating Systemd Socket and Service Files for Gunicorn
The Gunicorn socket will be created at boot and will listen for connections. When a connection occurs, systemd will automatically start the Gunicorn process to handle the connection.Start by creating and opening a systemd socket file for Gunicorn with sudo privileges:
sudo nano /etc/systemd/system/gunicorn.socket
Inside, we will create a [Unit] section to describe the socket, a [Socket] section to define the socket location, and an [Install] section to make sure the socket is created at the right time:
[Unit]
Description=gunicorn socket
[Socket]
ListenStream=/run/gunicorn.sock
[Install]
WantedBy=sockets.target
Save and close the file when you are done.

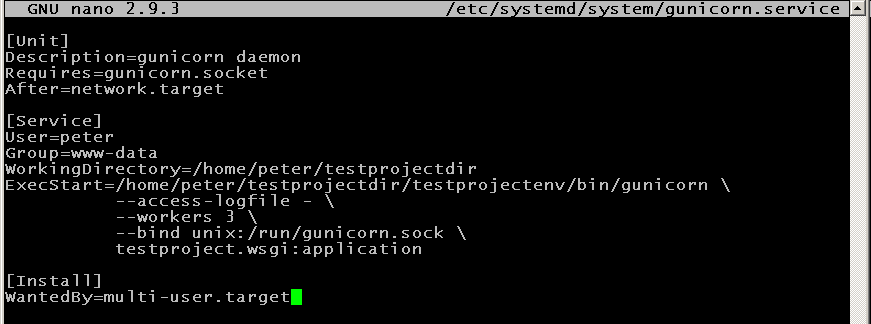
Next, create and open a systemd service file for Gunicorn with sudo privileges in your text editor. The service filename should match the socket filename with the exception of the extension:
sudo nano /etc/systemd/system/gunicorn.service
[Unit]
Description=gunicorn daemon
Requires=gunicorn.socket
After=network.target
[Service]
User=peter
Group=www-data
WorkingDirectory=/home/peter/testprojectdir
ExecStart=/home/peter/testprojectdir/testprojectenv/bin/gunicorn \
--access-logfile - \
--workers 3 \
--bind unix:/run/gunicorn.sock \
testproject.wsgi:application
[Install]
WantedBy=multi-user.target
Save and close it now.
You can start and enable the Gunicorn socket. This will create the socket file at /run/gunicorn.sock now and at boot. When a connection is made to that socket, systemd will automatically start the gunicorn.service to handle it:
sudo systemctl start gunicorn.socket
sudo systemctl enable gunicorn.socket
You can confirm that the operation was successful by checking for the socket file.
sudo systemctl status gunicorn.socket

Next, check for the existence of the gunicorn.sock file within the /run directory:
file /run/gunicorn.sock

sudo journalctl -u gunicorn.socket
Take another look at your /etc/systemd/system/gunicorn.socket file to fix any problems before continuing.
Testing Socket Activation
Currently, if you've only started the gunicorn.socket unit, the gunicorn.service will not be active yet since the socket has not yet received any connections. You can check this by typing:sudo systemctl status gunicorn

To test the socket activation mechanism, you can send a connection to the socket through curl by typing:
curl --unix-socket /run/gunicorn.sock localhost
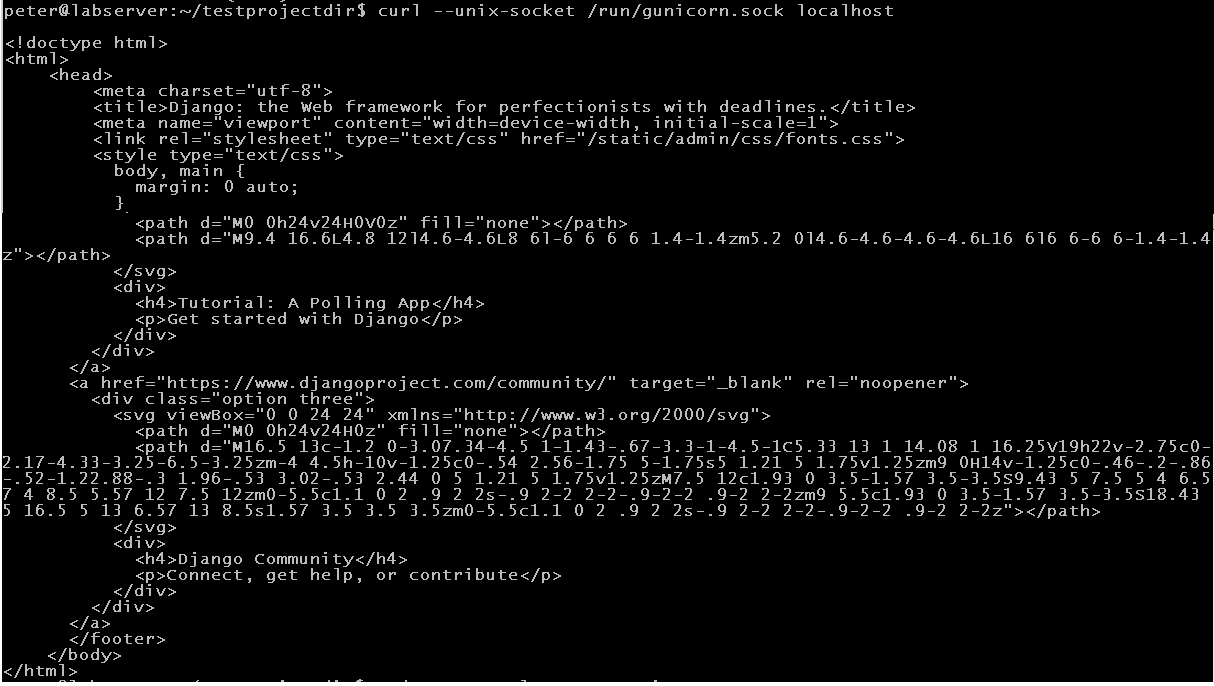
You should see the HTML output from your application in the terminal. This indicates that Gunicorn was started and was able to serve your Django application. You can verify that the Gunicorn service is running by typing:
sudo systemctl status gunicorn

If the output from curl or the output of systemctl status indicates that a problem occurred, check the logs for additional details:
sudo journalctl -u gunicorn
Check your /etc/systemd/system/gunicorn.service file for problems. If you make changes to the /etc/systemd/system/gunicorn.service file, reload the daemon to reread the service definition and restart the Gunicorn process by typing:
sudo systemctl daemon-reload
sudo systemctl restart gunicorn
Make sure you troubleshoot the above issues before continuing.
Configure Nginx to Proxy Pass to Gunicorn
Now that Gunicorn is set up, you need to configure Nginx to pass traffic to the process.Start by creating and opening a new server block in Nginx's sites-available directory:
sudo nano /etc/nginx/sites-available/testproject.conf
server {
listen 80;
server_name labserver.techsupportpk.com;
location = /favicon.ico { access_log off; log_not_found off; }
location /static/ {
root /home/peter/testprojectdir;
}
location / {
include proxy_params;
proxy_pass http://unix:/run/gunicorn.sock;
}
}
Save and close the file when you are done.

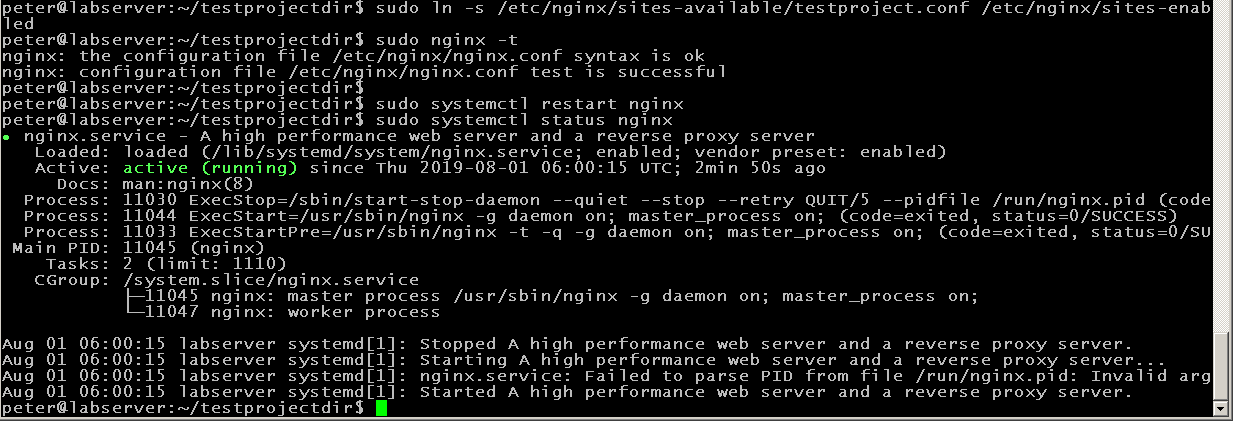
Now, you can enable the file by linking it to the sites-enabled directory:
sudo ln -s /etc/nginx/sites-available/testproject.conf /etc/nginx/sites-enabled
sudo nginx -t
sudo systemctl restart nginx
Finally, you need to open up your UFW firewall to normal traffic on port 80. Since you no longer need access to the development server, you can remove the rule to open port 8000 as well:
sudo ufw delete allow 8000
sudo ufw allow 'Nginx Full'
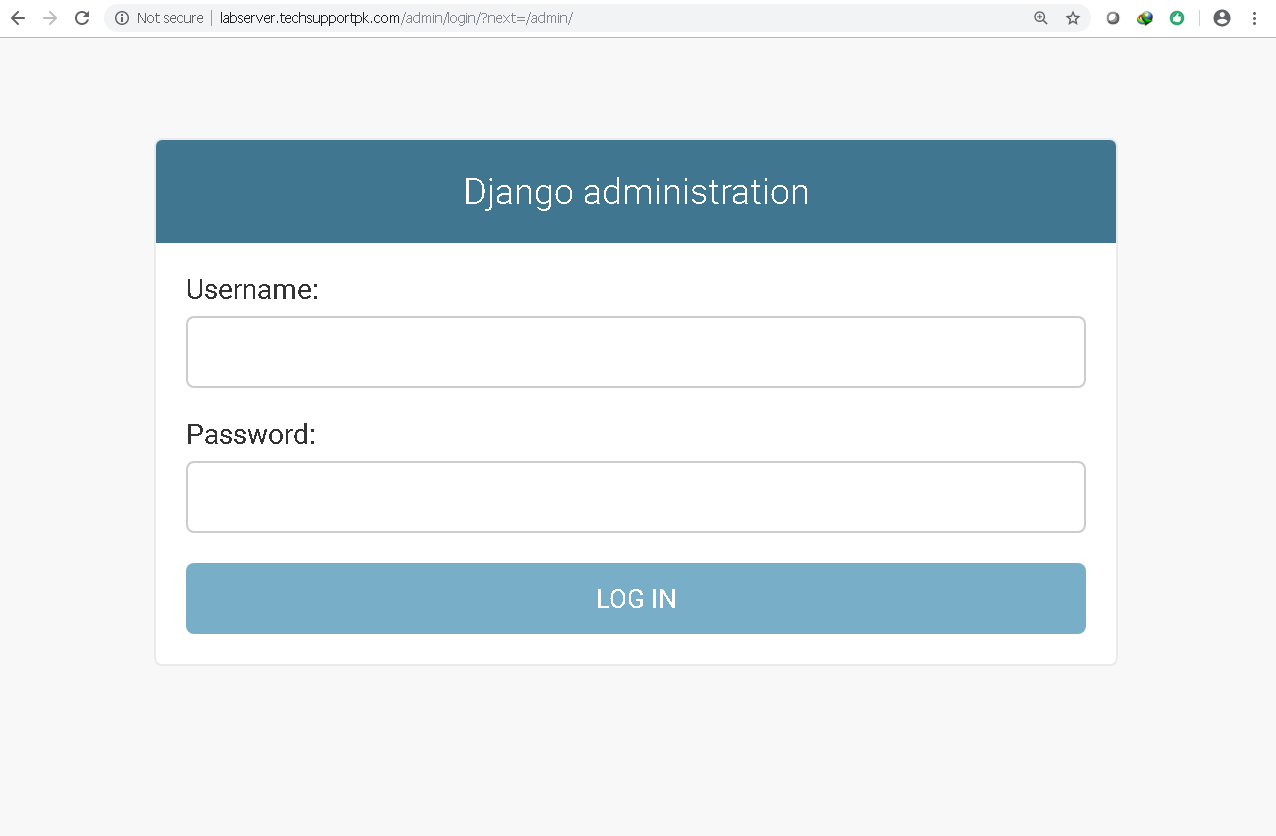
You should now be able to access your server's name or IP address to view your application in web browser like below:

No comments: